HH Fitness

sourdough

Sourdough Guide: How to Make a Sourdough Loaf Step-by-Step

Cooking and Baking TipsHaley HansenComment

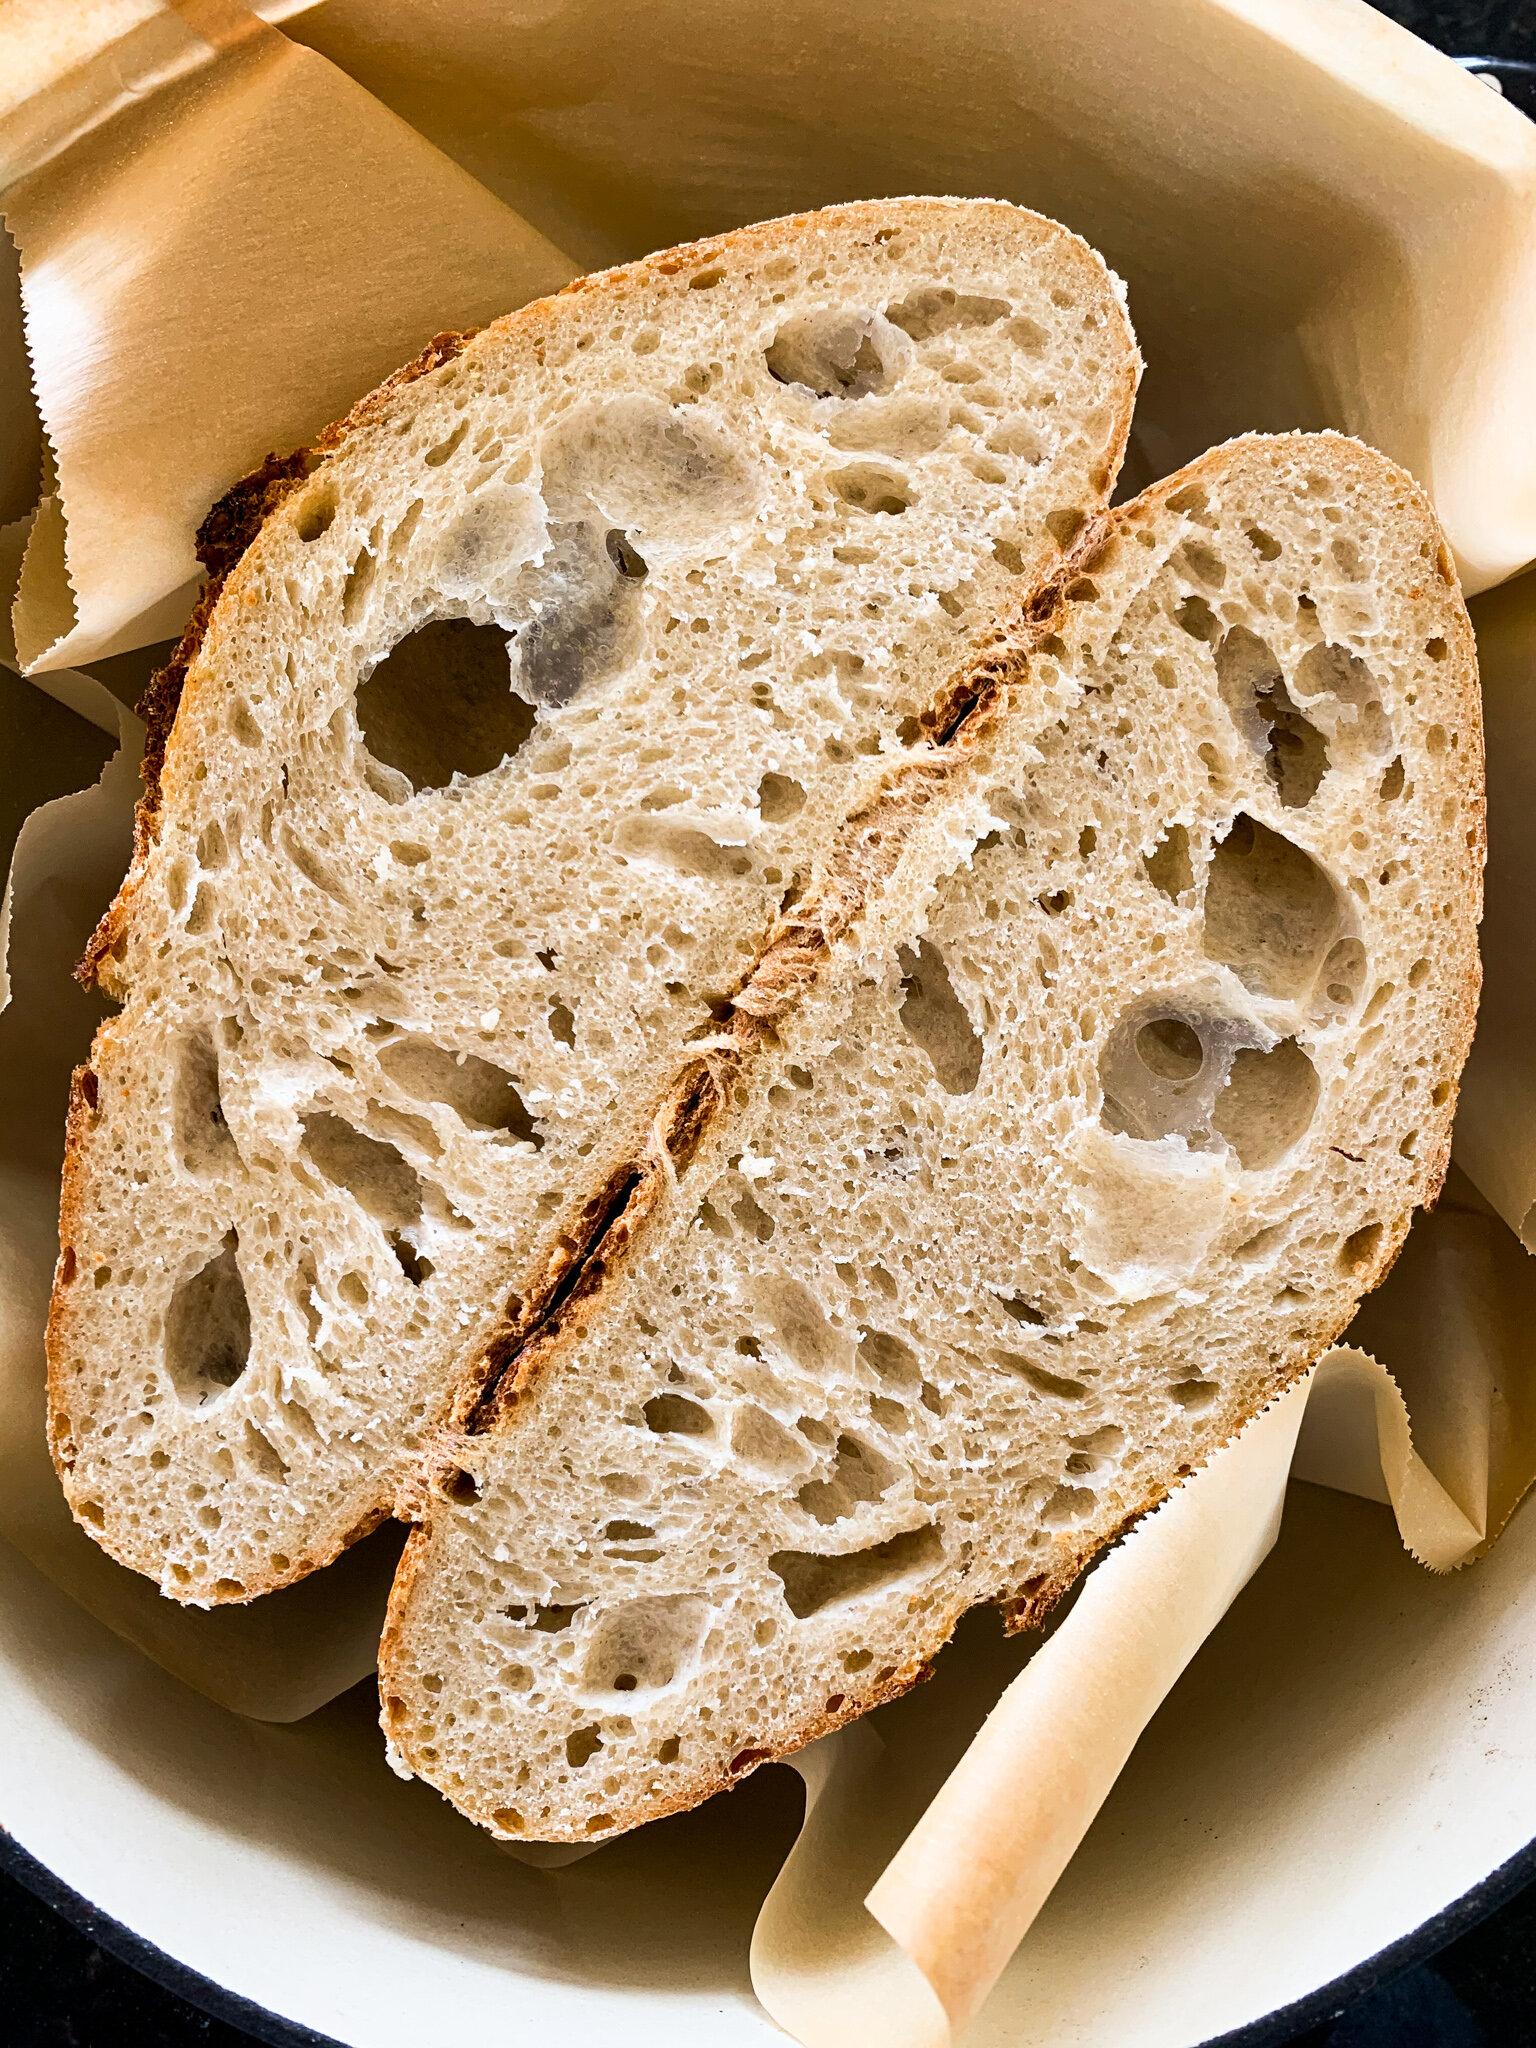
So, you’ve grown your starter, stocked up on flour, and now you’re ready to bake a loaf of rustic, crusty sourdough bread. But, how? It’s not as easy as mixing together flour, water, and salt, waiting for it to rise, and baking it until golden brown. However, it is simple and it is so worth the time required. In this post, I’ll walk you through each step of making my favorite loaf - the Sourdough Country Loaf by Amy Duska of Little Spoon Farm. In the last few weeks, I’ve made this recipe several times, changing one or two variables each time to alter the flavor, texture, crust, etc. and to gain a better understanding of the purpose behind each step of the sourdough-bread-making process. Let’s get started!

Starter

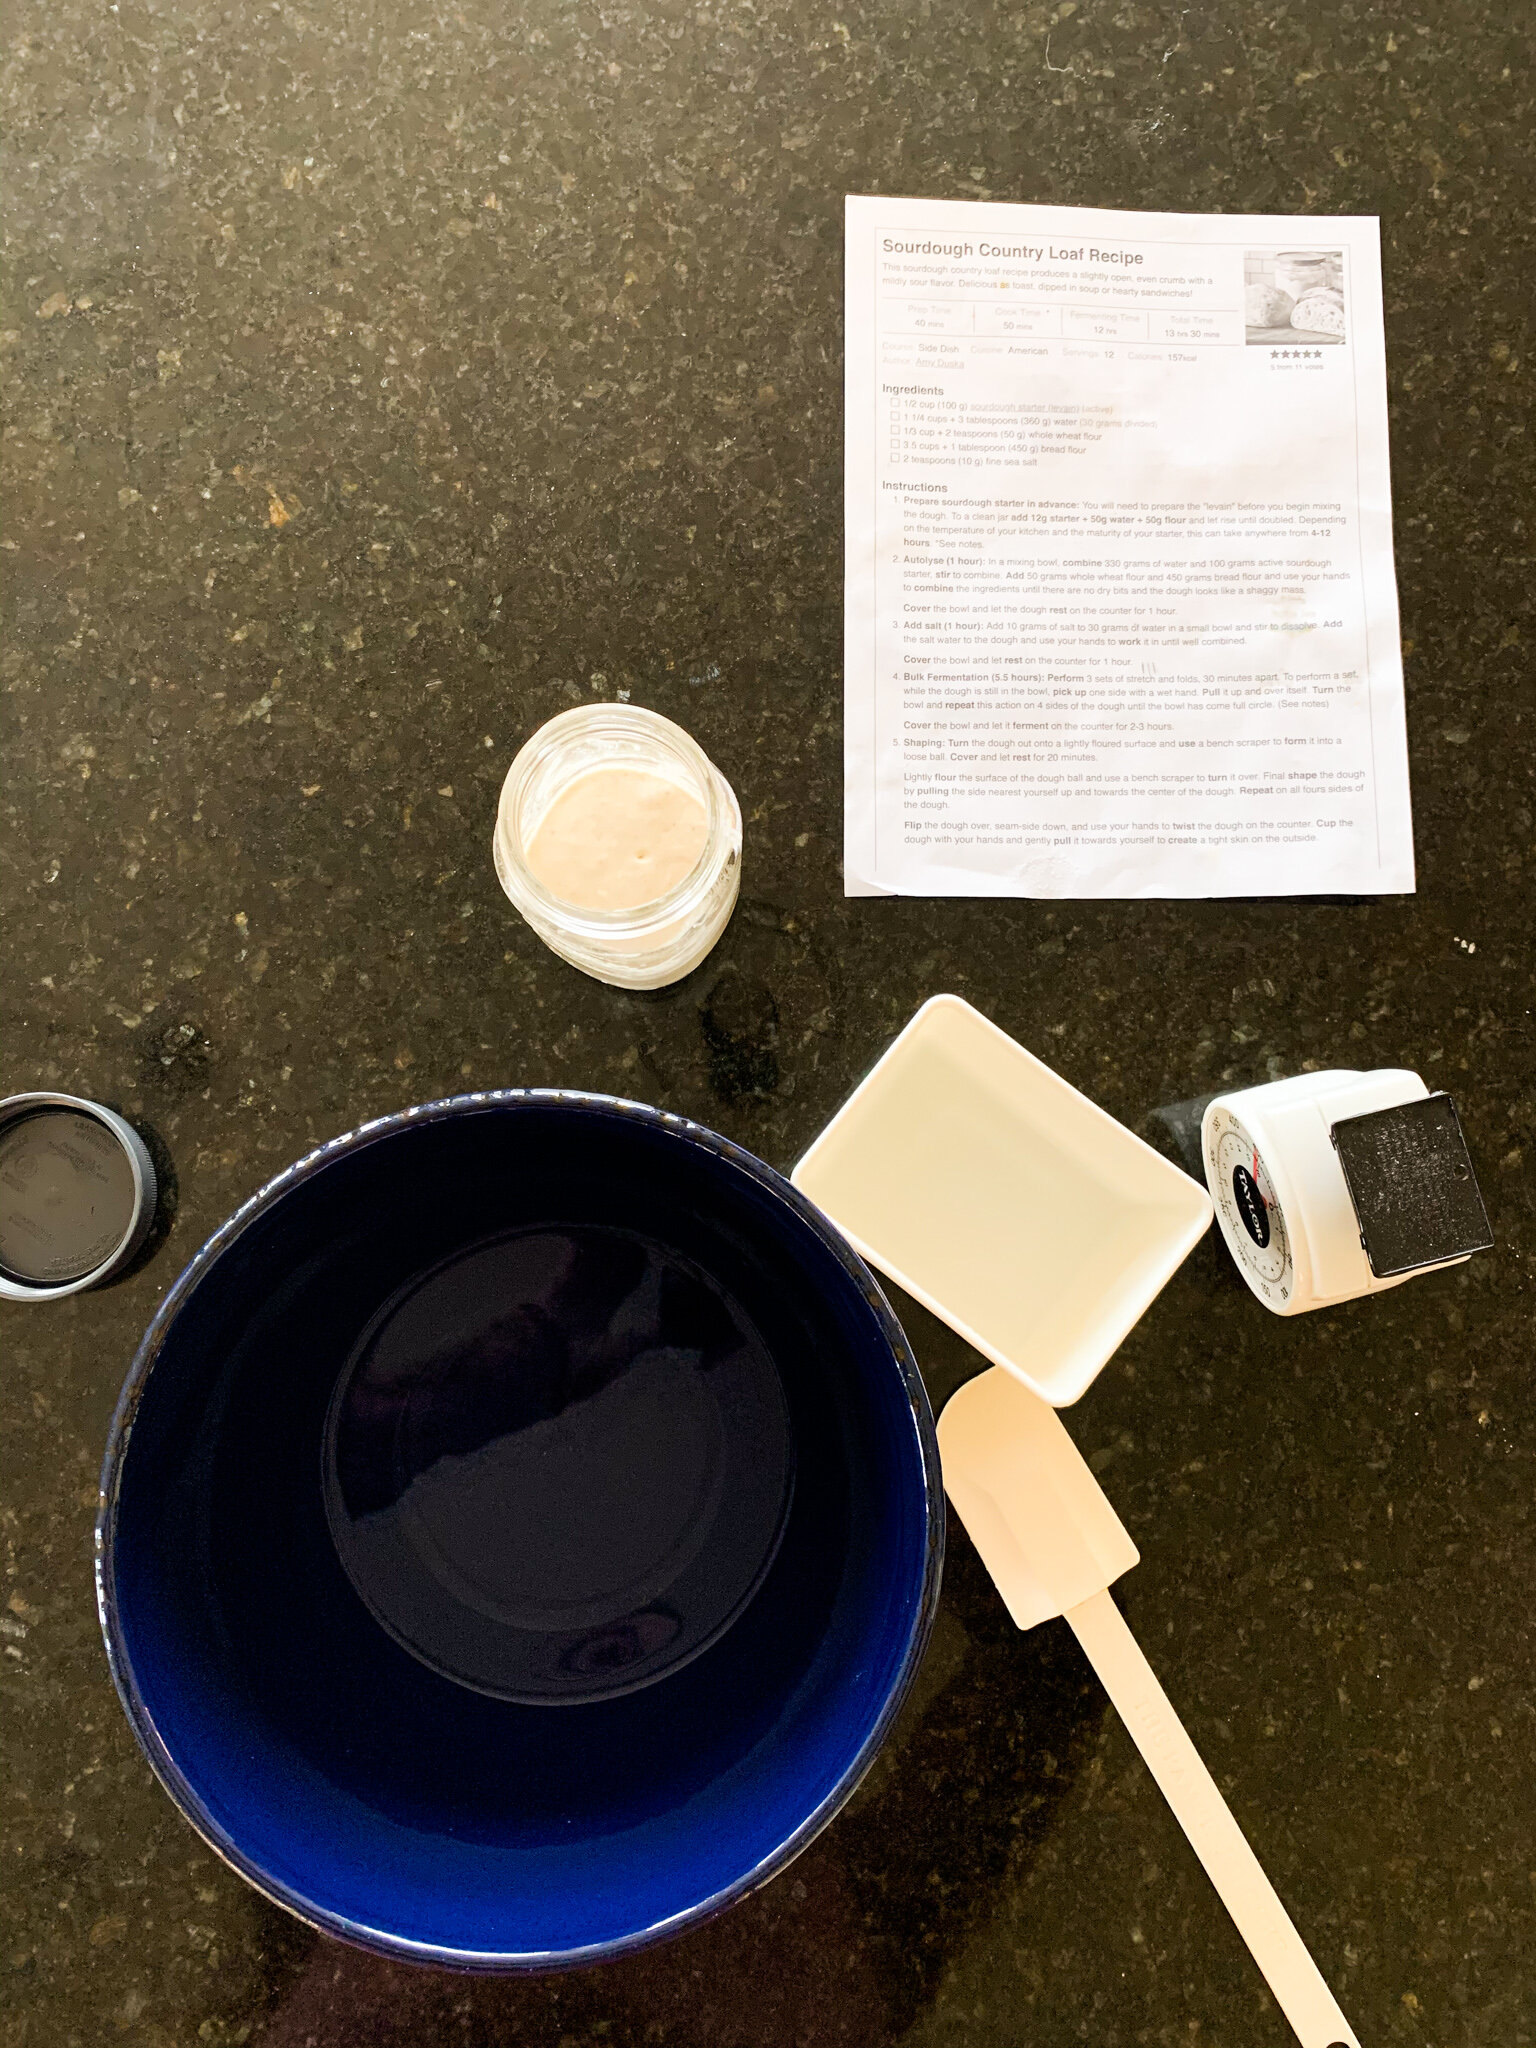
Here, we begin by stirring together 12-15 grams of our active, bubbly starter with 50 grams each of all-purpose flour and room temperature water, and letting this sit in an airtight container for 4-12 hours. The recipe specifies 12 grams of starter, but I’ve used up to 15 grams because my scale isn’t that precise and I’m too lazy to scoop out 3 tiny grams of starter. All but once, I have let this mixture sit for 12 hours. In the most recent loaf I made, I tried letting this mixture sit for just 5-6 hours and the loaf didn’t rise quite as much. The trade-off here is that letting the starter prep sit overnight allows for greater activation and therefore yields a more well-risen loaf, but a longer process (8 extra hours… even if you’re asleep while that’s happening). Letting the starter prep sit for 5-6 hours, on the other hand, leaves it with less time to activate to its full potential and therefore yields a less well-risen loaf. I prefer and recommend letting it sit overnight, or for as close to 12 hours as possible. It’s worth it!

Sourdough Guide: How to Make a Sourdough Loaf Step-by-Step

Autolyse

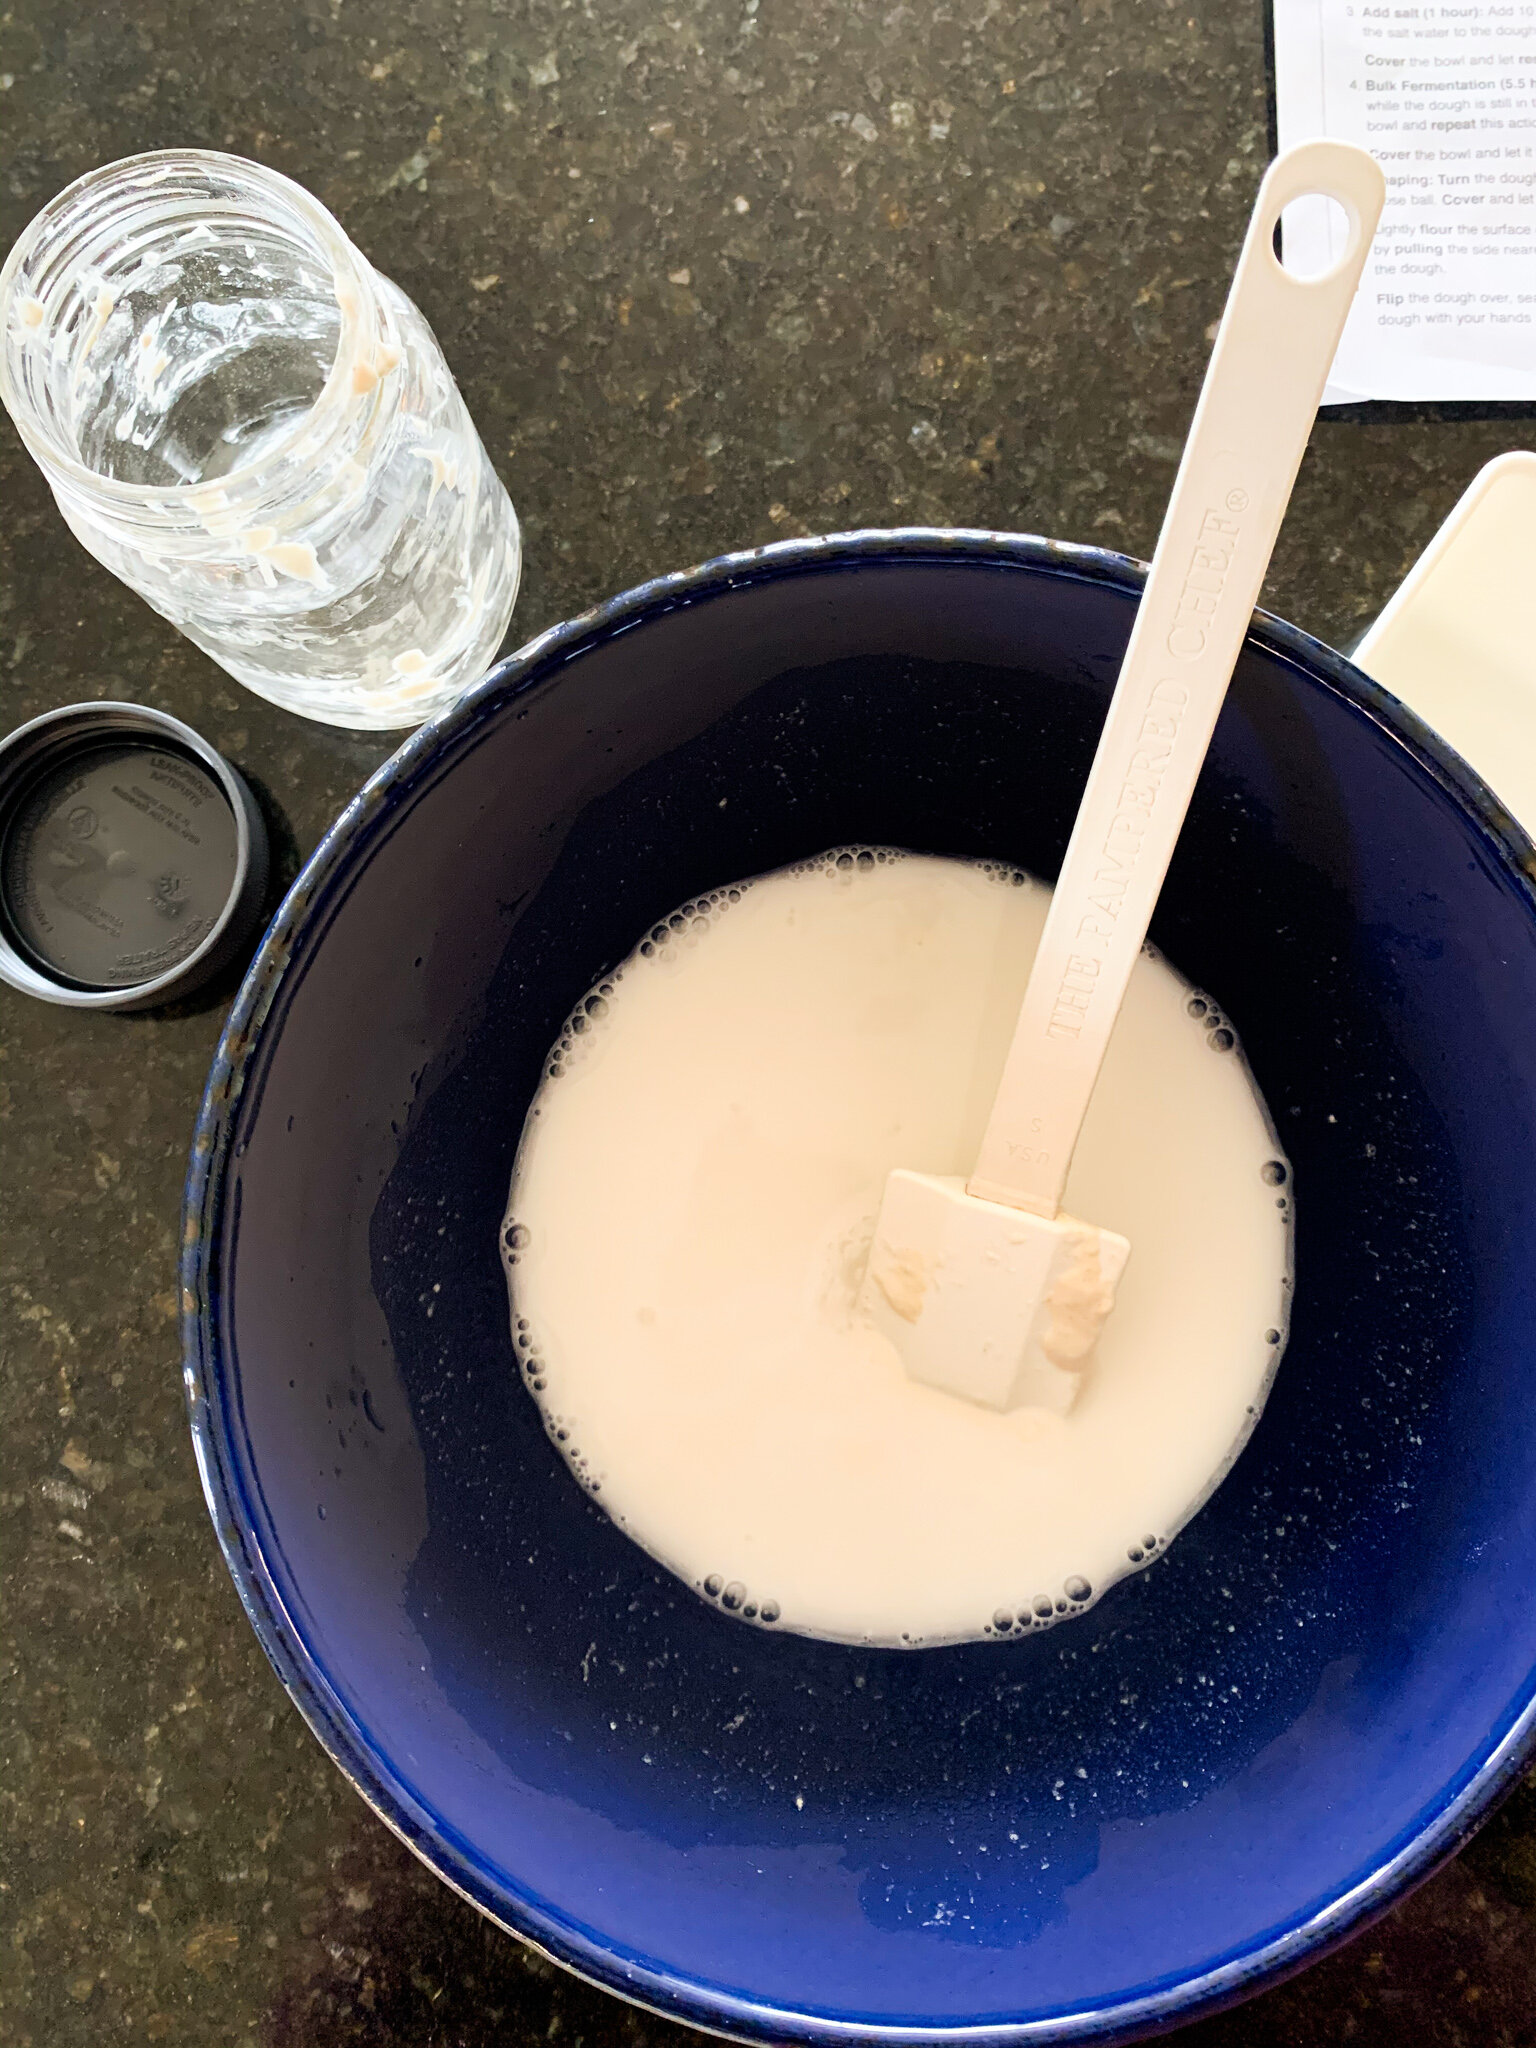
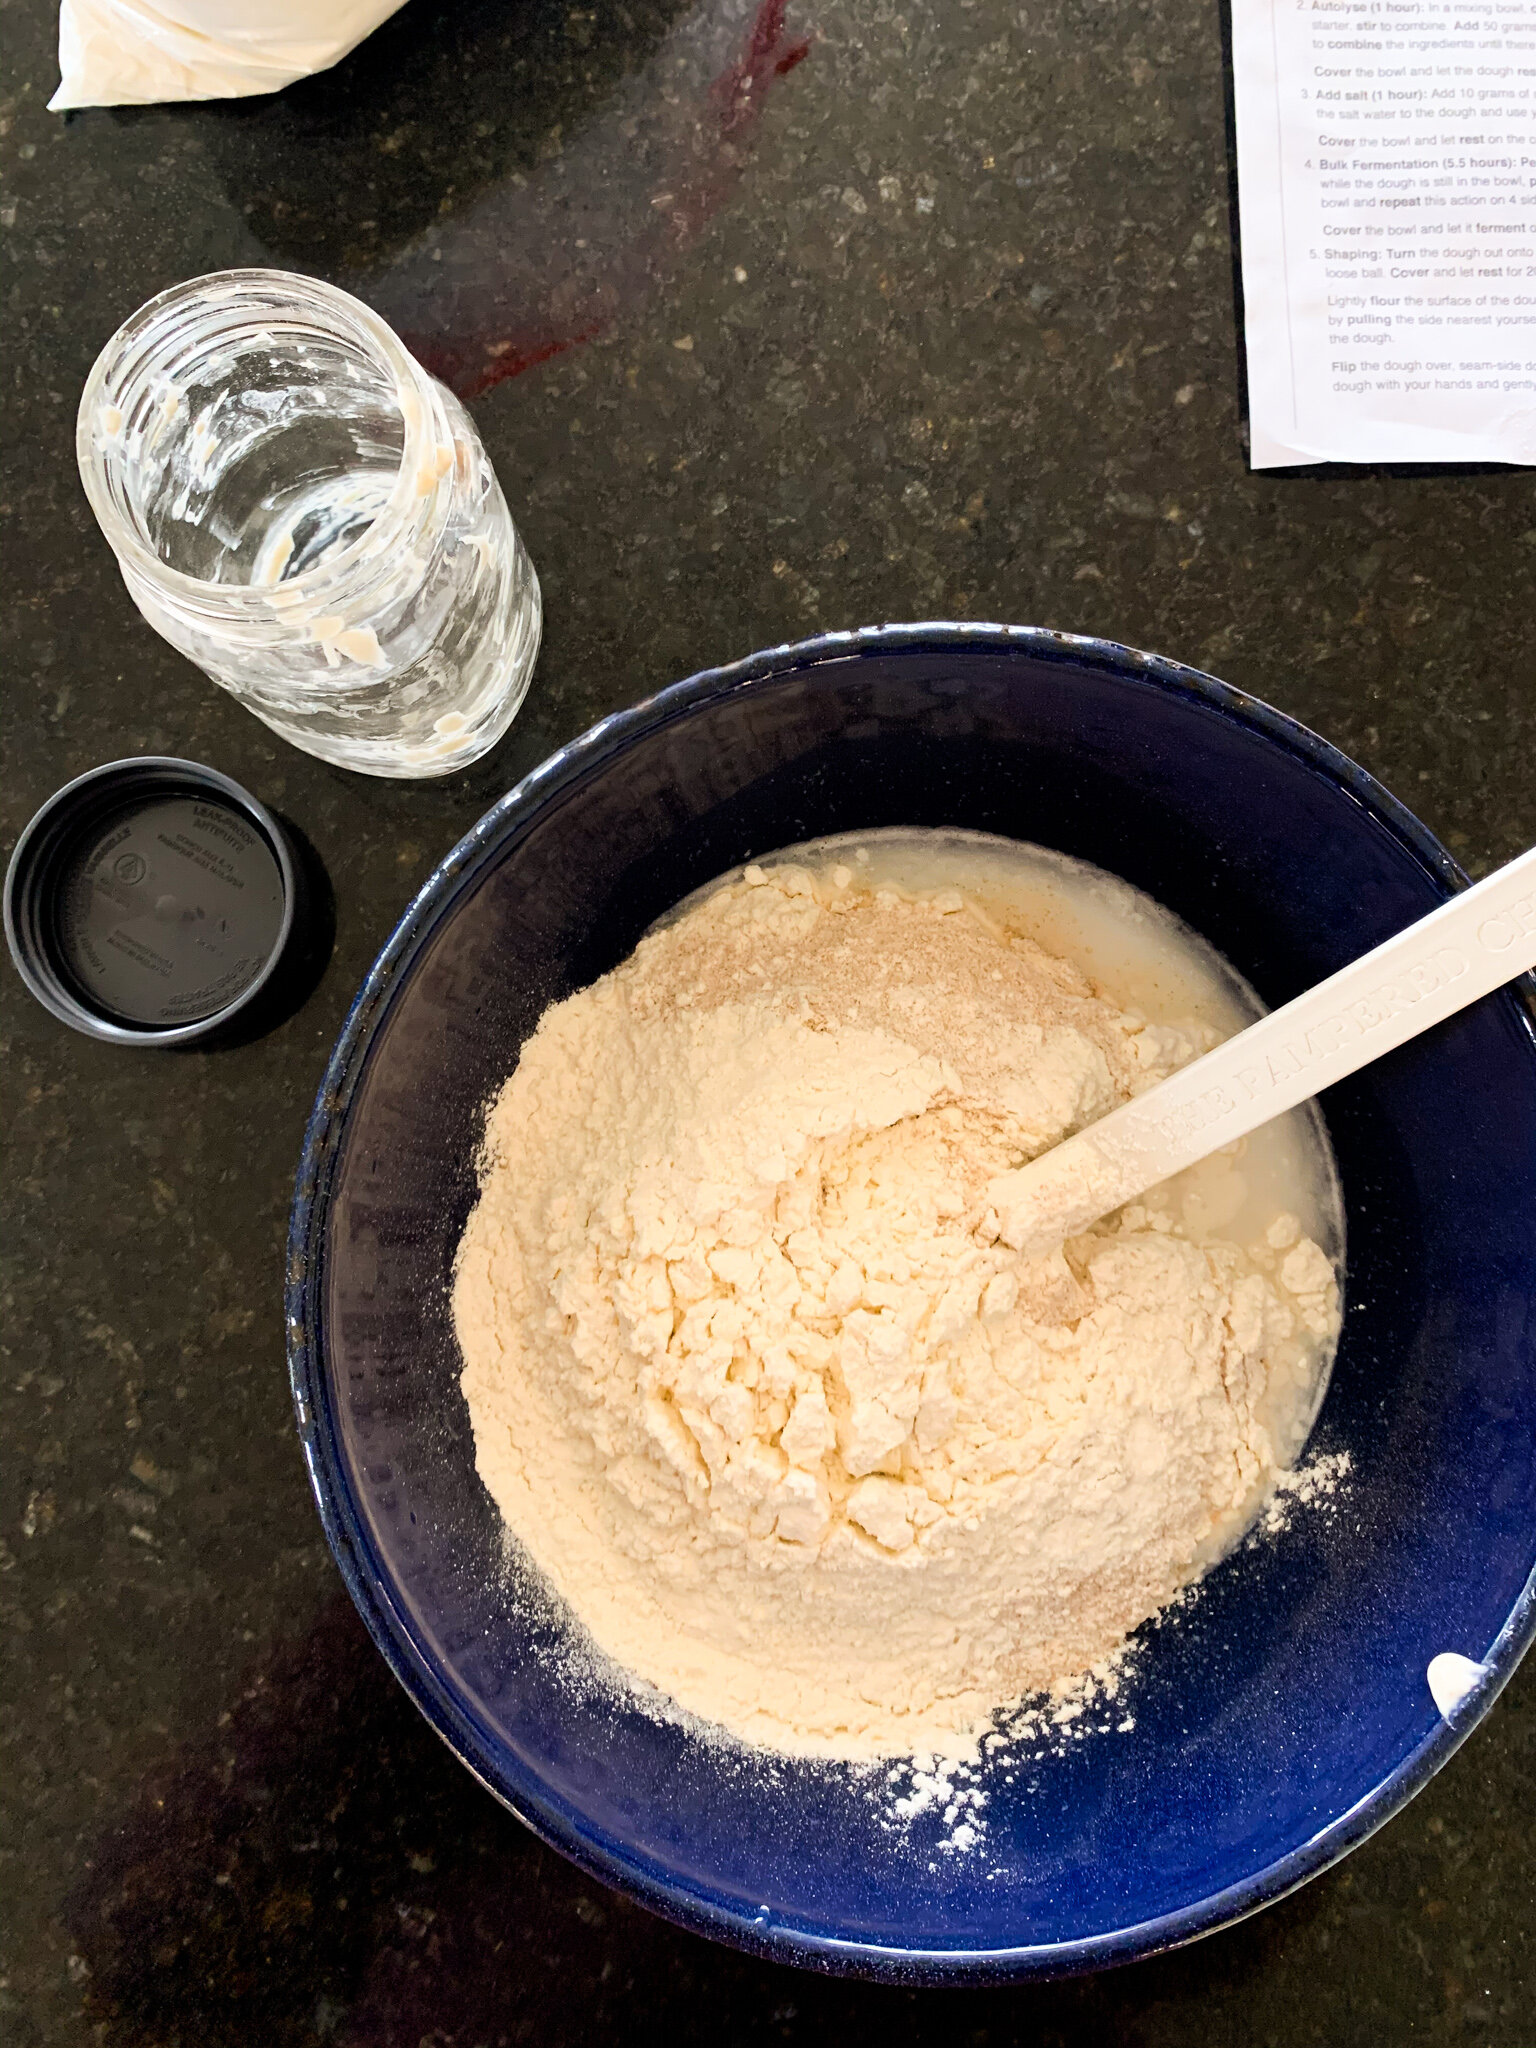
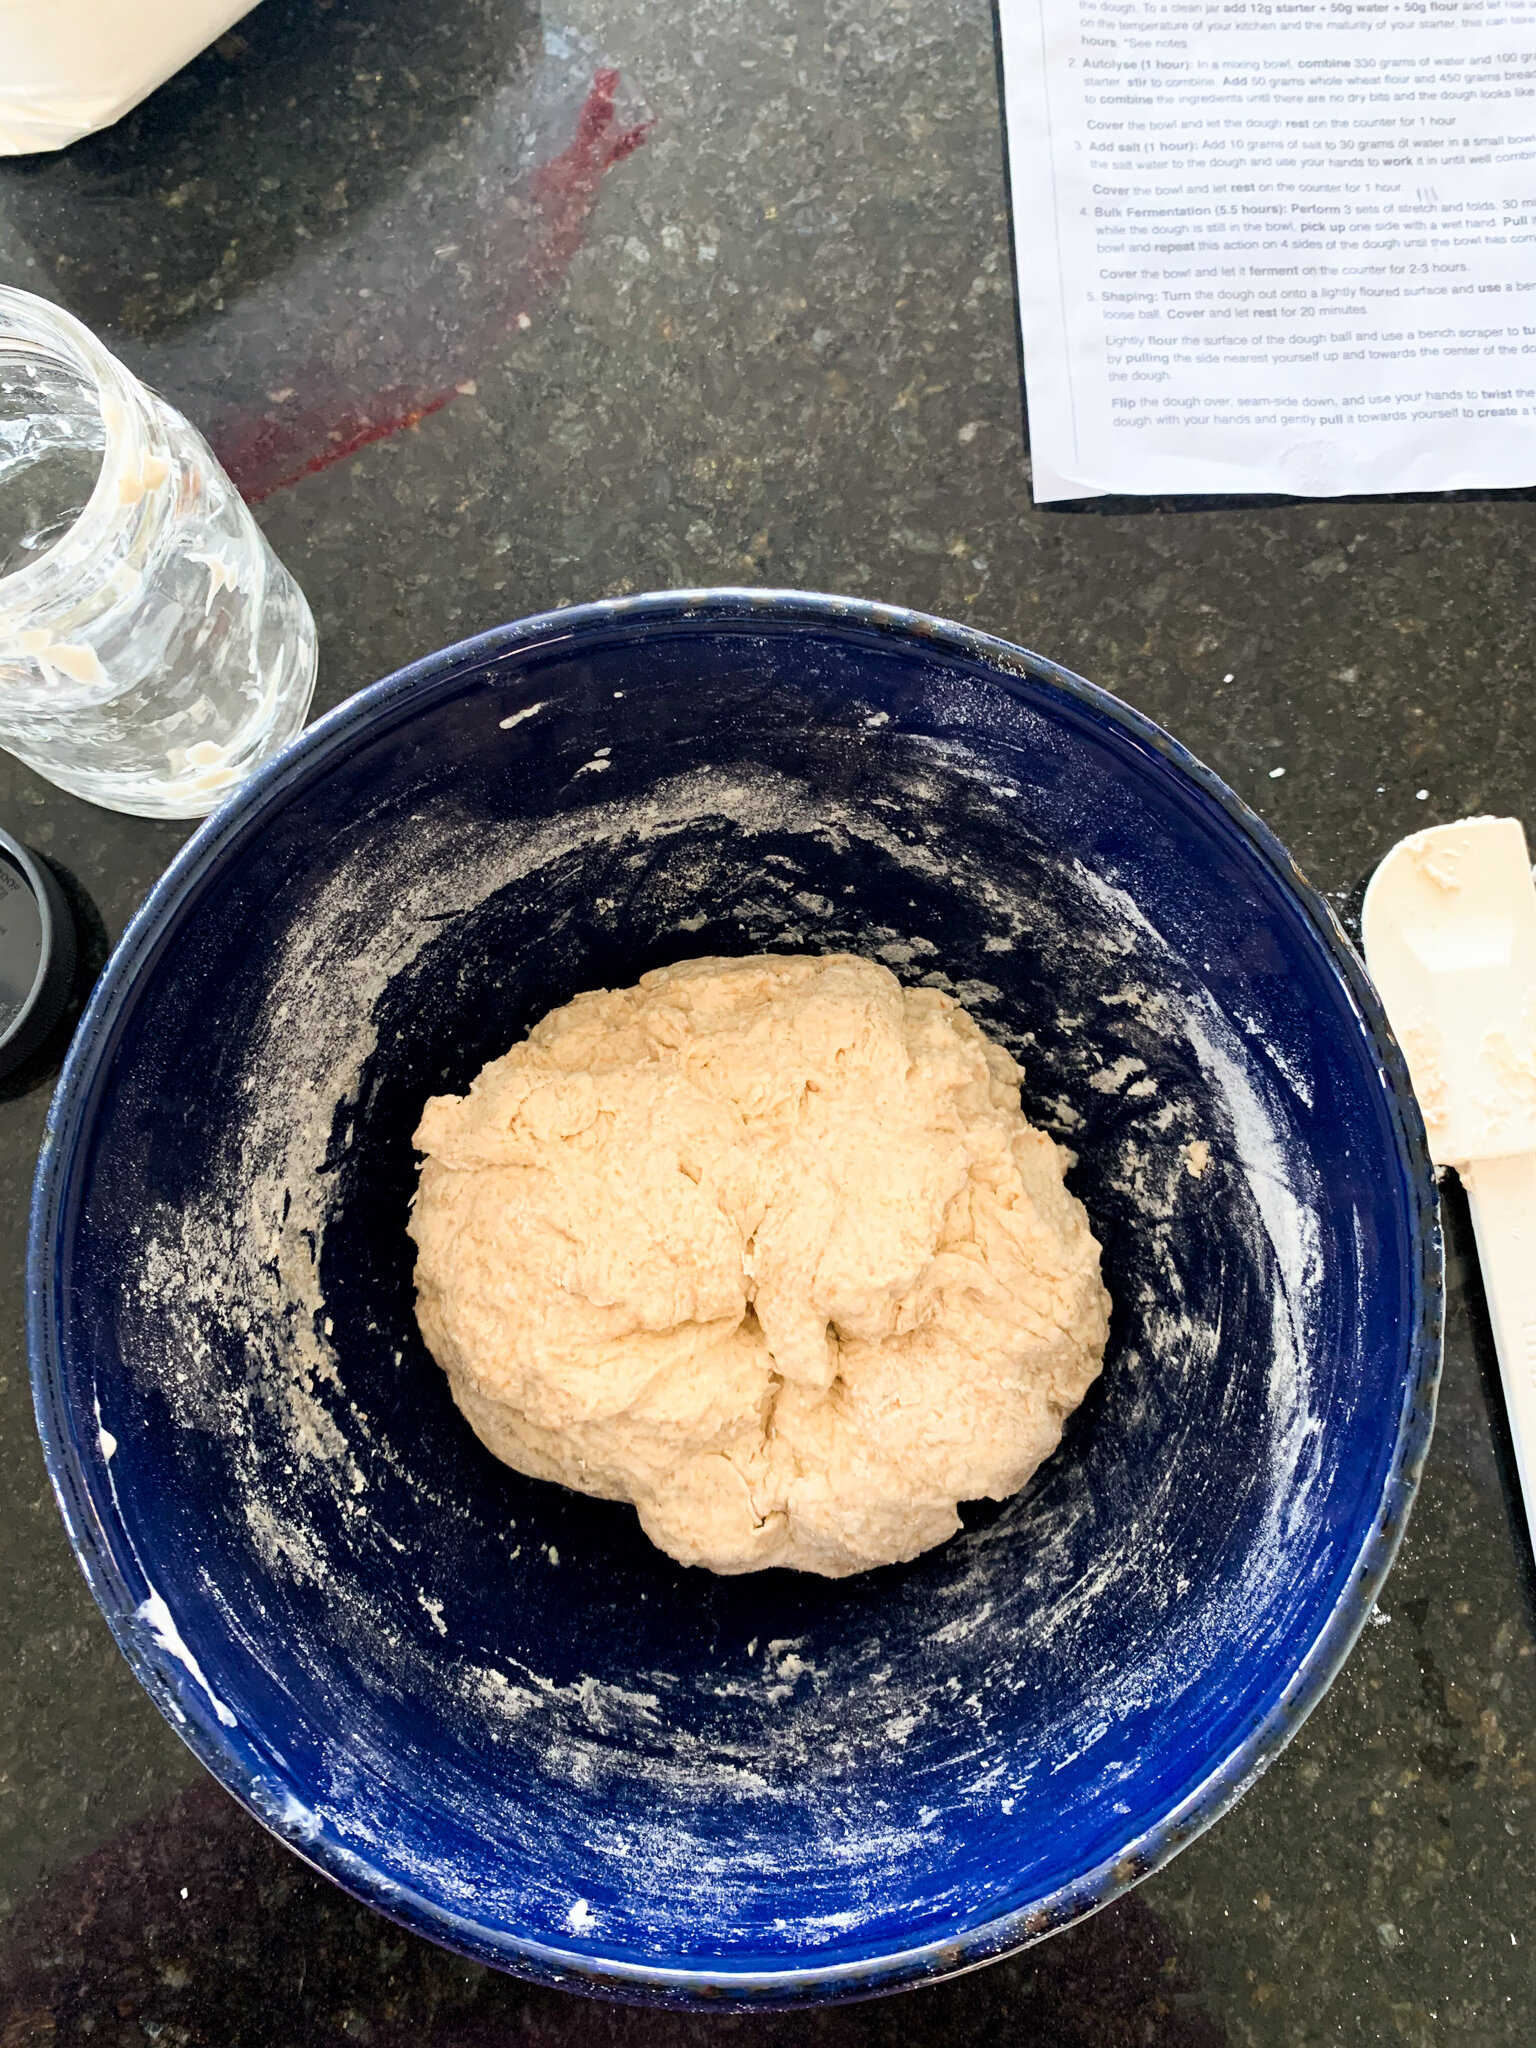
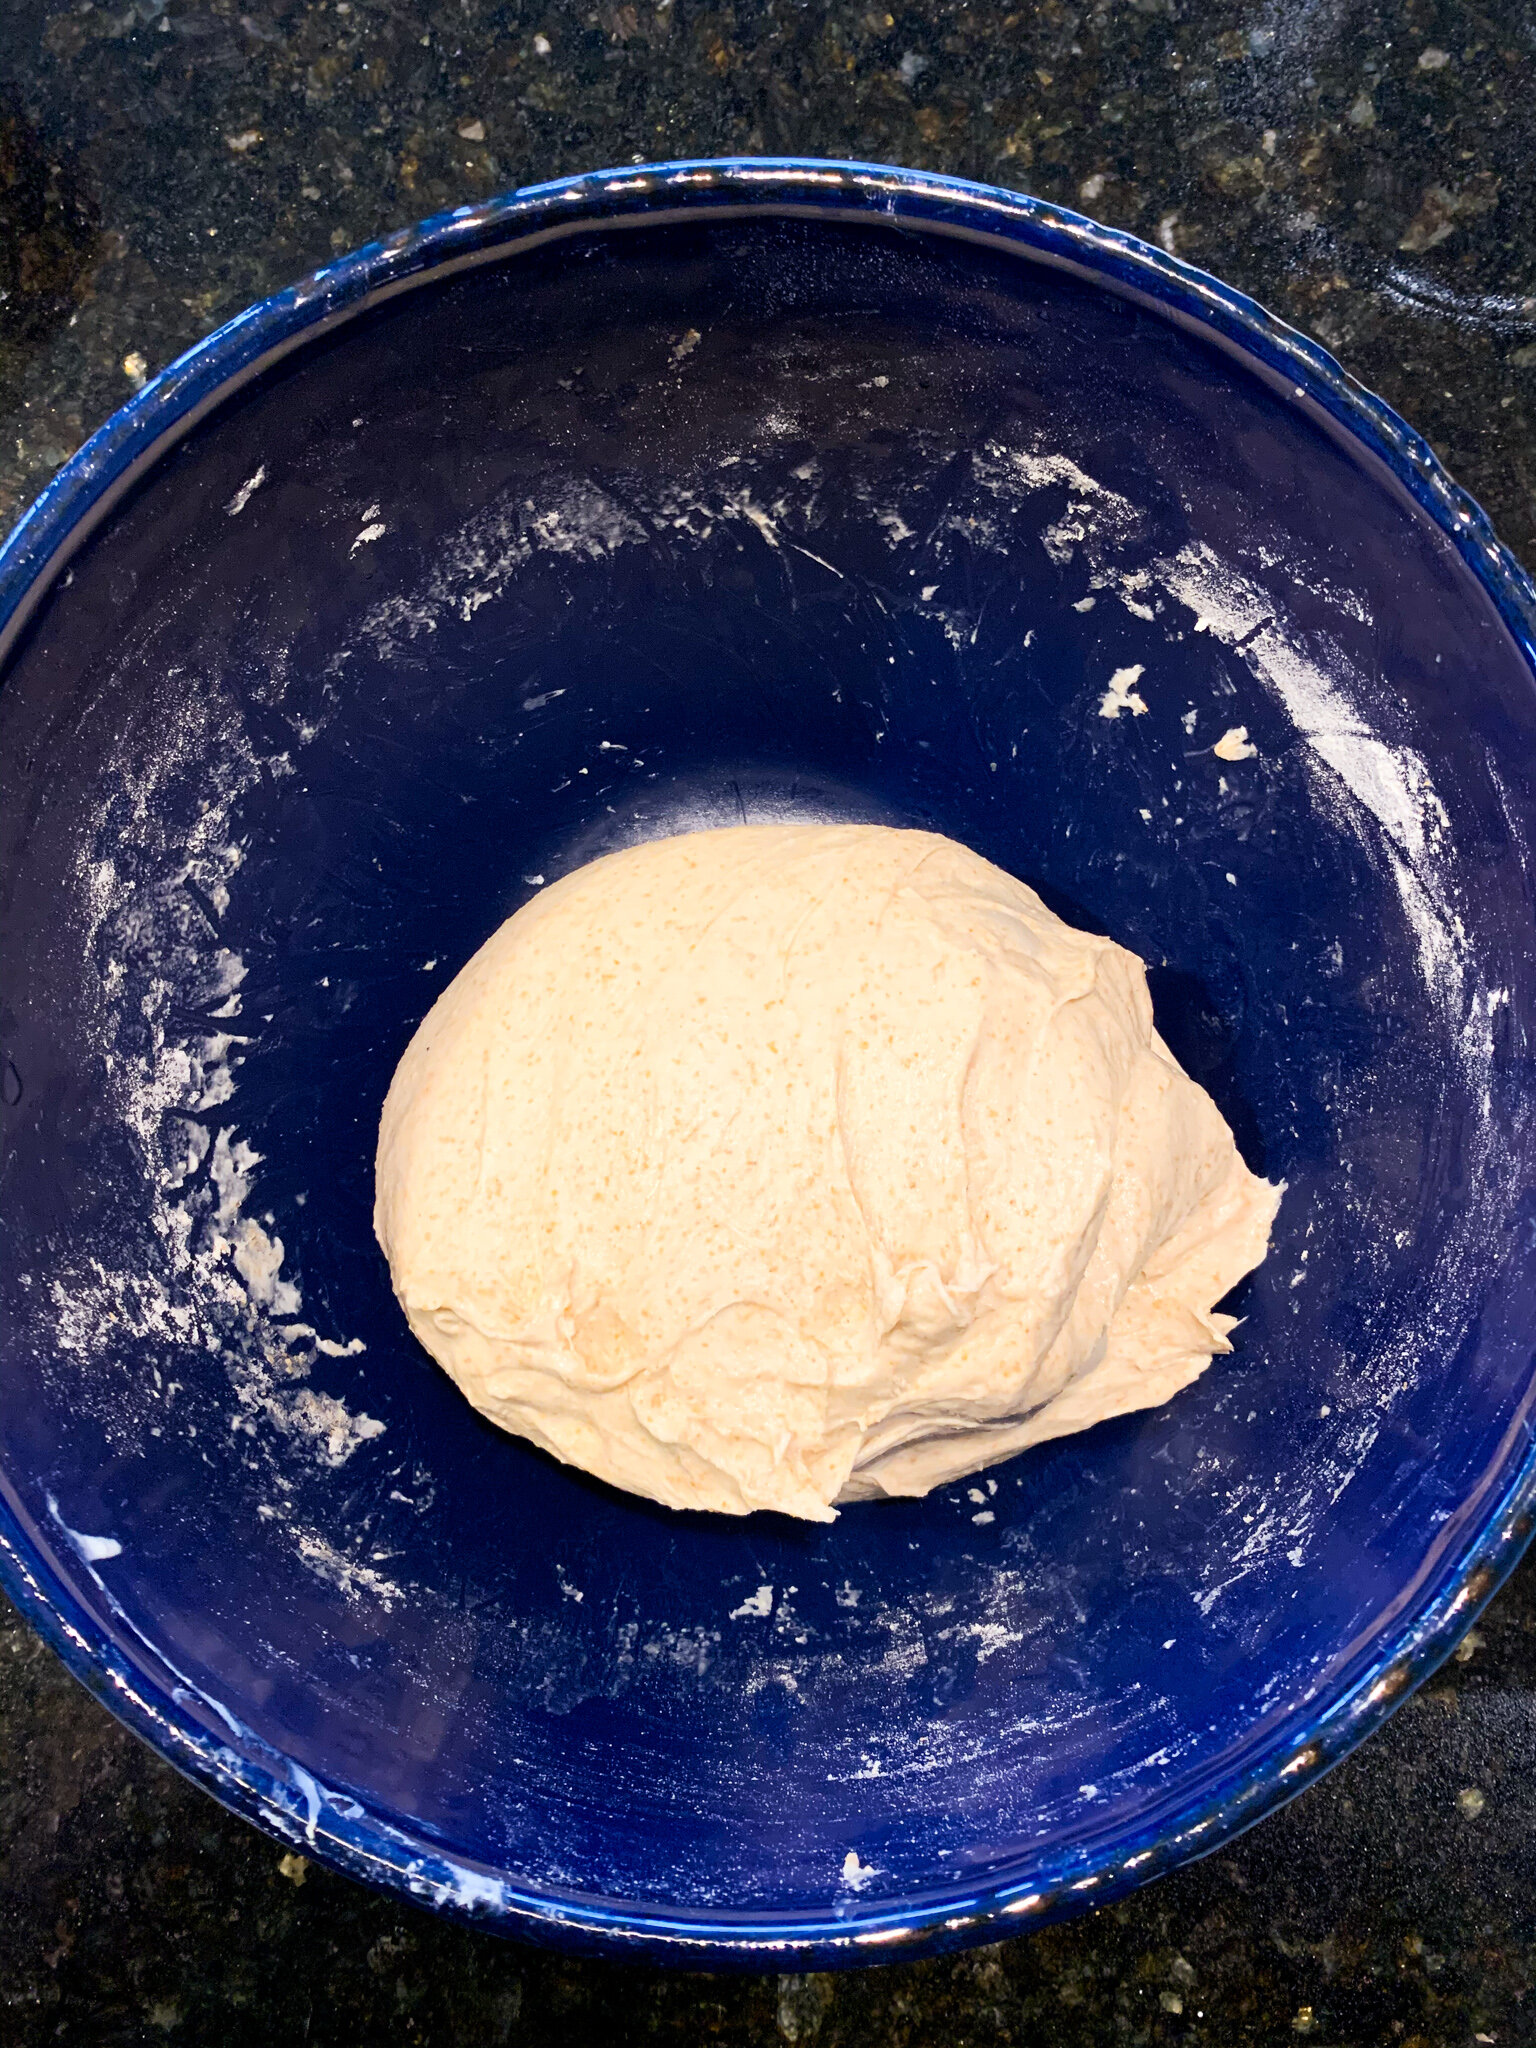
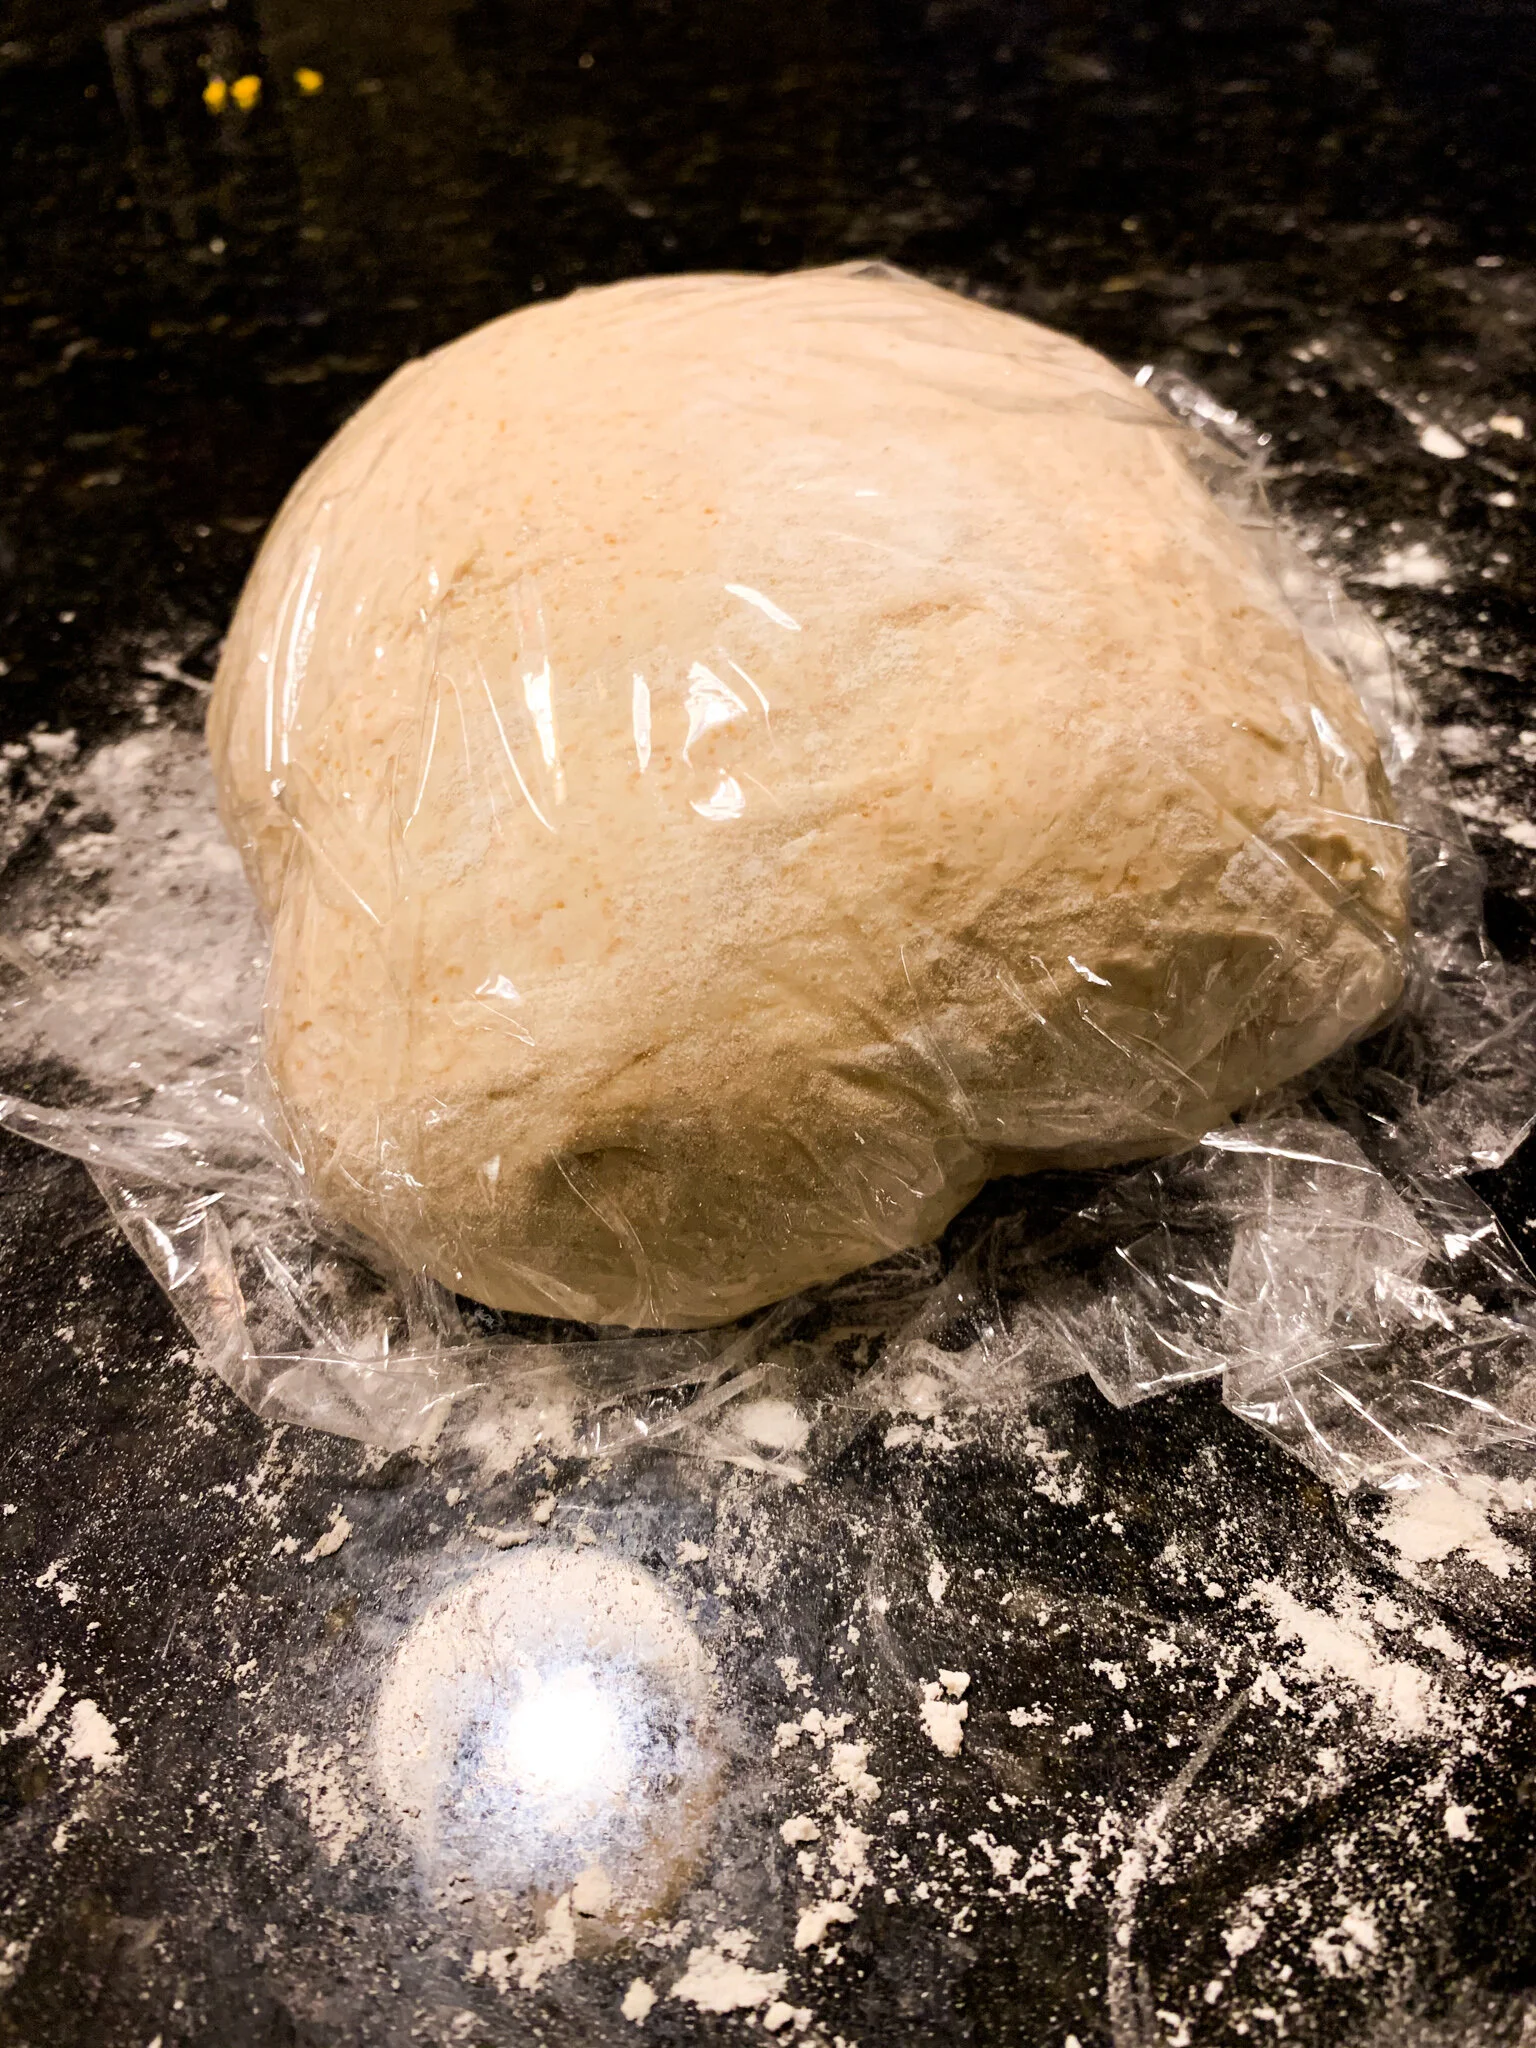
After 4-12 hours, the starter prep is mixed with water and flour to begin the autolyse stage. Scientifically speaking, this word is broken down into “auto” and “lysis”, which translates to the natural or automatic breakdown of something. In this case, it refers to the yeast in the starter prep feeding on the sugar from the starches in the flour, and an enzyme called protease breaking down some of the proteins in the flour. This recipes calls for 100 grams of the starter prep to be mixed with 330 grams of water and 500 total grams of flour - 450 grams of all-purpose and 50 grams of whole-wheat. After 1-2 times following this recipe exactly, I experimented with different ratios of flour. My favorite is 300-350 grams of all-purpose flour and 150-200 grams of whole-wheat flour. Once mixed into a shaggy dough, this sits at room temperature, covered, for 1 hour. To reduce waste, use a bowl with an attachable lid. Or, use a small square of plastic wrap - only what you need! - and save it to reuse throughout the entire process, rather than tearing off a new piece at each step.

In the meantime, stir together 30 grams of warm water and 10-15 grams of salt in a small bowl, and let the salt dissolve before it’s added to the dough in the next step. The recipes calls for 10 grams, but I’ve added up to 15 and found it didn’t make much of a difference in the saltiness or texture of the loaf.

Salt

After one hour, the 30 grams of water + 10-15 grams of salt is added to the dough. At first, the dough will feel tough and stiff, and you’ll need to sort of poke or pinch the salt water into the dough. It makes that mushy-gushy sound that some equate to nails on a chalkboard, but I equate to bowls of mac n’ cheese from my childhood, so I enjoy it. If you hate it, well, it must be endured here because that salt water has got to well-incorporated.

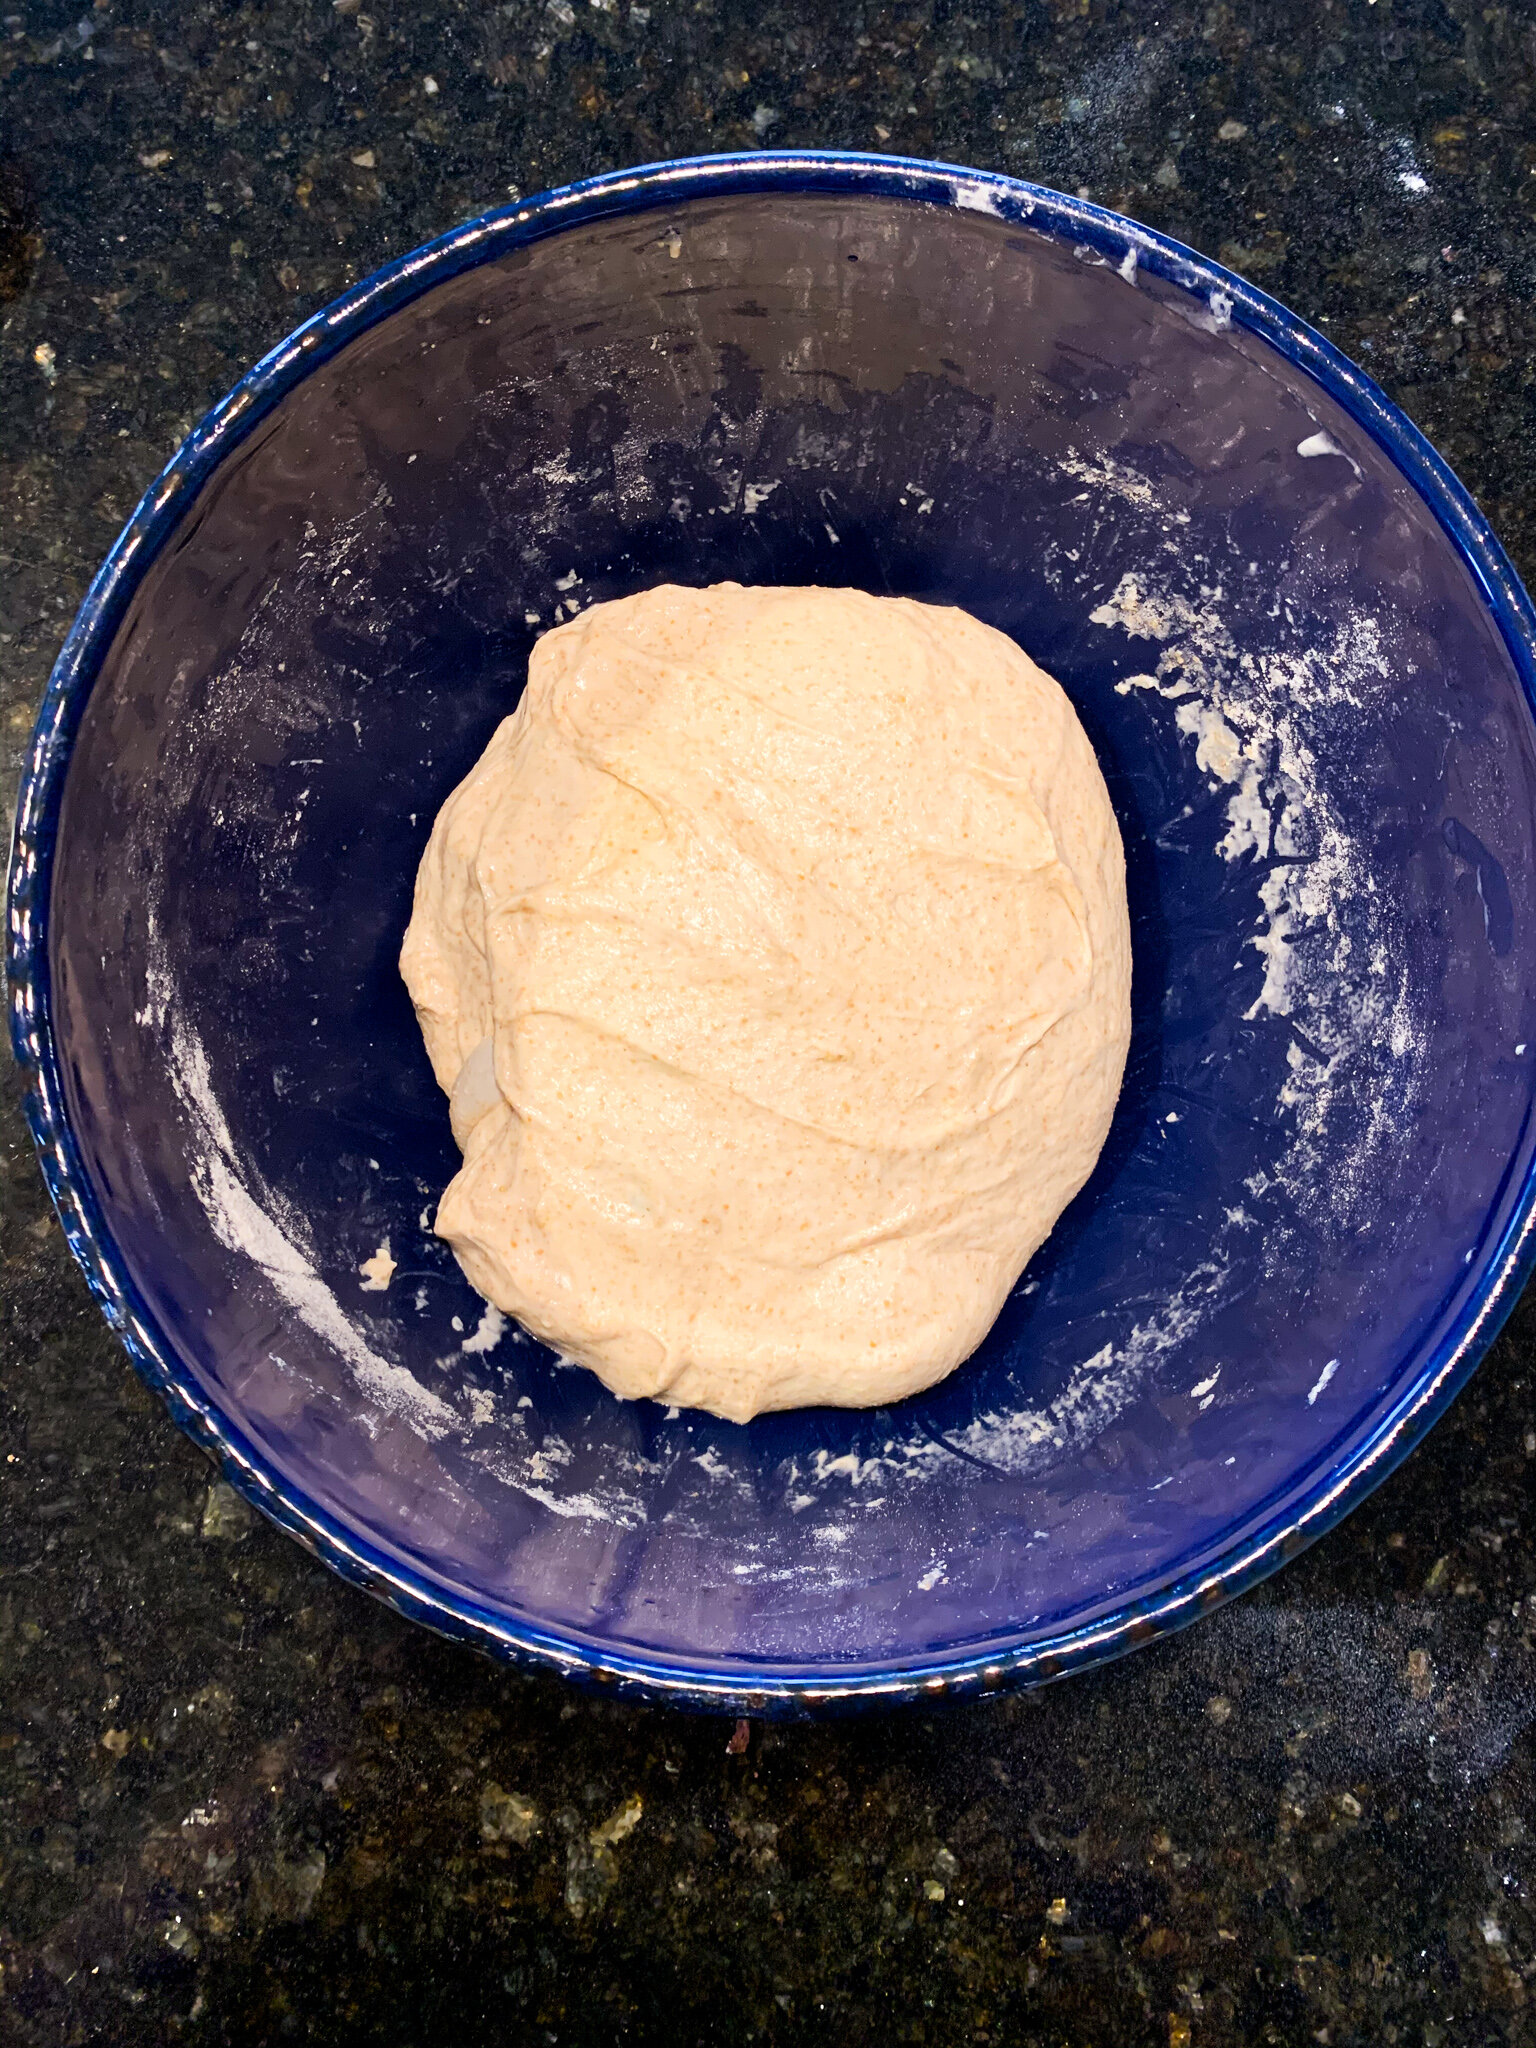
Once the dough is smooth, cover it again and let it rest at room temperature for another hour.

Bulk Fermentation

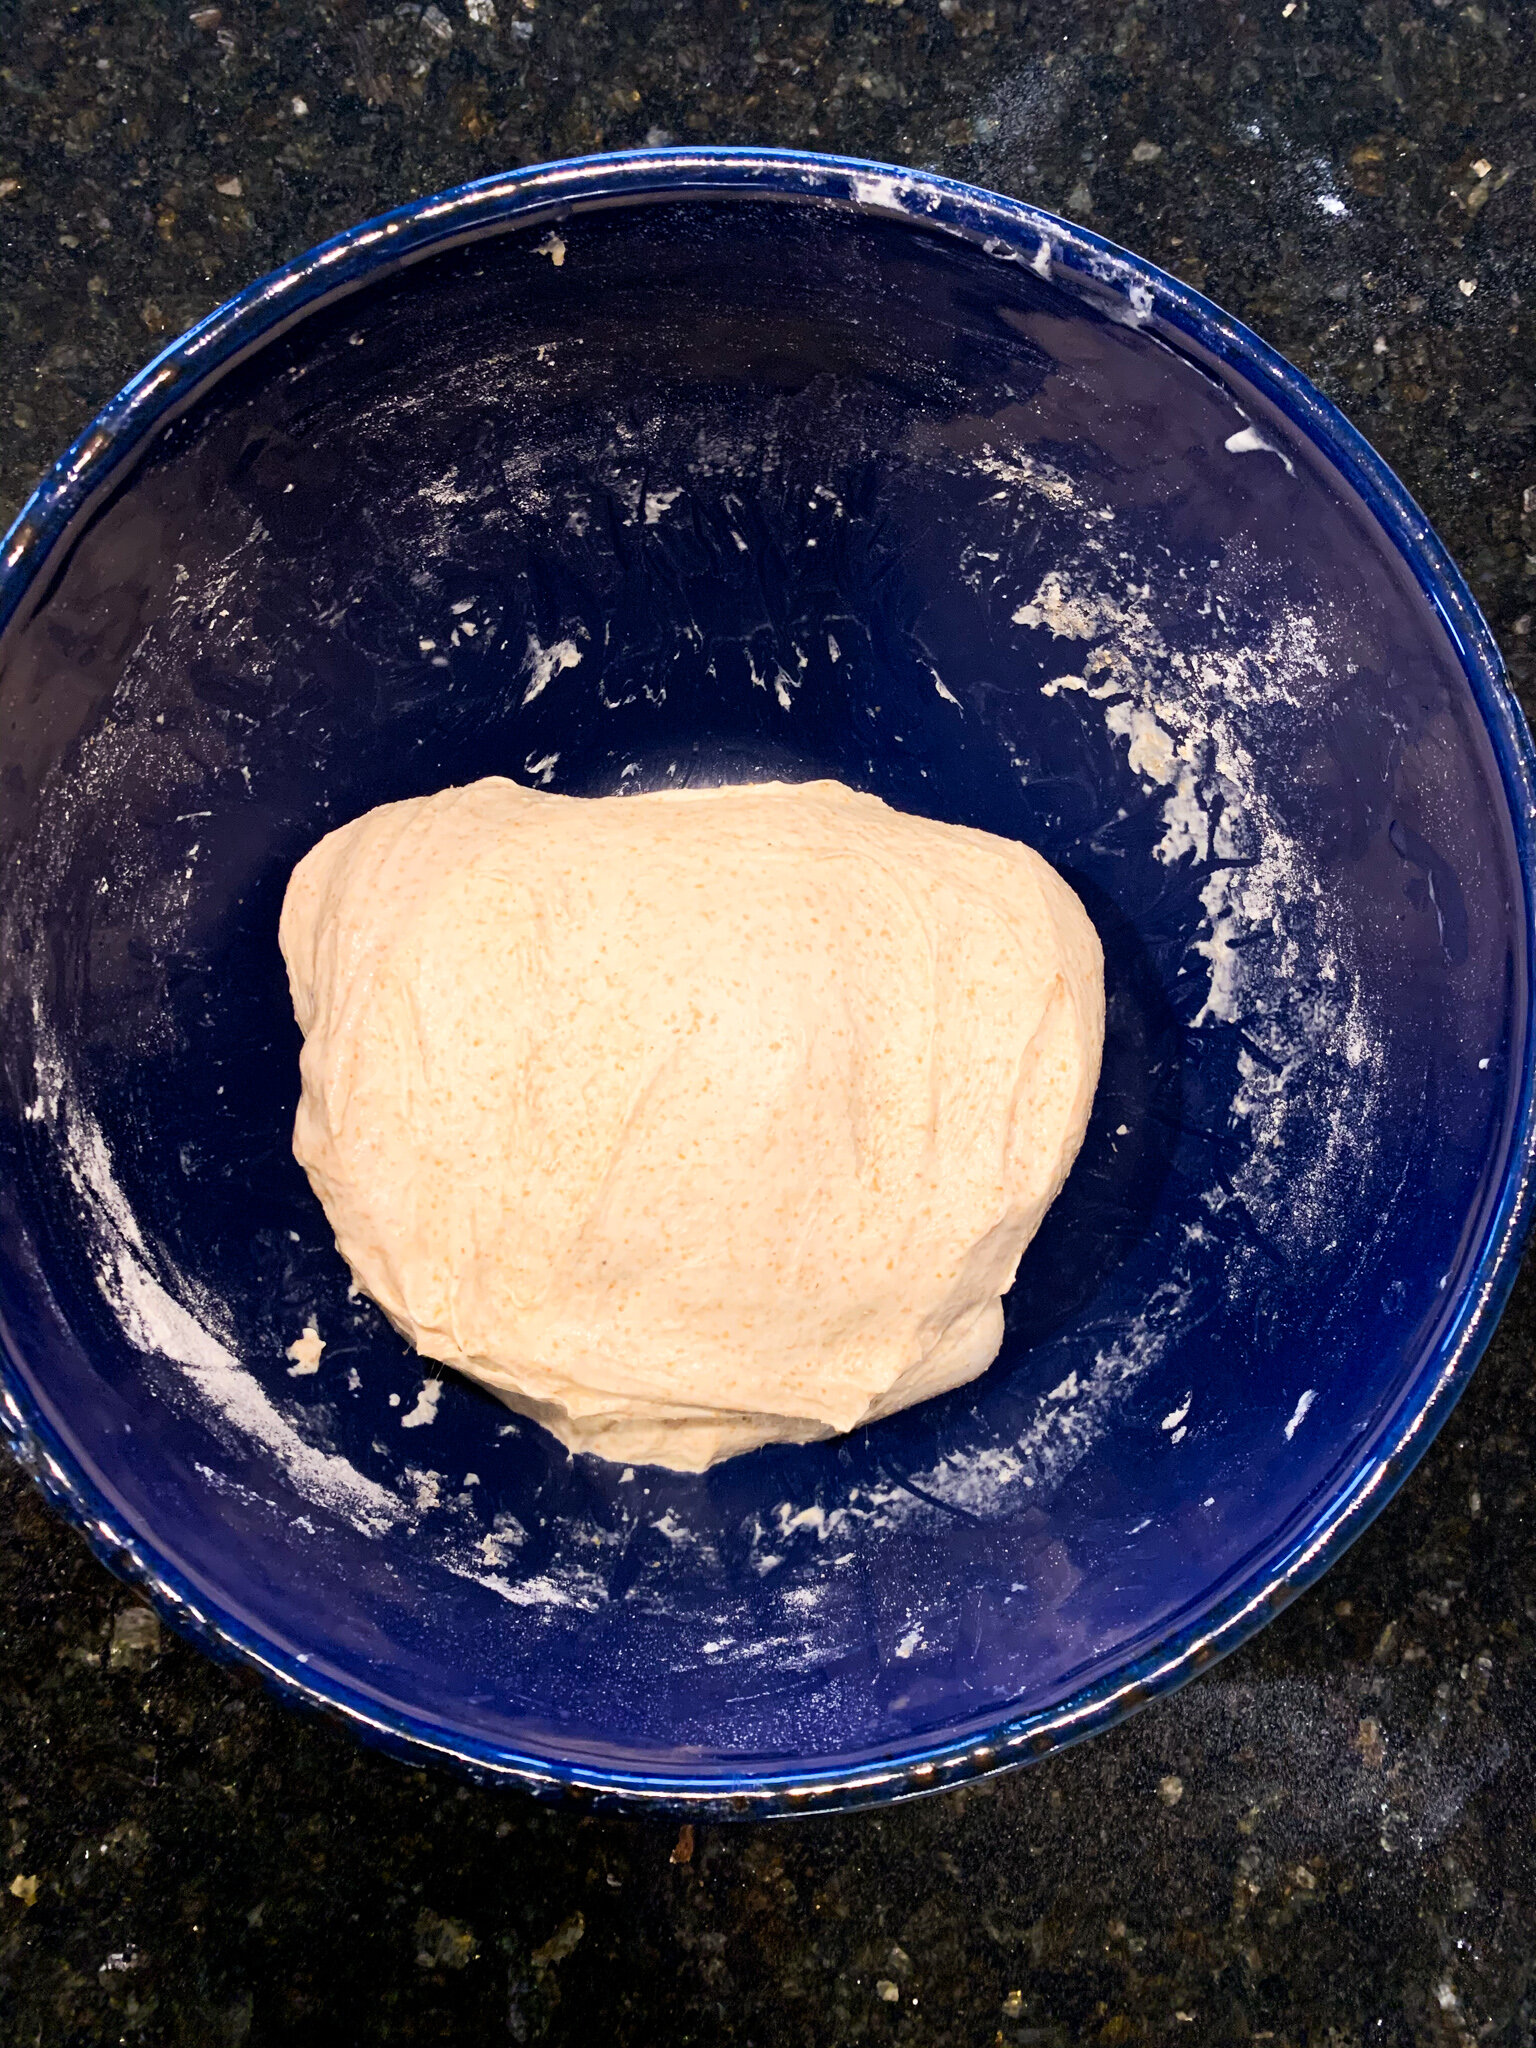
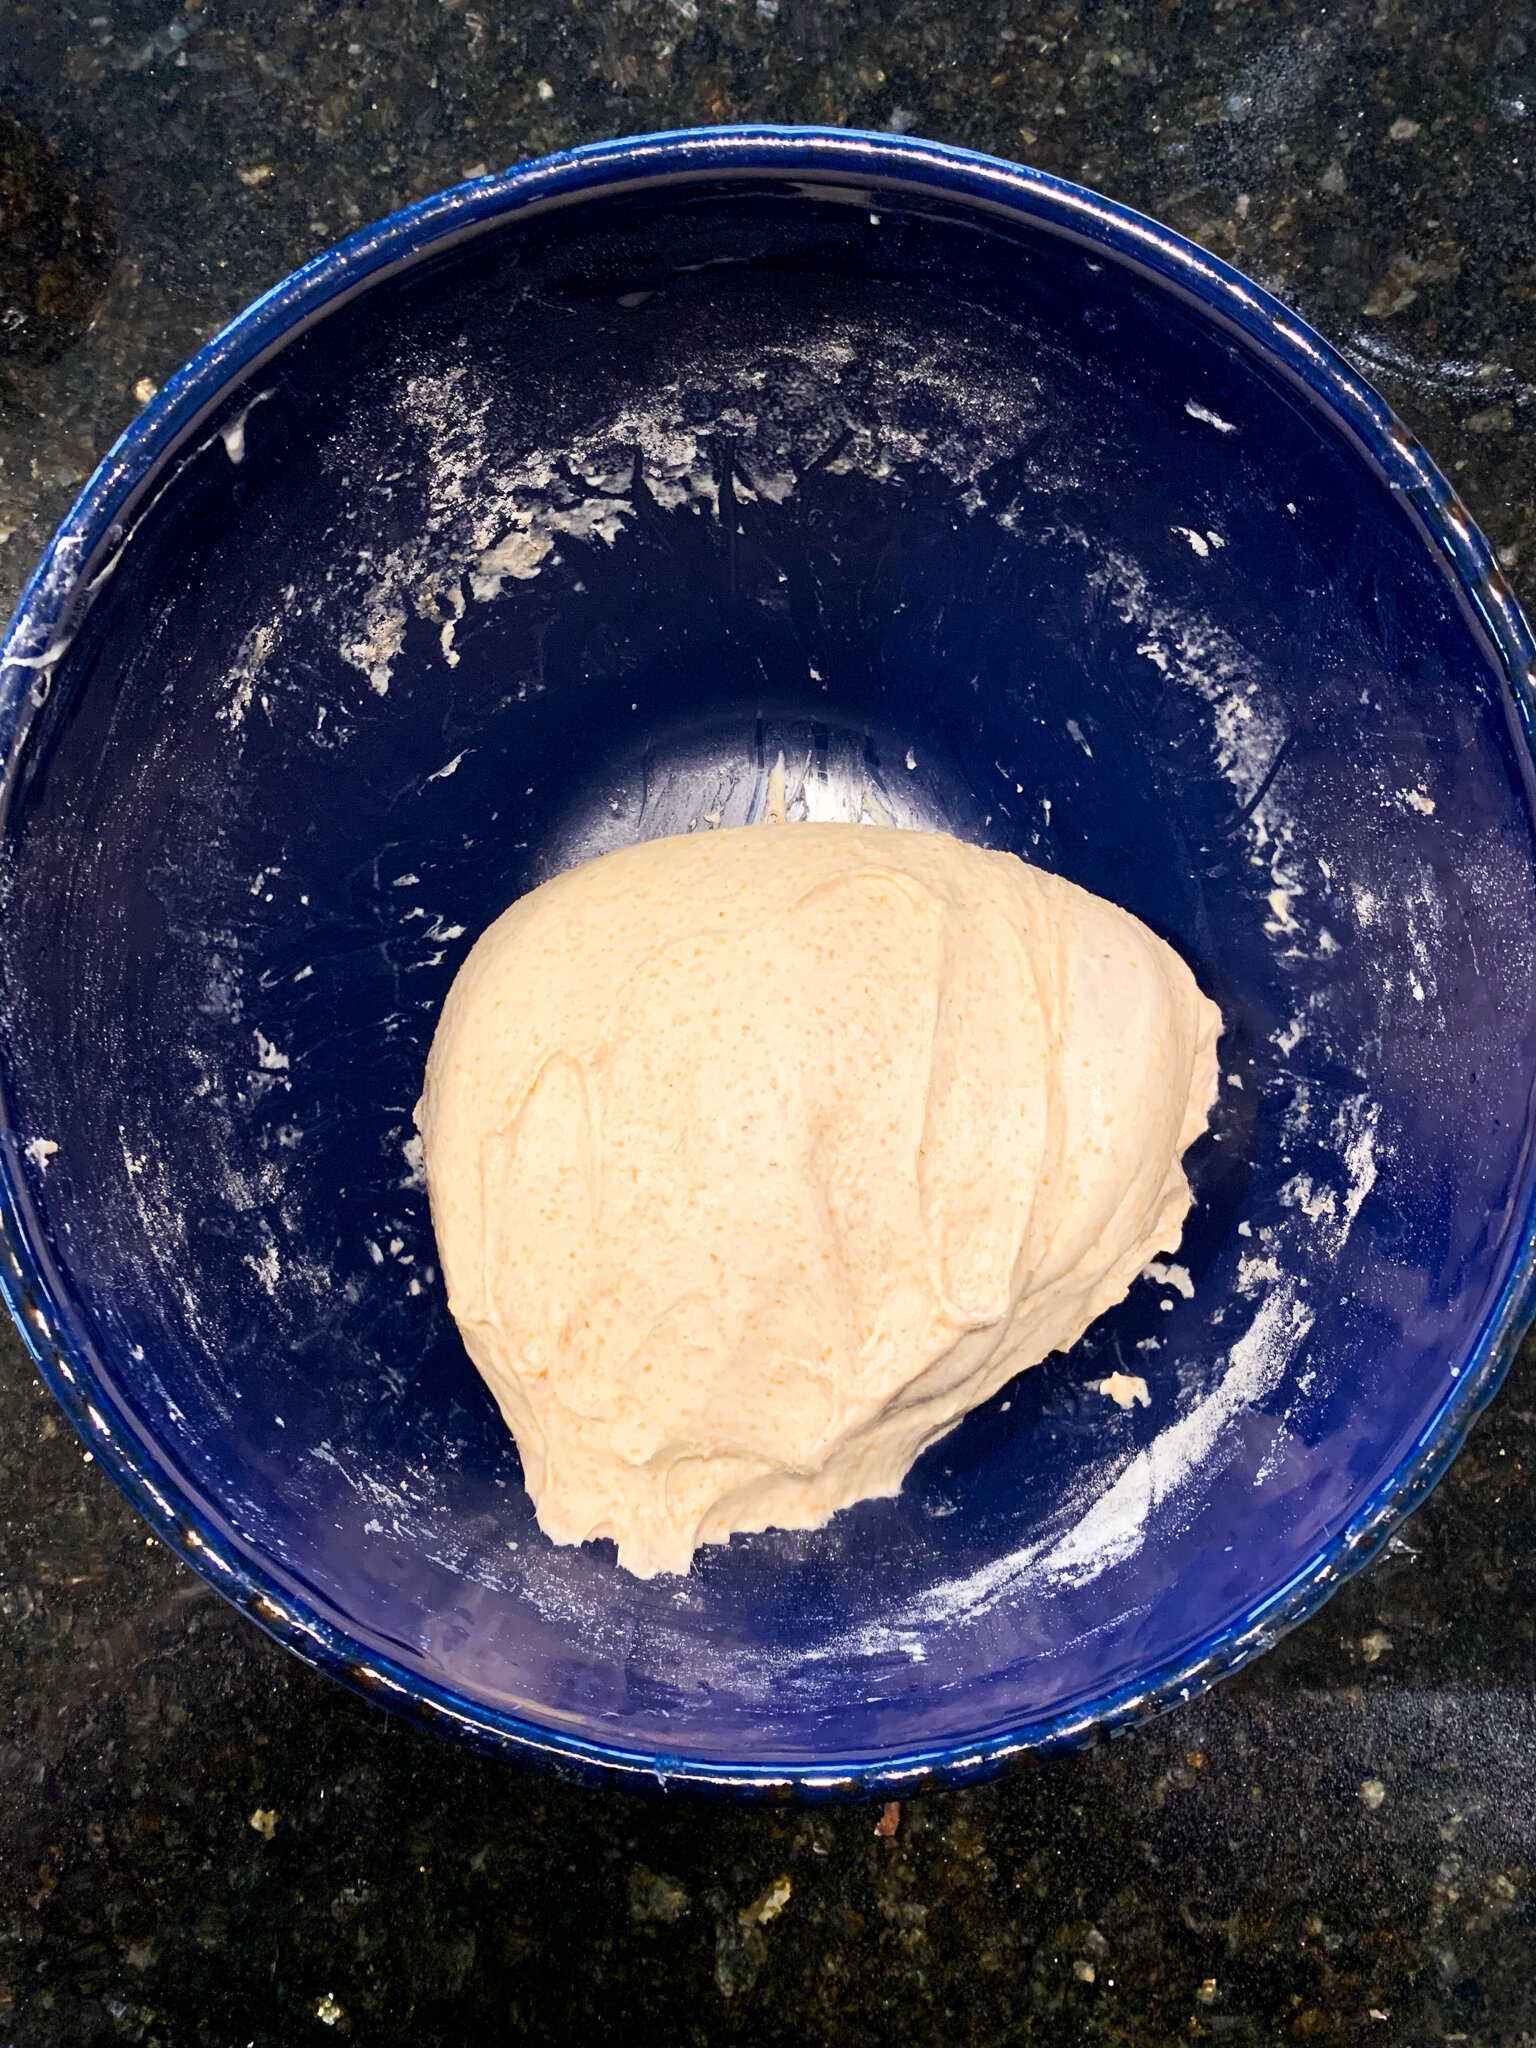
Second to slicing the finished loaf open and slathering a piece with butter, this is my favorite part! Bulk fermentation is the first fermentation process in bread-making. At this very important stage, we’ve finished mixing the dough and, from here on out, all we’ll really be doing is folding and lightly shaping the dough. To begin folding, gently pull the dough up at one side and fold it over. Turn the bowl 90 degrees, pull the dough up at the next side, fold it over, and repeat this two more times. Perform three sets of four folds, as described, 30 minutes apart. Between each set of folds, cover the dough and let it sit at room temperature. Watch Amy’s video on this recipe for a better visual of what this looks like. With each fold, the dough will tighten and make it more difficult to pull it up and fold it over, so don’t worry if the first fold is more complete the third or fourth in each set, or from the first set to the third set.

After the final set of folds, cover the dough and it let sit at room temperature for 2-3 hours.

Shape and Second Rise

Now, we’re onto the first shape and the second rise. If you have a bench scraper, great! You’ll be using it here. If not, your hands will work just fine (that’s what I use). Turn the dough out onto a lightly floured surface and shape it into a round. This may sound a little vague, so you can watch Amy’s video to see how she does it, or just do as I do - gently pull the edges down and underneath until the dough is round and smooth. It doesn’t need to be perfect, as this is only the first shape. Cover and let it sit on the counter for 20-30 minutes.

For the second shape, you’ll work the dough similarly to how you did in the bulk fermentation. Gently pull one side of the dough up and fold it over on top of the dough. Turn the dough 90 degrees, or just grab from another edge if you can imagine the dough being a square, and repeat until all 4 edges have been folded over. You’ll notice what looks like a seam where all the edges have been folded over, and now you’ll flip the dough over so that seam is underneath and the smooth part of the dough is on top. Gently tuck the dough underneath itself by using your hands to push it away an inch or 2 and pull it towards you an inch or 2. Soon, you’ll notice the smooth top tightening and smoothing even more than before. This is helping to form the crust.

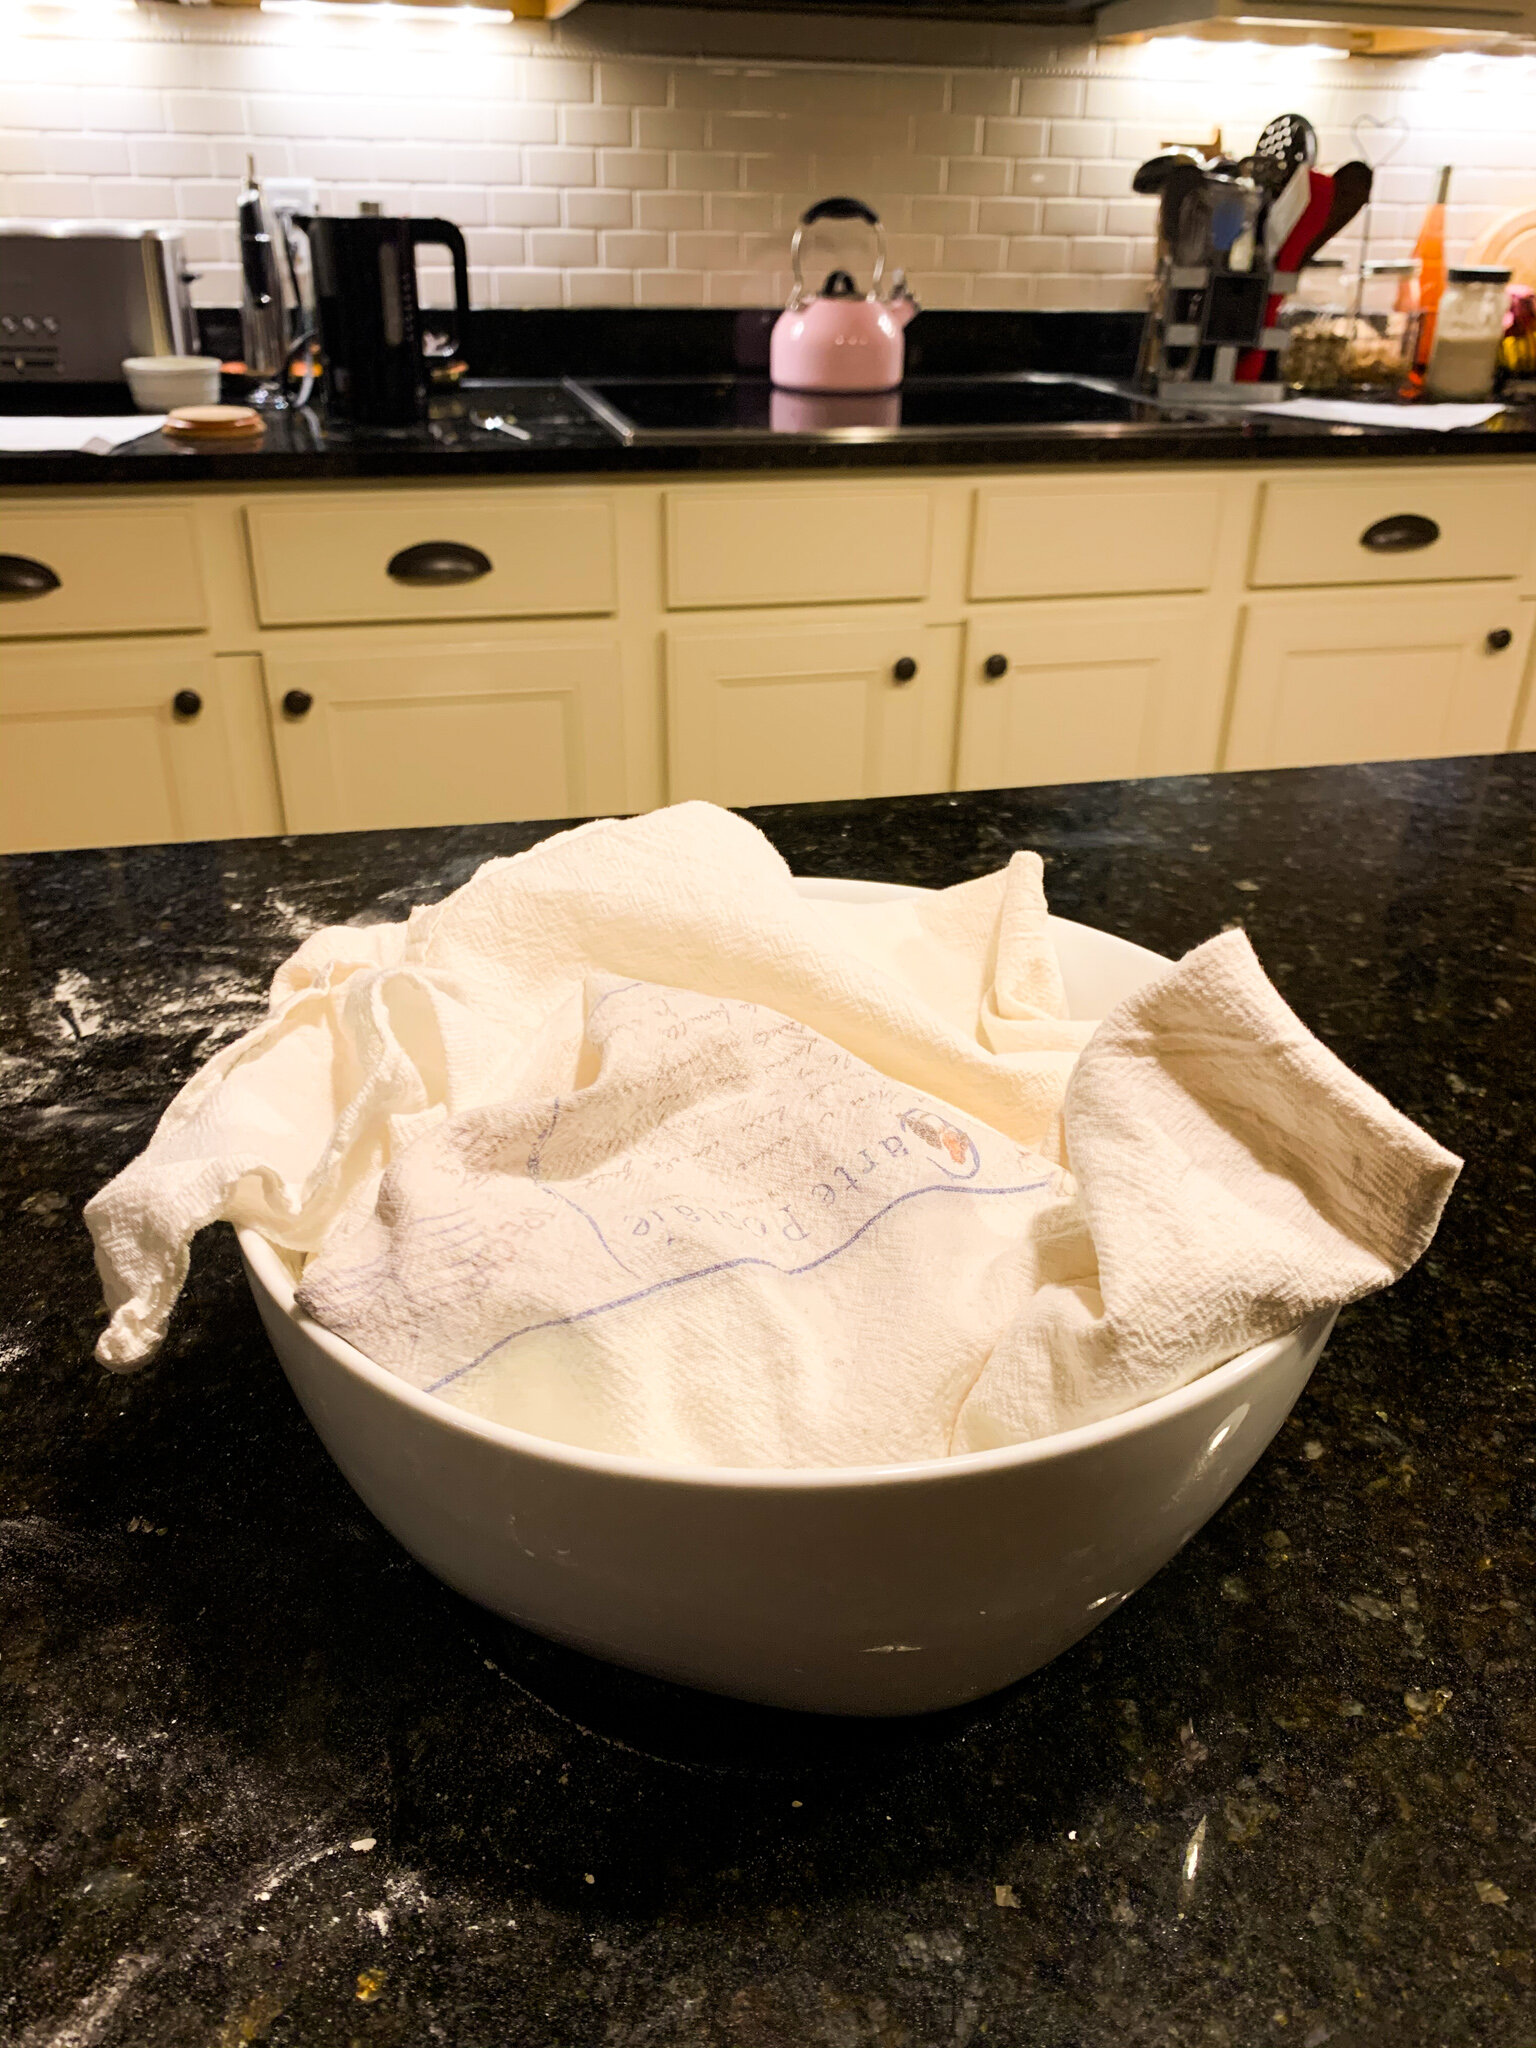
If you have a bread proofing basket, wonderful! You’ll be using it here. If not, grab a 100% cotton towel and a large bowl. Lay the towel flat on the counter and dust it heavily - heavily - with flour. I try to rub the flour into the towel to make sure the dough doesn’t absorb it all as it rests overnight and then stick to the towel in the morning when you go to bake it. I’ve had that happen to me before, and I learned quickly how important a well-floured towel is. Transfer the dough round to the towel, seam-side up. Cover the dough round with the plastic wrap that you have hopefully saved from earlier and then loosely wrap the towel around the dough. Place the wrapped dough into the bowl and then into the fridge to rest overnight or up to 36 hours.

Score and Bake

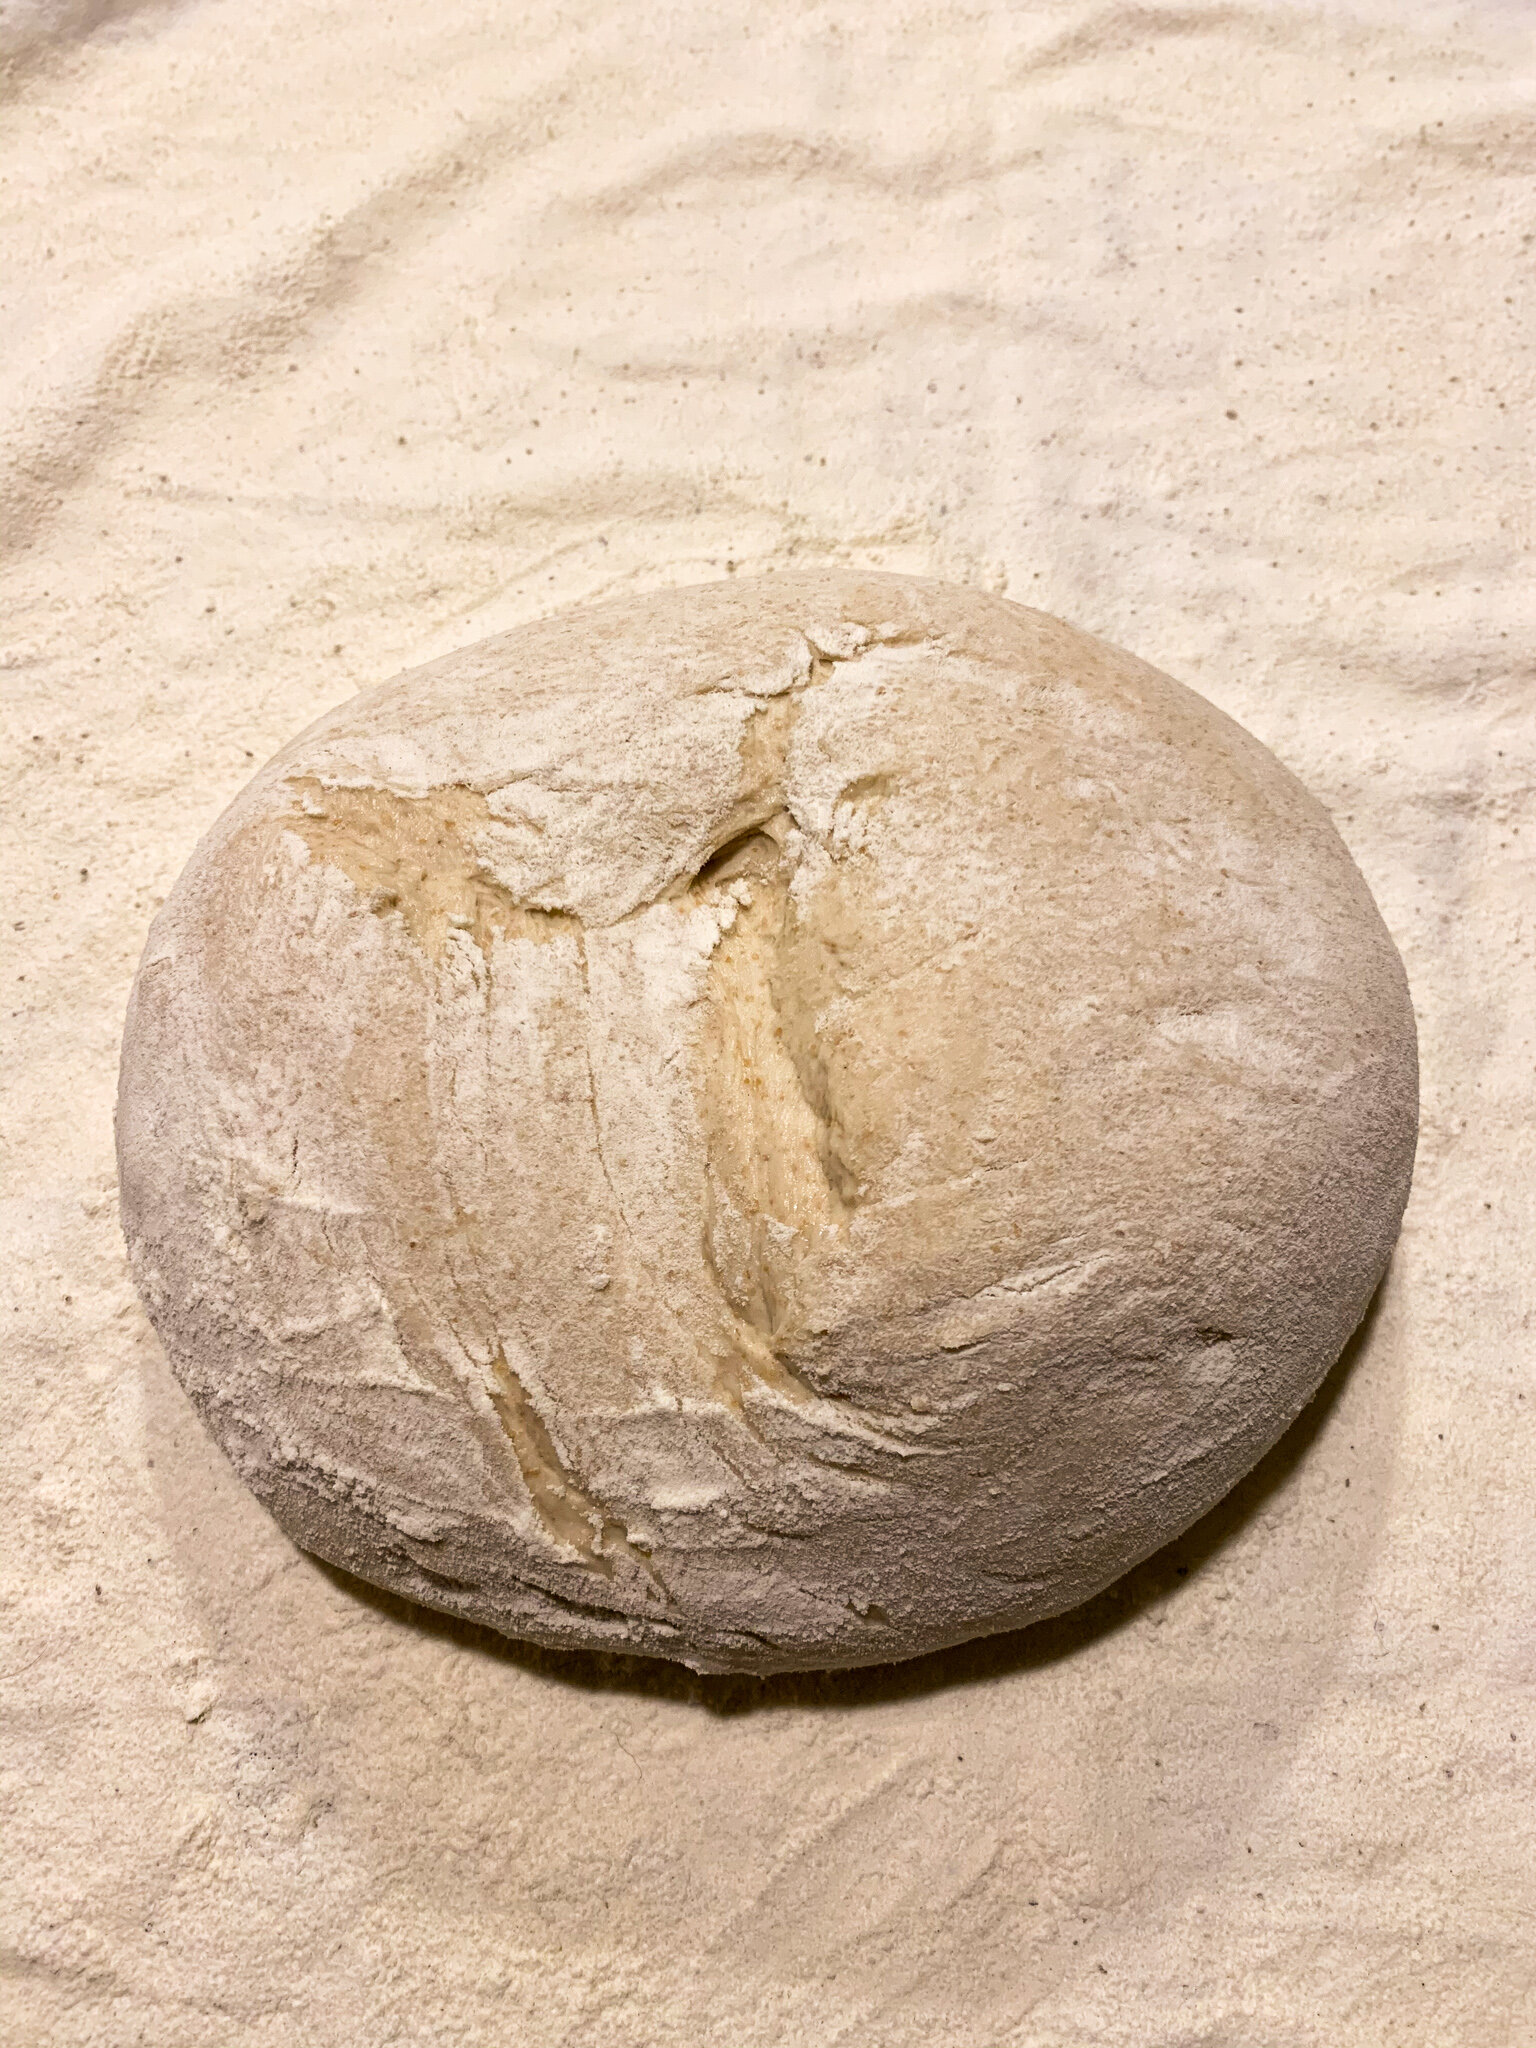
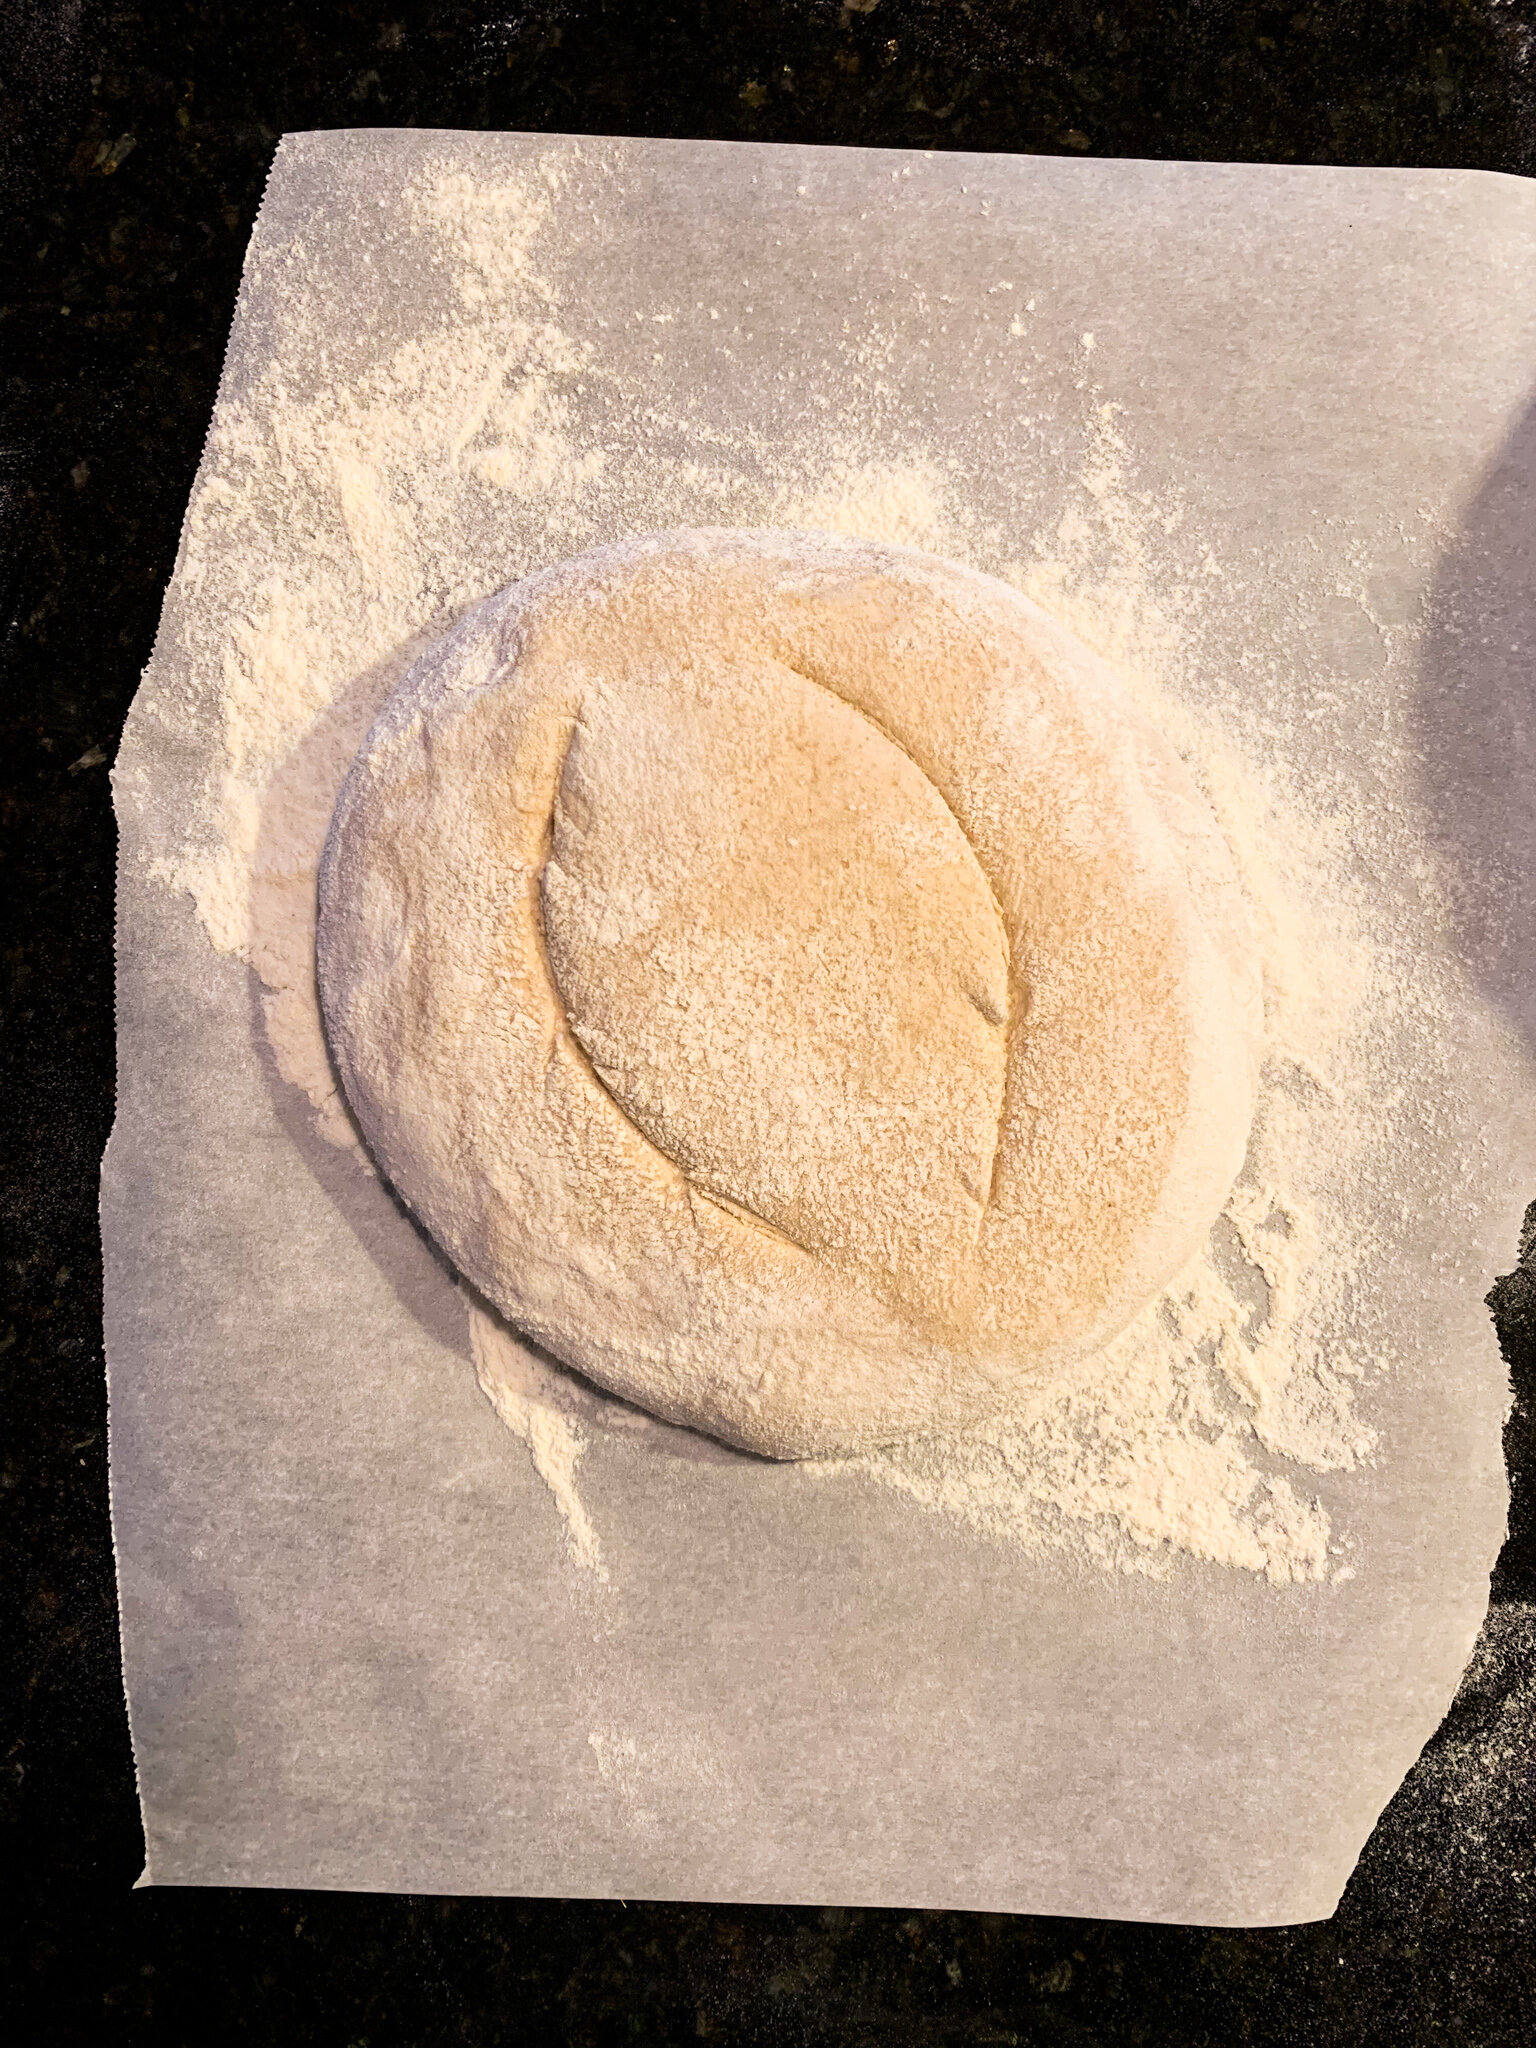
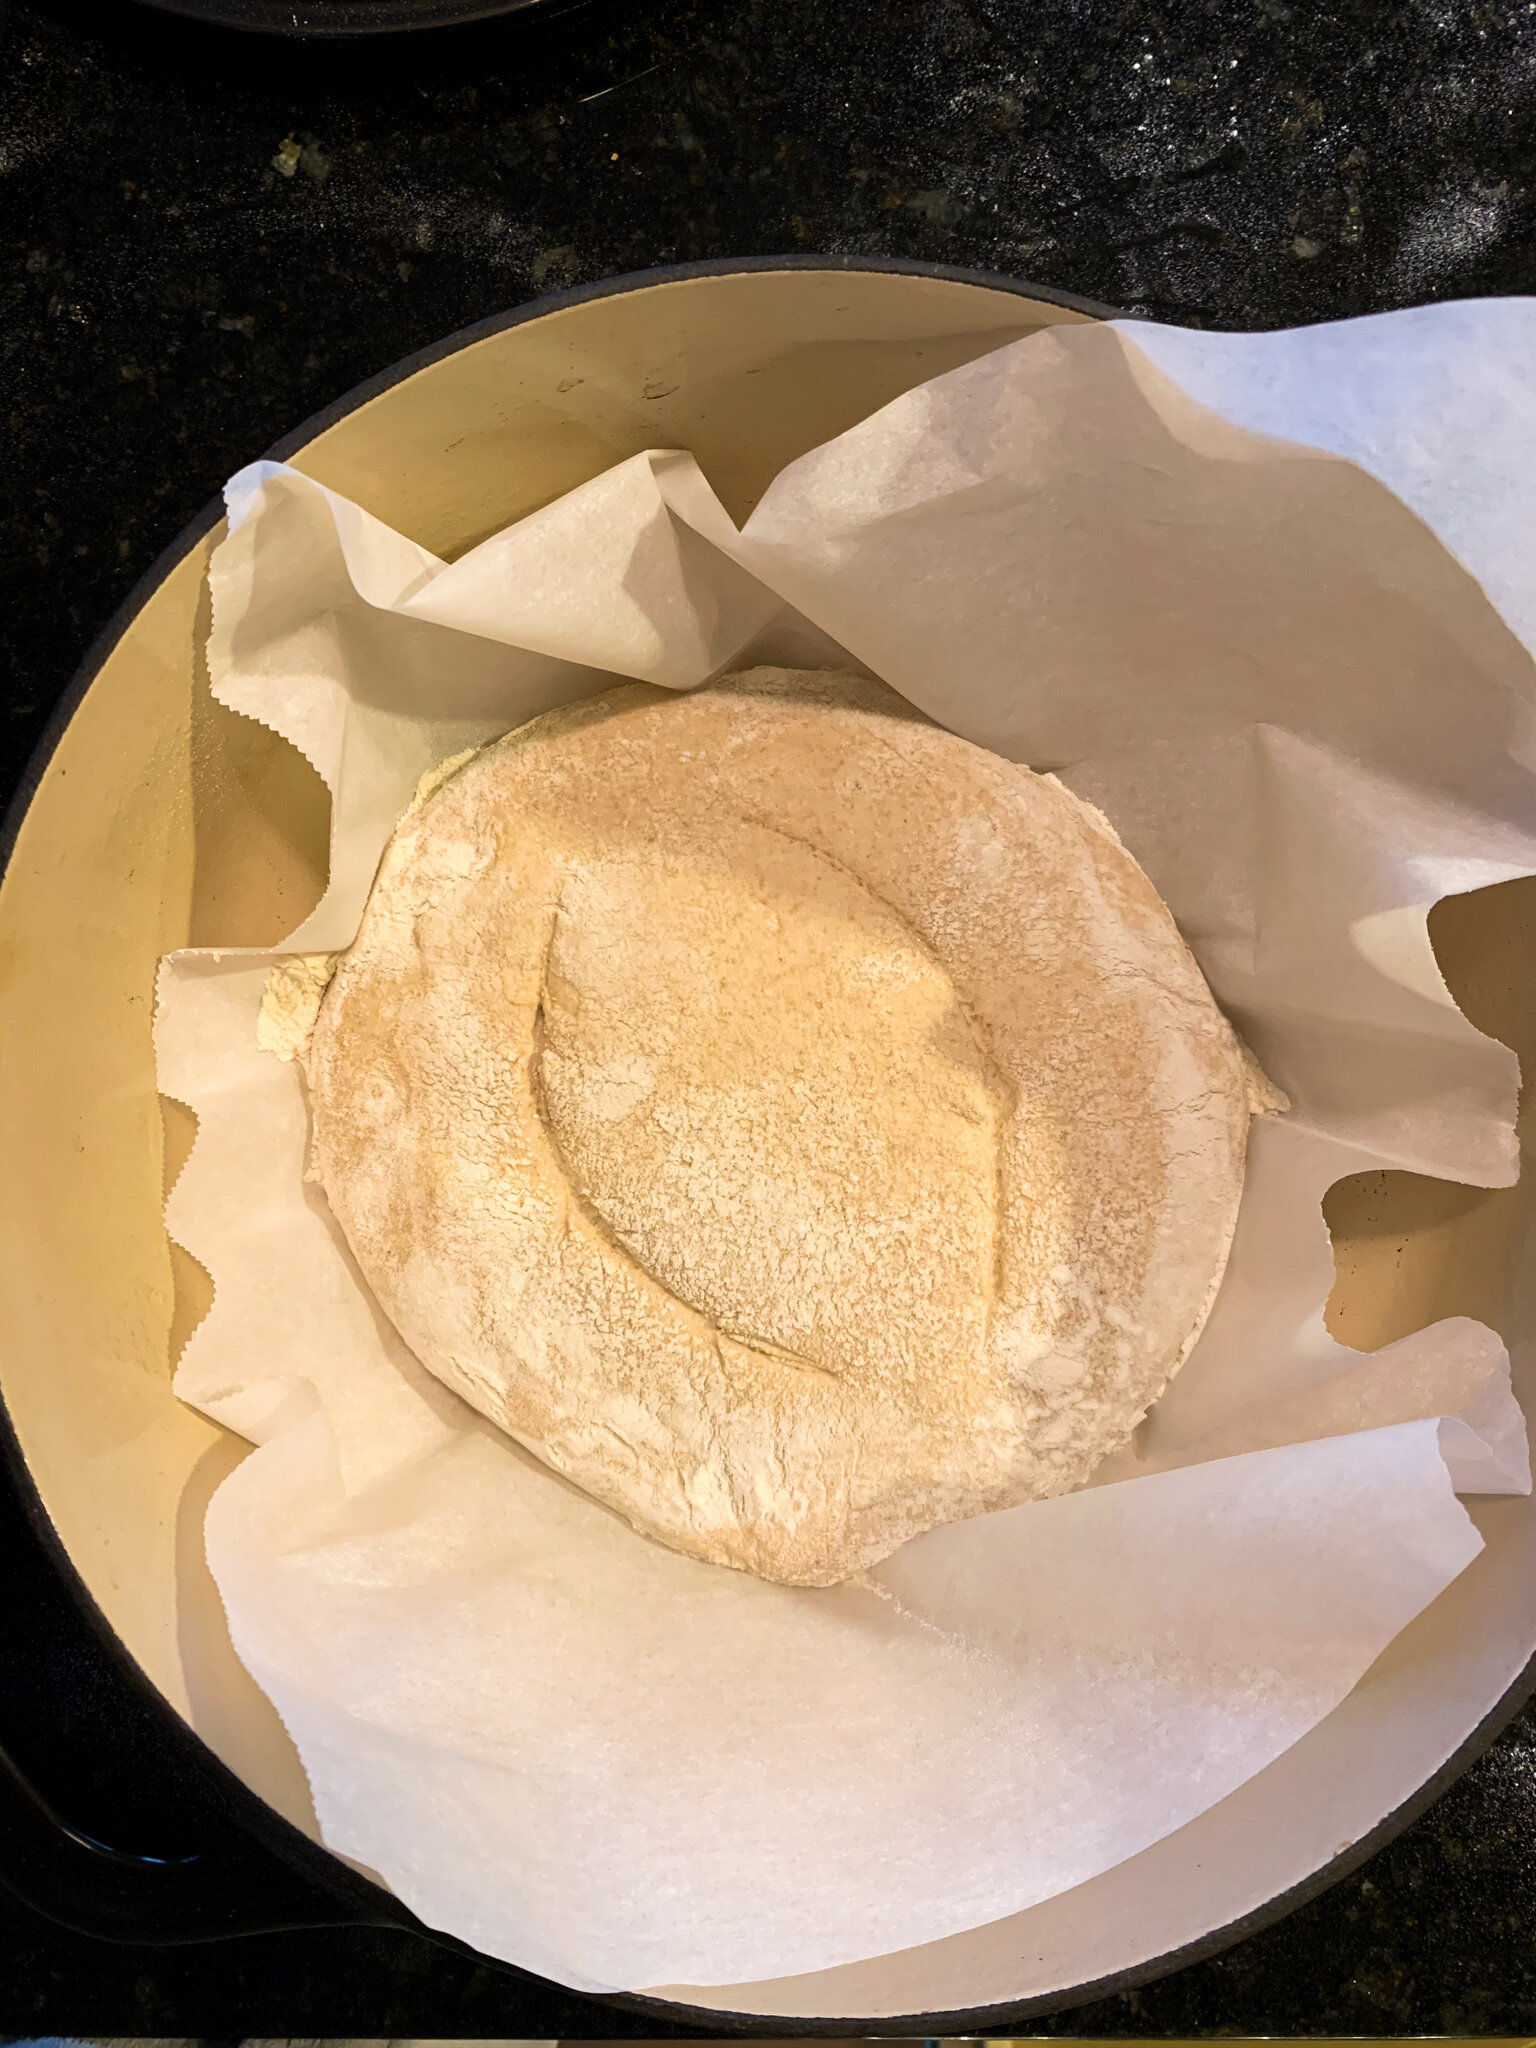
After 12 hours, or when you’re ready to bake, preheat the oven to 500 degrees F. Heat a large Dutch oven with the lid on for 25-30 minutes at 500F before baking. Meanwhile, remove the dough from the fridge, transfer it to a large square of parchment paper, and use a bread lame or sharp knife to score the dough down the center. You can also score it down the sides, following the edges of the dough, or just down one side. Let it rest, covered, on the counter for 30 minutes.

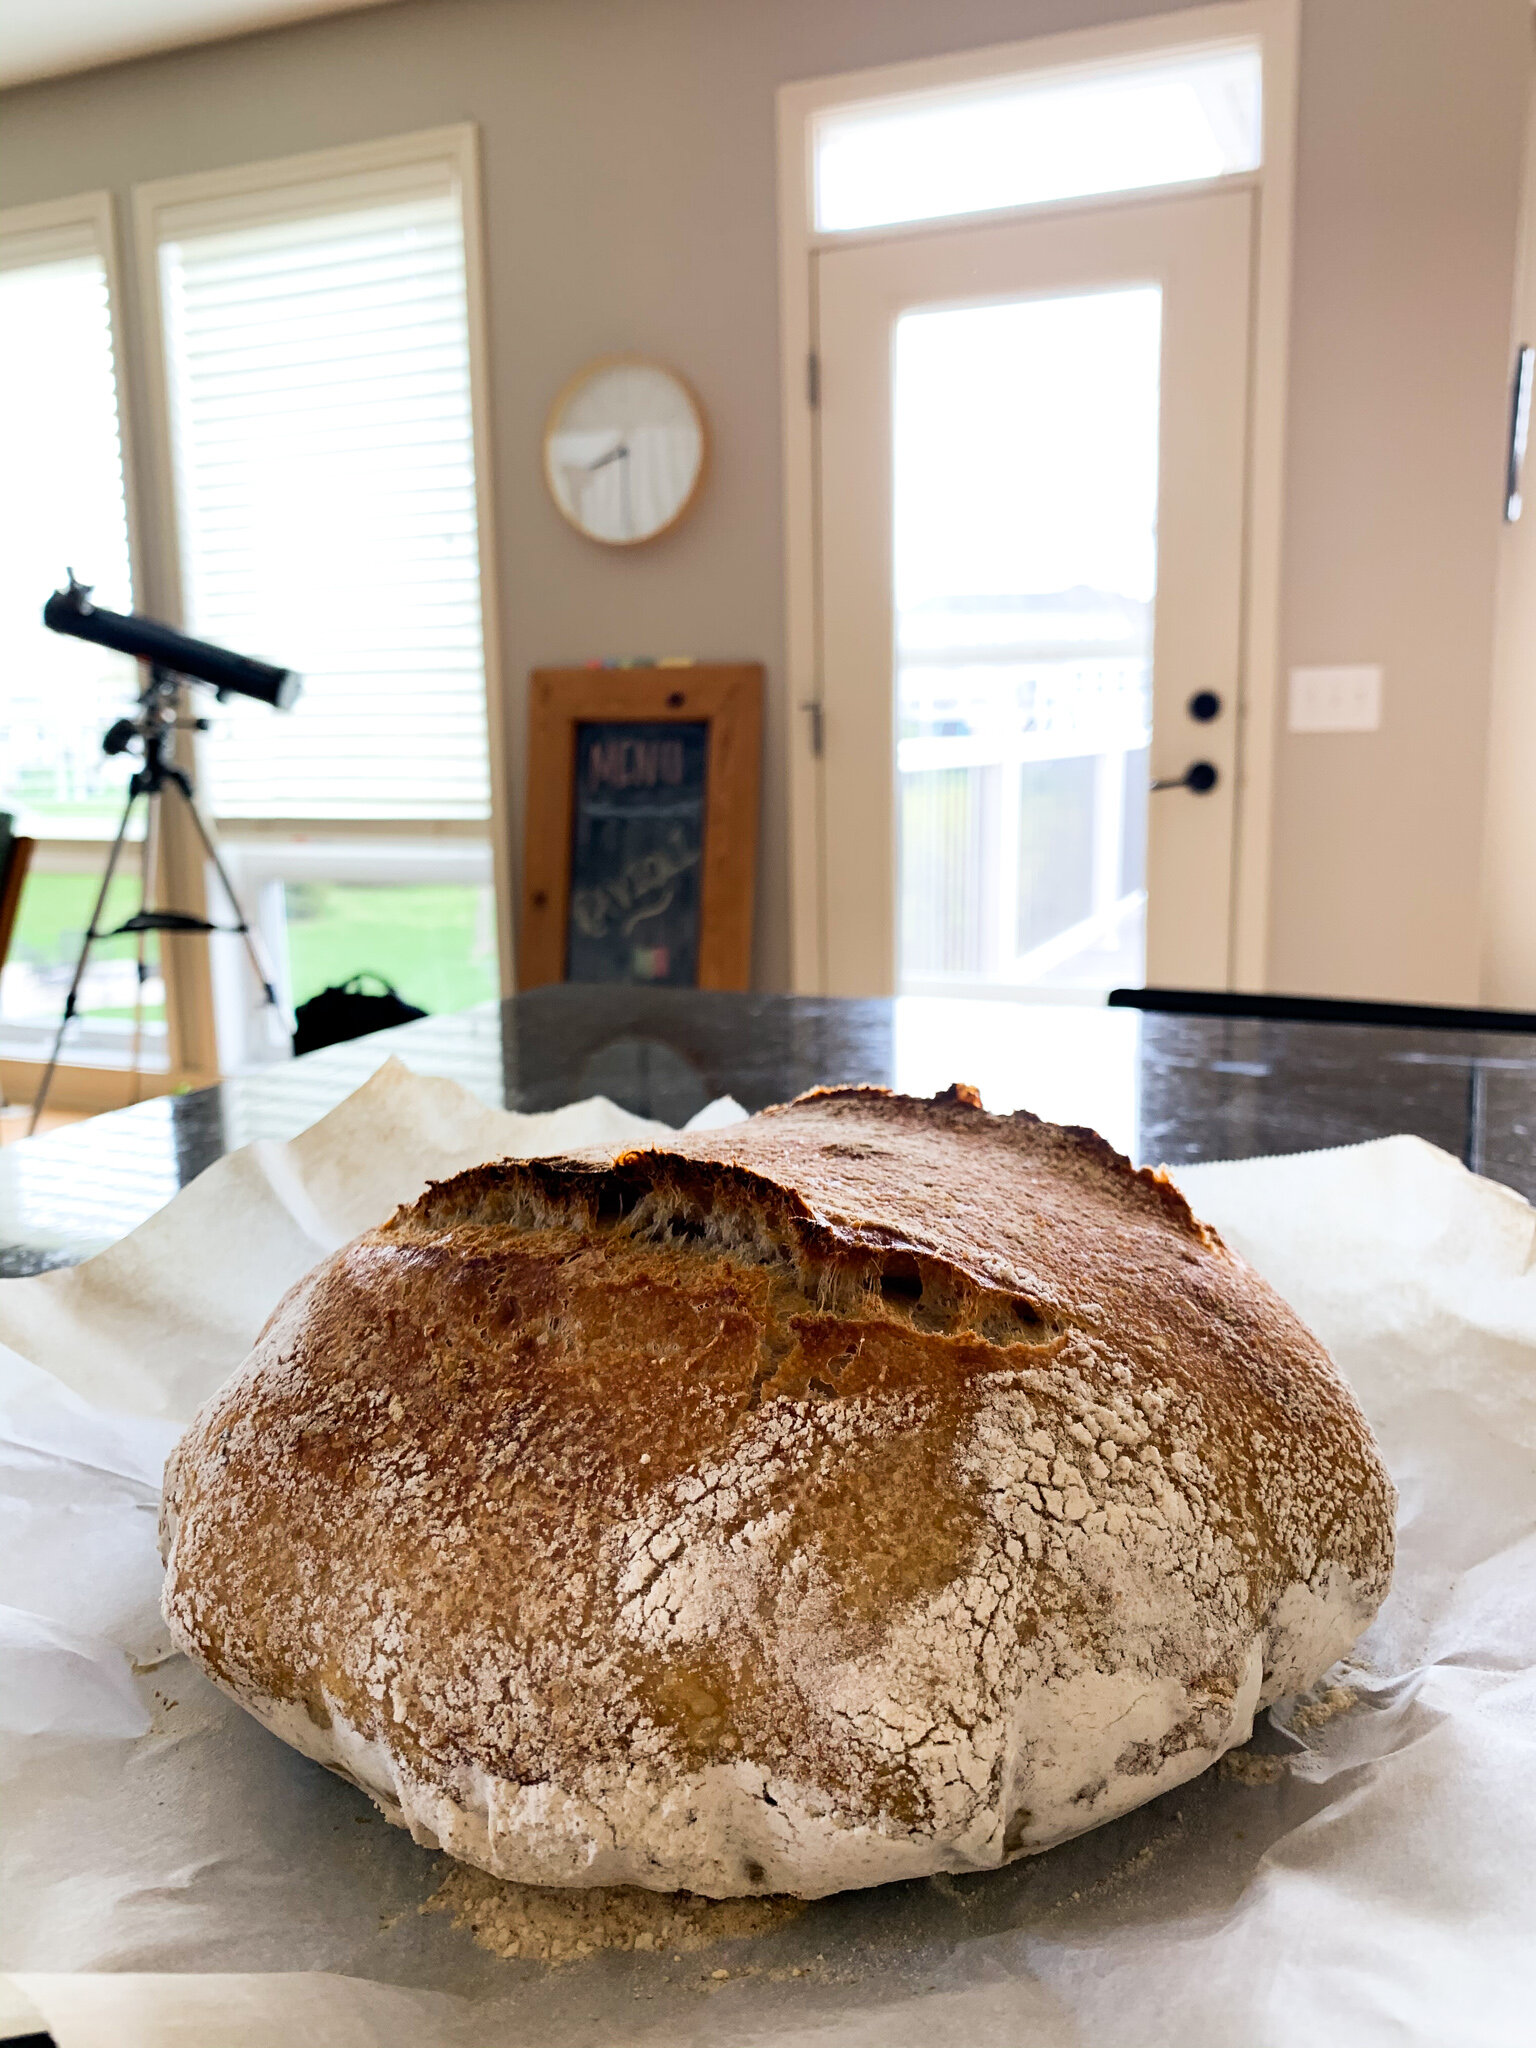
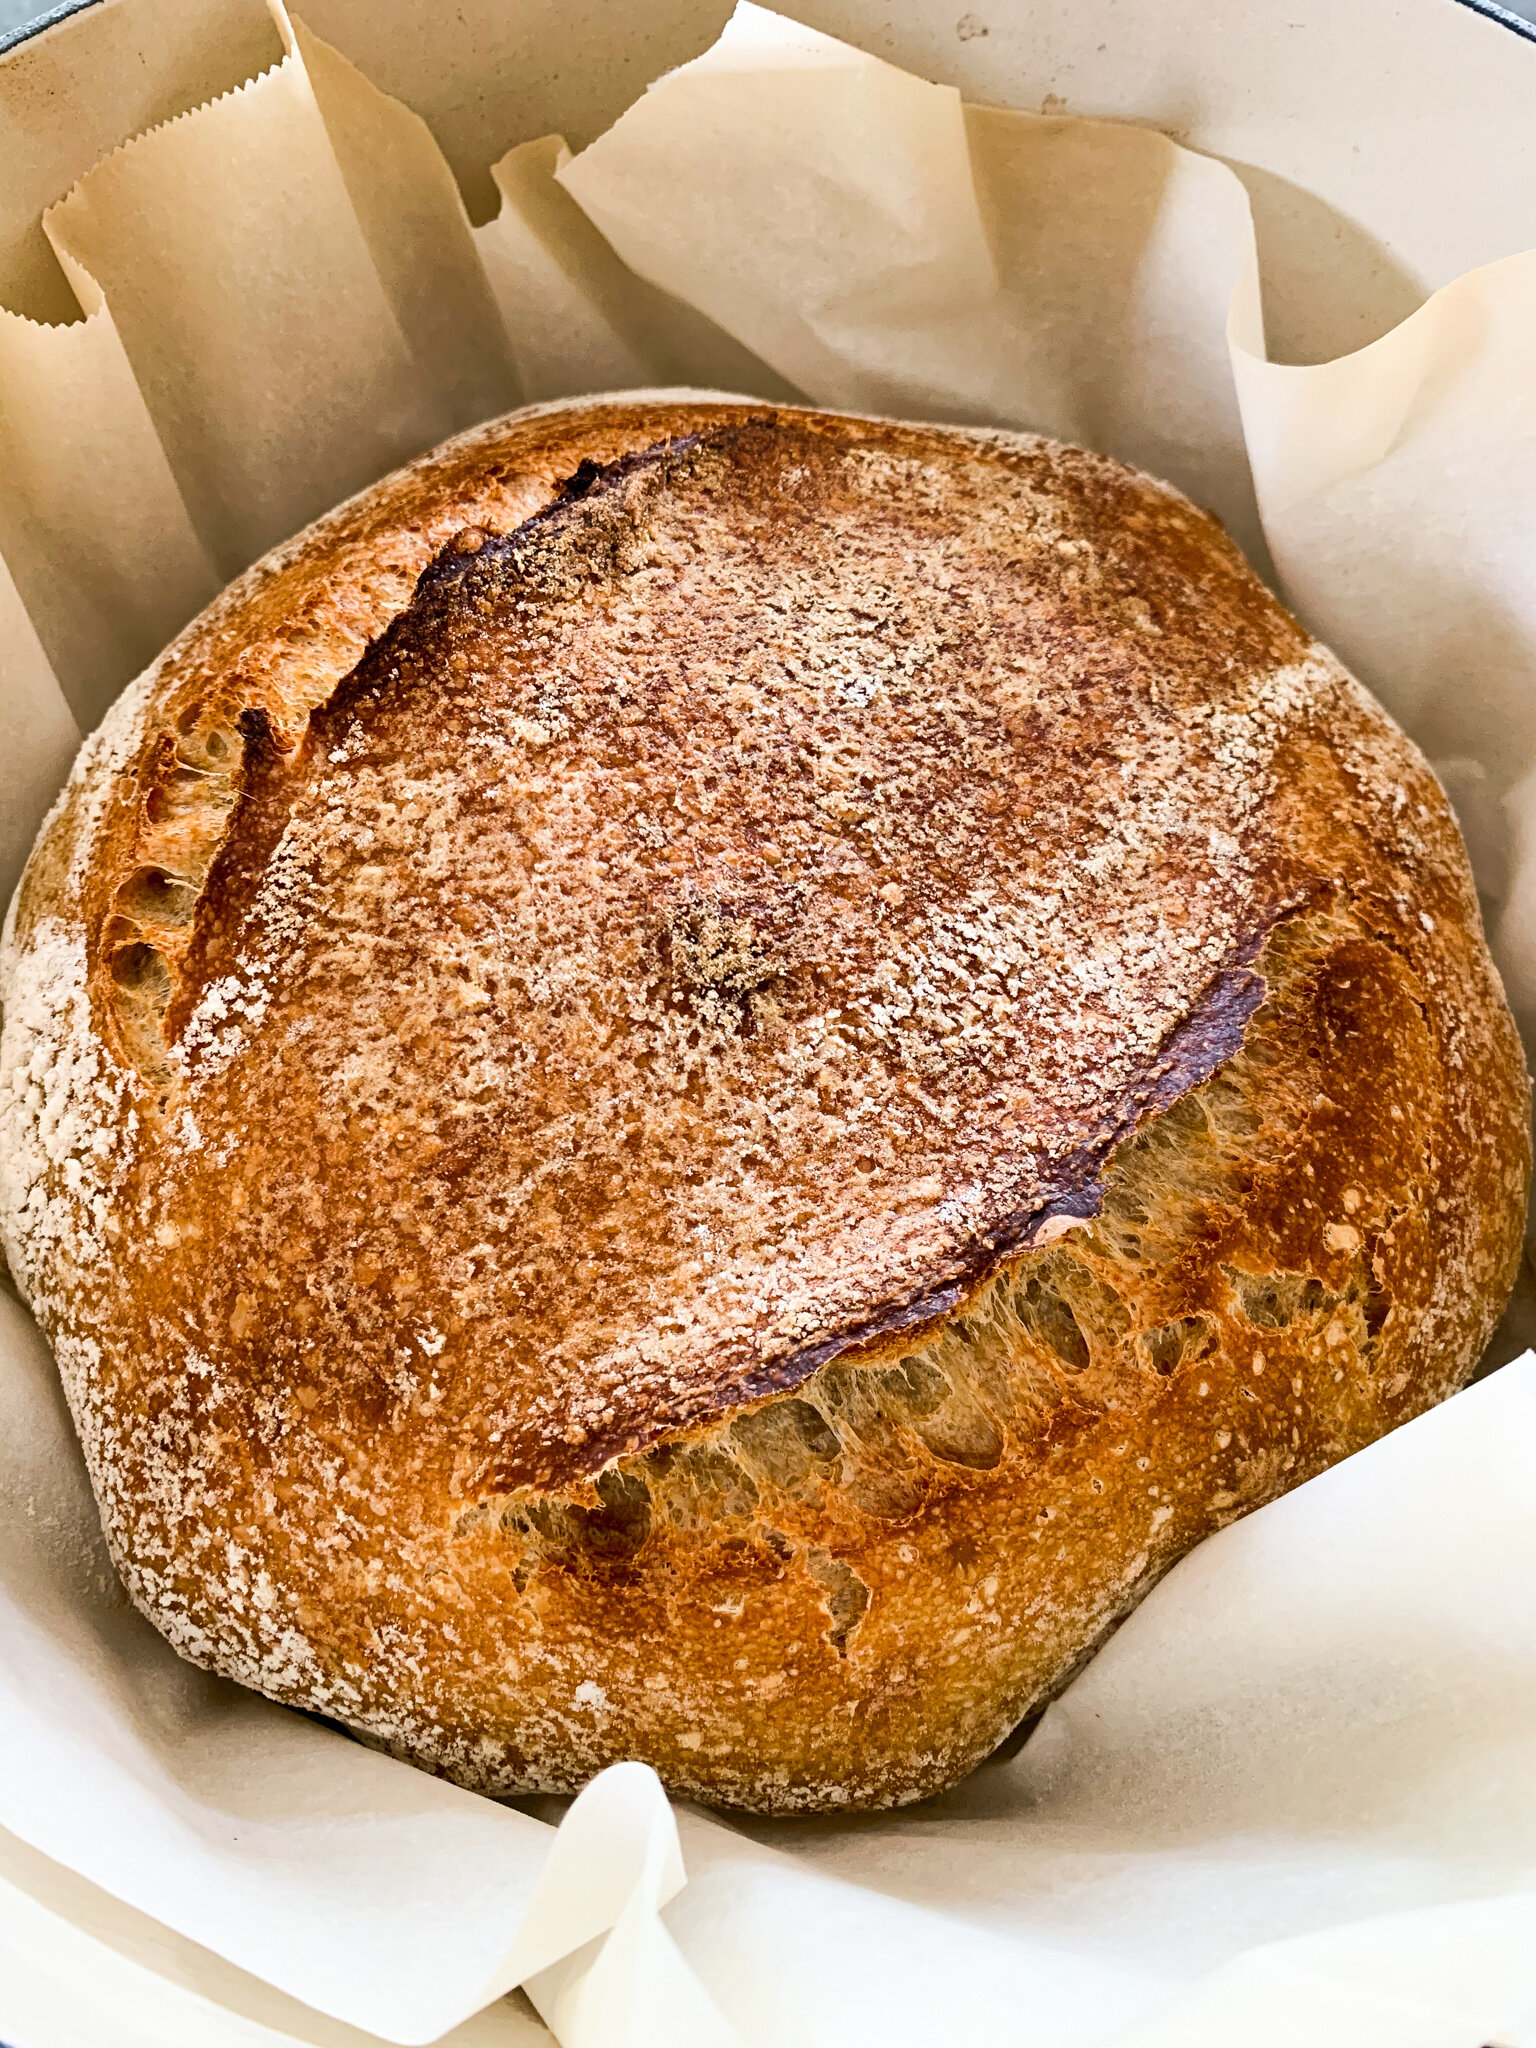
Once the Dutch oven has heated, lower the oven temperature to 450F and lift the parchment paper with the dough round into the Dutch oven. Cover with the lid and bake for 25 minutes. This creates steam within the Dutch oven to help lift the bread and create the crust. Then, remove the lid and bake for another 20-25 minutes, or until the crust is a dark golden brown.

Cool and Slice

The recipe instructs to let the loaf cool down for 2 hours before cutting it open. Let me tell you - of the 7-8 loaves I’ve made, only 1 has made it the full 2 hours before I sliced it open. Cooling makes the slicing easier (no burnt fingertips) and finishes the baking process 100%. Cooling it for, let’s say, 30 minutes as I have done several times, makes the slicing a little more difficult and tends to snag and pull the interior of the bread, creating a messier cut. As long as your crust is a deep golden brown, it’s fully baked, so if you’re impatient like myself cooling for 1/4th of the time instructed won’t make a huge difference in the texture of the loaf.

Bottom line: if you can wait, wait (more power to ya!). If you can’t, well, I understand.

There you have it! How to make a rustic, crusty loaf of sourdough bread. I hope this post answered as many questions as possible, and if there are any remaining questions, don’t hesitate to leave them in the comments section below, and I’ll answer them ASAP.
Happy bread-baking!

For more sourdough information:

How to Make Your Own Starter

Don’t “Discard”; Do This Instead!

Sourdough FAQs

Sourdough Guide: How to Make a Sourdough Loaf Step-by-Step

Sourdough Guide: FAQ's About All Things Sourdough

Cooking and Baking TipsHaley HansenComment

I’m here to answer all the miscellaneous questions regarding sourdough starters and baking with sourdough! I’ve gained my knowledge through reading tips and recipes from experts, and using those to practice baking with my own bubbly starter. If you haven’t yet made your own starter, here’s how!

Exactly how much do I need to feed it everyday? 

There is no magic amount of flour and water with which you can feed your starter to make it active and bubbly. As long as you feed it equal parts flour and water, the exact amount doesn’t matter. Typically, I feed mine anywhere between 50-75 grams of each. A scale is helpful here because the amounts need to be in grams, weight, not cups or tablespoons. A starter fed equal parts flour and water is also known as a 100% hydration starter, which is the most common in many sourdough recipes and usually the most successful for beginner-level sourdough bakers.

After I feed it, when can I use it? 

I wait 2-3 hours after feeding my starter everyday before I use it to bake to allow the starter to activate further and ensure that it is at its peak activity level when I’m ready to use it. 

When should I refrigerate my starter? How often do I need to feed it once it’s in the fridge?

So, your starter is active and bubbly, and you’re feeding it daily at around the same time. You can leave it out in a warm environment and continue feeding it everyday, separating half into another container. Or, you can stick it in the fridge and feed it just a couple times a week. This is my move when I don’t plan on using my starter for a while and don’t want to think about feeding it everyday. If you’re running low on flour and can’t get your hands on some more for a couple days, place your starter in the fridge and take it out when you have more flour. 

Another option is, when you feed and separate your starter, place one container in the fridge and leave the other out on the counter. This gives you the freedom to use starter as you please, while saving some for future use. Currently, I have one jar out on my kitchen counter that I am using to test new bread recipes, and I have two - yes, two - jars in my fridge that I am feeding 1-2x/week (because I have that much starter). 

When you’re ready to use your refrigerated starter, take it out of the fridge 2-3 days before you plan to use it, place in it a warm environment (70-75 degrees F) and begin stirring and feeding it regularly again to ensure it’s active and bubbly. When you first take it out and stir it, it’ll be thicker than you may expect. This is normal - it’ll lighten up and thin out when you resume regular feedings at room temperature.

How strict is the feeding schedule? What if I feed it an hour or two early or late one day?

To remind yourself of the feeding schedule, keep a tab with the time you started feeding it on the container and/or set an alarm or reminder on your phone each day. Work around your schedule - if you go into work at 8 AM and come home at 6 PM each day, don’t start feeding your starter in that window of time because you’ll need to maintain that. Instead, feed it at 7 AM or 7 PM to better fit your schedule and ensure that you’ll be able to feed it on time each day. That being said, I have missed my feeding time once or twice by an hour or two and haven’t encountered any problems. I wouldn’t recommend missing your feeding time by more than two hours, though! 

Sourdough Guide: FAQ's About All Things Sourdough

I’m still a little confused about “discard”. What is that? Do I absolutely need to throw half of it away everyday?

“Discard” is the process of removing some or half of your starter before feeding it each day. Most people resort to throwing this away and only feeding the other part of starter remaining, but I find this awfully wasteful. Instead, separate your starter into two containers. Now, you have options: 

Feed both containers and store one in the fridge for future use, and leave the other at room temperature for more immediate use. Use some of it to bake a loaf of bread, and use some to bake brown butter cinnamon rolls, fluffy English muffins, the best homemade pretzels, and a quick, crispy cast-iron skillet pizza crust.

Feed only one and use the other to bake cookies, brownies, biscuits, or banana bread. This portion of starter is much less active as the other fed portion, so I wouldn’t recommend using this to bake something like bread or cinnamon rolls that should be risen and fluffy with noticeable sourdough flavor. Need more ideas? 

Feed both containers, keep one for yourself and give the other to a friend who has been wanting to experiment with sourdough! 

Can I buy sourdough starter?

You can! Some local bakeries will sell small amounts of theirs, and these starters have most likely been in their families for decades. If you like their bread, it’s safe to say you’ll enjoy using their starter to make your own bread. Just give your favorite bread bakery a call and ask them if they’d be willing to share a little bit of their starter with you. Otherwise, King Arthur Flour sells theirs online and will ship it directly to you!

Is sourdough healthier than yeasted bread?

It depends on your definition of “healthier”, as well as the types of flour you use in the bread. There isn’t anything “unhealthy” about yeasted bread - it contains the same ingredients as sourdough bread. The only main difference between the two breads is the source of the yeast. In yeasted bread, the yeast is commercially produced and dried, to be re-activated within a couple hours when mixed with warm liquid and a touch of sugar. In sourdough bread, the yeast is naturally present in the flour and in the air around us, and this yeast and the enzymes in the flour partially digest some of the starches and proteins, producing carbon dioxide in the form of bubbles. This process is called fermentation and produces a type of lactic acid bacteria that has proven beneficial for the human gut - Lactobacilli. Read this post for more information on the benefits of bacteria produced from this fermentation.

Sourdough Guide: FAQ's About All Things Sourdough

What’s the flotation test for? What if my starter doesn't float when I’m ready to bake with it?

The flotation test is typically performed before using an active starter to ensure that it is optimally active for baking. Though I have never tried this, I have read about it and know how it's supposed to be done - take a small amount - about a pinch - of starter and place it into a bowl of water. If it floats to the top, it’s ready. If it sinks, it’s not quite ready yet. Like I said, I’ve never tested my starter this way. Given the amount of bubbles I see in my starter everyday, I trust that it’s active and ready for use. If you see the same signs in yours, I’d say you could trust that yours is ready, too, without performing the float test.

Can I make sourdough bread with all whole-wheat flour?

Sure! Keep in mind that, because of the density of whole-wheat, the bread will also be dense. When I bake bread, I use a combination of whole-wheat flour and all-purpose flour or bread flour to make sure the loaf is light, airy, and hearty. I’ve baked loaves with 100% all-purpose flour and found that there was very little flavor and the texture was too light and airy. Adding a portion - usually about 30-50% - of whole-wheat flour added just enough density and nuttiness to improve the texture and flavor. 

How can I convert a yeasted recipe to sourdough?

Well, you’ve got to be willing to do some math. Remember, everything is done in weight in grams, so you’ll need to do some conversions if the recipe you are hoping to use isn’t providing the conversion for you. It’s simple, though, assuming your starter is 100% hydration, meaning you’ve fed it equal parts flour and water. Now, look at how much yeast the recipe calls for. One packet of yeast is about 2 1/4 teaspoons of instant yeast, which is about 5-7 grams. Thankfully, the blogger behind True Sourdough has already figured out that 5-7 grams of instant yeast is equivalent to 100 grams of 100% hydration sourdough starter. And since you’ve fed this starter equal parts flour and water, in this 100 gram portion, you have 50 grams of flour and 50 grams of water that you’ll use in place of the instant yeast. Convert the rest of the ingredients in the recipe to grams (weigh it out yourself for better accuracy, or Google it) and then subtract 50 grams from the flour and 50 grams from the water or other liquid (i.e. milk, buttermilk, beer, etc) to account for the 100 grams of starter you’ll be using.

The other important thing to keep in mind is that sourdough starter performs the same intended purpose as instant yeast, but it requires longer proofing times in order to do so. With instant yeast, the first rise is usually two hours and the second is usually one, both at room temperature or a little warmer. With starter, increase the first rise to four hours at room temperature and the second to two. For the second rise, you can refrigerate overnight or for 12-36 hours (for most recipes, but not all) to prolong the rise for the sake of time and stronger sourdough flavor.

Just because a recipe uses sourdough starter in place of the instant yeast doesn’t necessarily mean the finished product will boast the same fermentation benefits as a loaf of sourdough bread. In order for the starter do its job, it needs proper rising times (stated above) and optimal living conditions - not too warm or cold, and not too sweet. According to True Sourdough, a sugar content higher than 10% will inhibit the fermentation process, thus leaving your product void of the fermentation benefits. That isn’t a bad thing and doesn’t mean you shouldn’t bake banana bread and cookies with your leftover starter! It just means it won’t taste like sourdough bread and contain the beneficial probiotics. Those are more abundantly found in soft, fluffy sourdough English muffins and a good crusty loaf of sourdough bread.

Sourdough Guide: FAQ's About All Things Sourdough

Thoughts on Quarantine... and Sourdough (of course)

ThoughtsHaley HansenComment

Sourdough starter - often thought of as an intimidating, difficult-to-control baking project to take on only when you can dedicate your full attention and all your time (and flour) to it. For me, though, it’s the least intimidating, most controllable, and most comforting thing around me right now. Several times, I've tiptoed on the edge of tears in moments following pure joy spent with my family, or breathing in fresh air outside. Life and emotions - both of which belong to me - seem unpredictable and uncontrollable right now. 

I had two promising job opportunities for which the final interviews were being scheduled the week before the coronavirus plagued the U.S. I had just started a relationship, the first one I’ve truly believed in since… well, it’s been a long time. I was finally settling into life in this new-ish-to-me state of Minnesota after the cold winter snow had melted, restaurant patios were gearing up for their Spring openings and my list of places to visit and things to do and explore was growing in pages by the day. For the first time in - wow - almost 2 years, I felt genuinely happy and excited for what was to come. And in (what feels like) an instant, those job opportunities closed like the doors to my favorite coffee shops. Suddenly, I didn’t know when I’d see my guy again and we were forced to jump into long-distance and the whole deeper side of a relationship that involves talking about feelings, family struggles, job losses, and loneliness within 3 weeks. And my list? Pointless because restaurants and bars (which constituted most of the list) and popular parks had closed. 

Everything, upside down and inside out and… closed and restricted. Stay home, reduce contact, refrain from frequent grocery store trips (which used to be my Monday-Friday hobby and part of what makes blogging and cooking/baking such a passion). So, what can I control? What can I lean on for joy, comfort, reassurance?

Even though many, many parts of life feel terrifying, there are parts that haven’t caught COVID-19. For me, that’s my sourdough starter. It’s always there for me, tucked away cozy on my kitchen counter, needing nothing more than a small and simple meal and gentle stir once a day, always bubbling with recipe opportunities - Pretzels! Bagels! Biscuits! Cinnamon rolls! Each one brings me joy and comfort throughout the entire process, from imagining to levain-ing to rising to to eating. 

Thoughts on Quarantine... and Sourdough (of course)

Each one teaches me patience and trust in the slow passing of time - the arts that must be mastered in the sourdough process. Just because my loaves, English muffins, and pretzels haven’t flopped (yet) doesn’t mean I’ve nailed the patiently waiting and trusting part, though. Like Brené Brown says, “Trust is built in the small moments.” With each recipe and each proof within the recipe, the dough rises over a period of 4-8 hours, much longer than what’s required for yeast-risen doughs. The loaves, muffins, and pretzels are made with slightly different doughs and consequently show slightly different signs of rising. Patience is built in the waiting, and trust is strengthened in the small risings.

This quarantine makes time pass more slowly than ever, and demands of me my patience and trust as each day brings a new set of updates, changes, restrictions, cases, and sadly, deaths. I’m challenged in every way - some make me feel tall and confident, while others leave me feeling small and powerless. Some make me feel like I do when my dough has risen properly and doubled in size, and others leave me feeling as flat and useless as an unfed sourdough starter.

In the former moments, I embrace the joy, confidence, and faith. In the latter moments, I lean on long walks with deep breaths of fresh air, family dinners and movie nights, time in the kitchen, and my sourdough starter. Though I can’t plan any events in my calendar or create a work schedule each week, and I can’t look forward to a happy hour at a new restaurant on the patio or take my time strolling through the produce section perusing my dinner options, here’s what I can do: I can hug my loved ones (the ones in my home, at least), I can move my body in ways that feel good, I can stand in the kitchen all day with my apron tied around my waist, and I can look forward to another process of imagining, leavein-ing, rising, and eating, where I savor simple, homemade joy and comfort.

Photo by Karly Ann Johnson.

Sourdough Guide: Don't "Discard"; Do This Instead

Cooking and Baking TipsHaley HansenComment

Kissing something loaded with delicious potential goodbye brings me the pain every cook knows. I refused to make sourdough for so long because the discarding seemed so wasteful (and I’m not the only baker who feels this way), until I did the math correctly and calculated that, actually, there is no need to throw starter in the trash everyday. “Discard” is the wrong word to use to explain the process of caring for a sourdough starter. There is nothing bad or dead about your starter to necessitate tossing half in the bin. The purpose of this discard is to prevent your starter from growing and growing and growing until it fills every nook and cranny in your kitchen because that would be… stinky and sticky. But, there is another way to control the starter’s growth without wasting half of it. 

So, what should you do with it? What’s a more sustainable and practical way to feed, maintain, and utilize your starter everyday? 

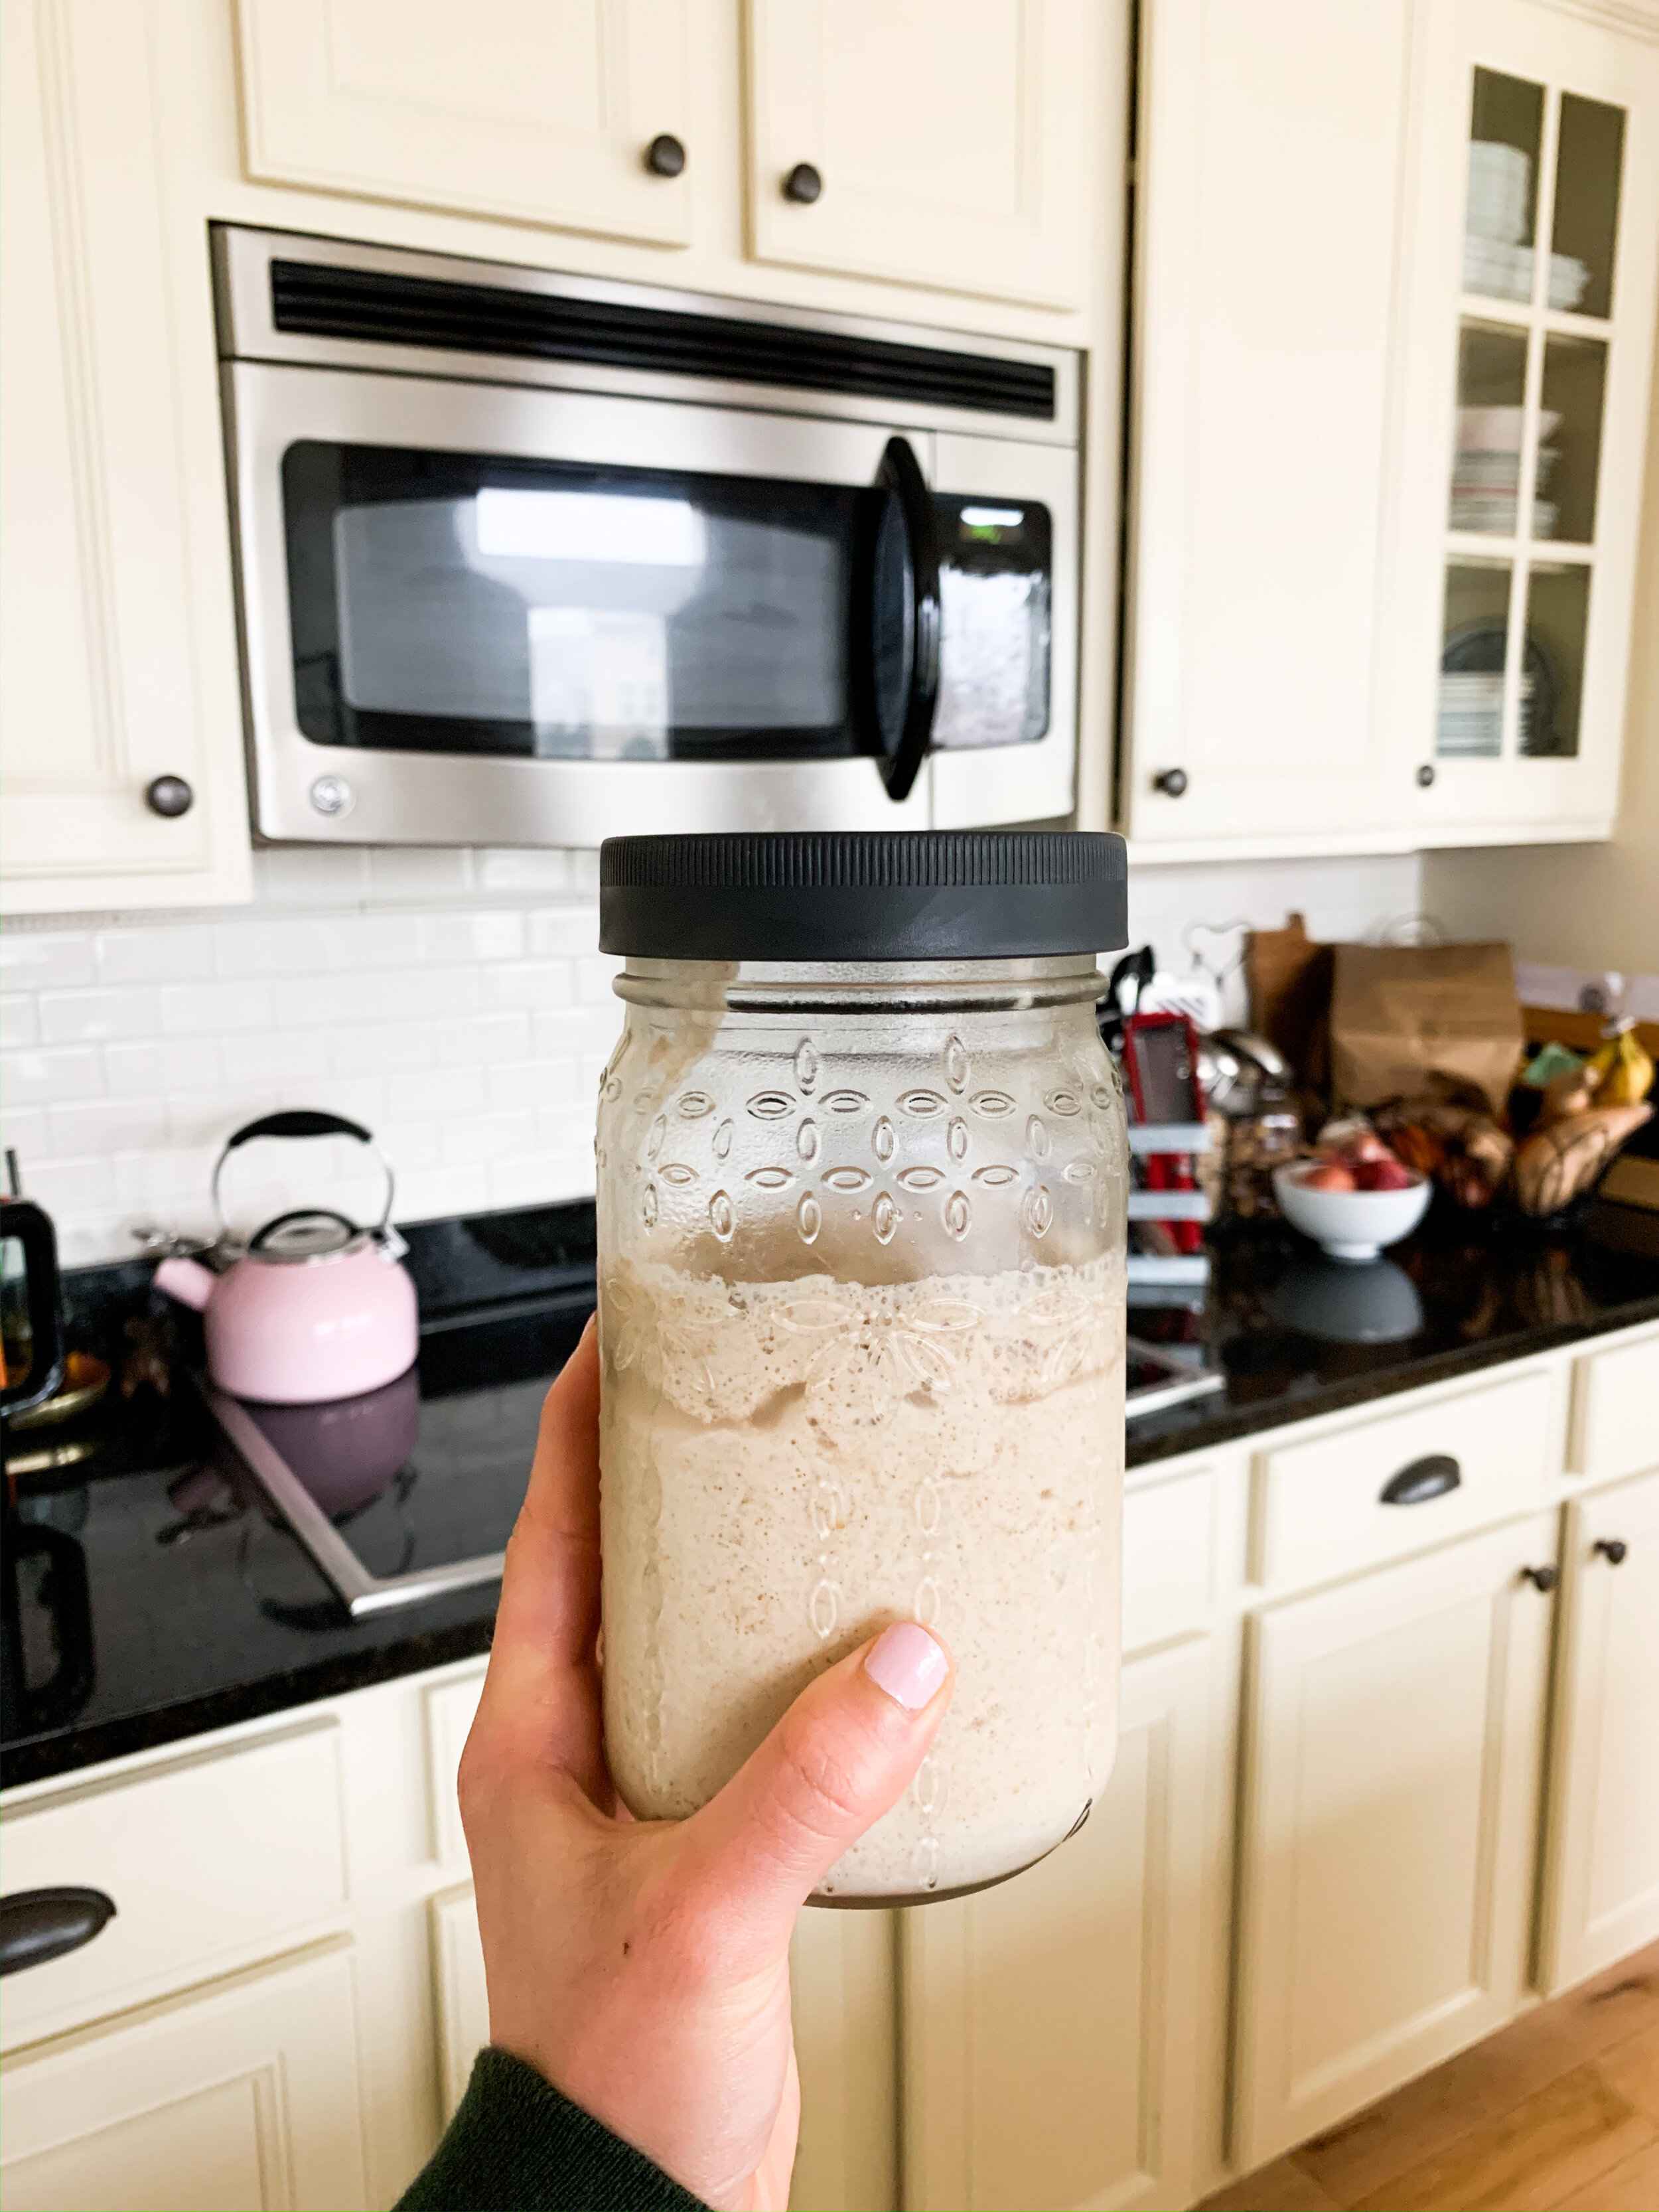
Once your starter is active and bubbly - after about five days of development - begin separating it, not discarding it. Everyday (or 1-2x/week if yours is refrigerated), you’ll feed the starter equal parts flour and water. It will immediately grow due to the added flour and water, and then after a few hours, it will bubble and grow even more. This is when separation (previously known as “discard”) becomes essential so that your starter doesn’t ooze out of its storage container, or so that you don’t need to construct a giant sourdough starter storage container. 

Here’s how I do it. 

Daily: 

  1. Feed the starter equal parts flour and water. Depending on how much starter I want - considering the recipes I have planned in the coming week or two - I will feed it anywhere from 50-100 grams each of flour and water. 

  2. Stir well, cover, and let the starter begin to bubble for the next 2-3 hours. When I notice bubbles forming a thick layer on the surface (this is easy to monitor through a 16-32 oz.  glass mason jar), I separate a portion of the starter and transfer this to another storage container. OR, I’ve also separated the starter into two separate jars before feeding, then fed both of them in their individual jars the same way I always would - equal parts flour and water.

  3. Now, both containers have been fed and will continue to be fed on the same schedule. For example, I began feeding my starter at 12 PM daily. When it grew significantly (and once it did actually ooze out of its container - oops!), I waited a few hours and separated half of this starter into another jar. 

  4. At this point, I can place one or both of the jars in the fridge to slow the growth and fermentation, and to give myself time to take a break if I don’t want to feed it regularly everyday for a certain amount of time. If I choose to refrigerate, I’ll want to plan ahead - a few days before I want to make something with the starter, I’ll take it out of the fridge and resume the regular feeding schedule as I did before to ensure reactivation. 

Sourdough Guide: Don't Discard; Do This Instead

As long as it’s fed regularly and kept in optimal living conditions, a sourdough starter will not lose its flavor or its power. Keep it alive, keep making bread, and don’t be afraid to venture out of the bread neighborhood with recipes like pizza crusts, biscuits, English muffins, pretzels, cinnamon rolls, and more. Your starter has so much potential! For more recipe inspiration, follow my Sourdough Tips and Recipes Pinterest board.

Sourdough Guide: Don't "Discard"; Do This Instead

Sourdough Guide: How to Make Your Own Starter

Cooking and Baking TipsHaley Hansen1 Comment

It’s tangy. It’s trendy. It’s traditional. And it’s now my favorite bread-making method - it’s sourdough! Four weeks ago, I took on the challenge of making my own starter and have been making all things sourdough since then. Here’s my guide to making and maintaining your own starter.


What is sourdough? 

Packets of active-dry and instant yeast line grocery store shelves these days, and they’re commonly used in bread-making. However simple and convenient they may be, they aren’t essential in the traditional way of making bread. Before these advancements, bread-bakers utilized wild yeast grown by mixing equal parts flour and water, and lots of time, and this became what we now know as a sourdough starter. Wild yeast may sound a little scary and dangerous, but it doesn’t need to be. It’s simple, safe, and the only way to achieve a stunning loaf of traditional and nutritious, tangy and crusty sourdough bread. 

This sourdough starter - also called a “pre-ferment” - once it's alive and regularly cared for, can be used in a wide variety of recipes - waffles, sweet breads, focaccia, pizza crusts, and even biscuits and English muffins. Now that I’ve grown my starter, understood how to care for it, and used it as the backbone of flavor and texture in several recipes, it’s a staple in my kitchen and I’m not going back to store-bought yeast.

Sourdough Guide: How to Make Your Own Starter

What are the benefits of sourdough?

Not only is a starter convenient and simple, it’s beneficial for digestion and packed with nutrition. Through natural fermentation, the wild yeasts present in the flour break down other components in the flour, like the protein gluten, for example. Over a period of time, the yeast grows and multiplies, partially breaking down the flour proteins and creating air bubbles. Some who are sensitive to gluten have an easier time digesting sourdough bread because of the partial breakdown that occurs through fermentation. Though not everyone has a sensitivity to gluten, in particular, we can still thank the fermentation process for this pre-digestion - it gives our digestive system a little bit of a break, you could say. Additionally, this fermentation produces probiotics - the good bacteria - which benefit the gut microbiome (7). 

Though many probiotics don’t survive in extreme heat (like a 450F degree oven for bread-baking), the lactic acid bacteria that produce them do survive and live symbiotically and actually far outnumber the wild yeast. This bacteria - Lactobacillus - along with Bifidobacteria are vital for fermentation and stability in the bread (1), as well as the tangy flavor characteristic of sourdough like in yogurt and buttermilk. It also provides the probiotic benefits - improved digestion (4, 5, 6), alleviation of lactose intolerance (in some people, not all) (3), and a strengthened immune system (2). 


Ready to make your own starter?

First, let’s talk necessities because there are a few essential ingredients and small pieces of equipment needed for this process to go smoothly. The most important necessity is flour, obviously, but with so many varieties on the shelf today, how do we know which is best for making and maintaining a starter? For making bread and all those other sourdough recipes? All-purpose flour is the most reliable for starting out (starting a starter lol). Next in line is bread flour - this varietal has a slightly higher protein content than all-purpose flour, but is still reliable for the starter process. Whole-wheat pastry flour and whole-wheat flour work well, too, and I’ve used these in my starters without a hitch. They do contain a bit more fiber and protein than all-purpose flour, so they absorb more moisture. I recommend using all-purpose or bread flour for the first couple weeks when you develop your starter to avoid any potential issues that may arise from using whole-wheat flours due to the difference in absorbency. 

Equipment needed 

  • Wooden spoon or rubber spatula (I like the spatula the best) 

    • According to King Arthur Flour, stainless steel utensils will not harm the bacteria in your sourdough starter. However, copper and aluminum can, so stay away from these. I prefer using a rubber spatula for mixing because I find that the starter and doughs release more easily. 

  • Glass bowl with airtight lid or plastic wrap and rubber band

    • A glass bowl is handy because it allows you to see how much the starter grows over the five days you are developing it. Bubbles are the best indicator of activity, which you can see on the surface of the starter, so if you don’t have a glass bowl, you’ll still be able to monitor. You can also use large Mason jars, but you’ll need to separate the starter more frequently as these tend to be smaller than large glass bowls. 

  • Kitchen scale (highly recommended for accurate measurements)

    • Get. A. Scale. From here on out, my sourdough recipes will be written using grams because this is the most accurate measurement for bread recipes, and it’s how many of the bread recipes I’ve used are written. My kitchen scale is ancient and made of plastic, and yours doesn’t need to be anything fancy, either. It’s a small investment that will serve you for a long time!

Making a sourdough starter is usually a five-day process. Mine was bubbly and alive and well on day five, but depending on the atmosphere in your kitchen, yours could take another day or two to reach the same level of activity. Ideally, a sourdough starter thrives in a warm-ish room temperature of about 70F-75F. While you’re developing the starter, do your best to maintain this temperature wherever you store it. After it’s fully developed and bubbly, you can store it in the fridge and feed it every few days. The colder temperature in the fridge slows the fermentation process and therefore slightly reduces the starter’s activity level. When you’re ready to use the starter, take it out of the fridge 2-3 days in advance and begin feeding it everyday to ensure that it’s active and bubbly as it was before you put it in the fridge. 

For the five days of starter development, you will not be discarding/separating any of the starter, as it utilizes the nutrients from all the flour to grow! After the fifth day, you can begin discarding/separating to prevent your starter from becoming life-size, which I will discuss shortly. 

  • Day 1: 

    • Stir together equal parts all-purpose flour and water in a large glass bowl until combined. Cover with an airtight lid and store, undisturbed, at 70F-75F for 24 hours. 

    • 75 g all-purpose flour + 75 g room temperature water 

  • Day 2: 

    • Uncover the bowl, and stir in another round of equal parts flour and water. Cover with an airtight lid and store, undisturbed, at 70F-75F for 24 hours. 

    • 75 g all-purpose flour + 75 g room temperature water 

    • On day 2, you might start to see some bubbling activity. If you don’t, that’s okay! 

  • Days 3-4:

    • Uncover the bowl, and stir in another round of equal parts flour and water. Cover with an airtight lid and store, undisturbed, at 70F-75F for 24 hours. 

    • 75 g all-purpose flour + 75 g room temperature water 

    • During these 2 days, you should start seeing bubbles on the surface of the starter. By day 4, it should have grown significantly in size. 

  • Day 5:

    • Use it! Your starter is ready for baking at this point. If you have a recipe you’re ready to bake, simply separate the amount of starter it calls for and leave the rest in the container at room temperature. Feed the portion of starter you don’t use just as you did during days 1-4. 


“Discarding” (just separating!)

If you’ve done any research at all on sourdough until this point, you’ve heard the term “discard” - this is what kept me from making sourdough for so long, actually. To “discard” or throw away half the starter each day seemed like such a waste. Then, it clicked - what everyone means by “discard” is basically just divide or separate the starter to prevent it from growing into the size of a small human. Most bakers and recipes refer to any of the starter not used for baking a loaf of sourdough bread as “discard”. This was interesting to me because I actually found everything I made other than an actual loaf of bread more enjoyable than the bread itself. And, most bread recipes call for a scant 1 tablespoon of starter, whereas the recipes for “discard” in cookbooks and on websites use far more starter than that (which means more flavor!). To me, this seems backwards, but oh well. 

Anyway, here’s how it works. On day 5, you’ll start the “discard” process. Have a recipe or two in mind, and then divide/separate the amount of starter needed for those recipes. Leave the remaining starter in the original bowl or storage container, feed it, and place it in the fridge for future use. Don’t throw anything away! Just repurpose it. 

The possibilities for this “discard” starter are absolutely endless. Biscuits, muffins, waffles, pancakes, cinnamon rolls, cookies - you name it, you can make it with your discard starter. Surprisingly, I liked these better than the loaves of bread I made with my starter. These “discard” recipes (again, just recipes other than sourdough bread that use sourdough starter!) use more starter than recipes for loaves of bread do, so the flavor is much more pronounced. 


What should I do with my “discard”?

First and foremost, don’t call it discard! This implies it should be thrown away, and it certainly should not. 

The first recipes I tried with my starter were for pizza crust and English muffins. Of the two, I’ve given the English muffins all the tender love and care, and after three or four trials, I came up with what I think is the perfect recipe, and requires just whole-wheat and all-purpose flour, buttermilk, salt, and your sourdough starter. They’re fluffy on the inside, with a slightly chewy exterior, the essential nooks and crannies, and a distinct tangy sourdough flavor. Click HERE for more sourdough starter recipes.

Sourdough Guide: How to Make Your Own Starter

The easiest, softest, flakiest sourdough biscuits! Here’s the recipe I used. Fold the dough over on itself again and again and again - you’ll get lots of flaky layers.

Sourdough Guide: How to Make Your Own Starter

These English muffins are my absolute favorite. I use sourdough starter and buttermilk - the flavor is unmistakable and so. stinkin’. good. I’ll post the recipe next week!

sourdough cinnamon rolls.jpg

Of course, some sourdough cinnamon rolls needed to happen. I used this recipe from The Clever Carrot - delicious! They did dry out a bit more quickly than I expected, but maybe I baked them for too long. I’m not totally sure, but I do know that the rolls are good! Make them. Do it.

Sourdough Guide: How to Make Your Own Starter

Ready to make some bread?

Great! If this is your first homemade sourdough bread experience, I recommend using this guide from NYT Cooking by Claire Saffitz. She shows photos and explains each step in the long process, which makes it all feel less intimidating.

References:

  1. Sourdough Science. (n.d.). Retrieved April 17, 2020, from https://modernistcuisine.com/2018/09/sourdough-science/

  2. Herich, R., & Levkut, M. (2002). Lactic acid bacteria, probiotics, and immune system. Vet. Med. , 6, 169–180. Retrieved from http://vri.cz/docs/vetmed/47-6-169.pdf

  3. Pakdaman, M. N., Udani, J. K., Molina, J. P., & Shahani, M. (2015). The effects of the DDS-1 strain of lactobacillus on symptomatic relief for lactose intolerance - a randomized, double-blind, placebo-controlled, crossover clinical trial. Nutrition Journal, 15(1). doi: 10.1186/s12937-016-0172-y

  4. Waller, P. A., Gopal, P. K., Leyer, G. J., Ouwehand, A. C., Reifer, C., Stewart, M. E., & Miller, L. E. (2011). Dose-response effect of Bifidobacterium lactis HN019 on whole gut transit time and functional gastrointestinal symptoms in adults. Scandinavian Journal of Gastroenterology, 46(9), 1057–1064. doi: 10.3109/00365521.2011.584895

  5. Agrawal, A., Houghton, L. A., Morris, J., Reilly, B., Schlumberger, A., Jakob, S., & Whorwell, P. J. (2009). Clinical trial: the effects of a fermented milk product containing Bifidobacterium lactis DN-173 010 on abdominal distension and gastrointestinal transit in irritable bowel syndrome with constipation. Ailment Pharmacology and Therapeutics, 29(1), 104–114. doi: 10.1111/j.1365-2036.2008.03853.x.

  6. Miller, L. E., & Ouwenhand, A. C. (2013). Probiotic supplementation decreases intestinal transit time: Meta-analysis of randomized controlled trials. World Journal of Gastroenterology, 19(29), 4718–4725. doi: 10.3748/wjg.v19.i29.4718

  7. The Probiotic Effects of Lactic Acid Bacteria. (n.d.). Retrieved April 17, 2020, from https://bcdairy.ca/milk/articles/the-probiotic-effects-of-lactic-acid-bacteria