
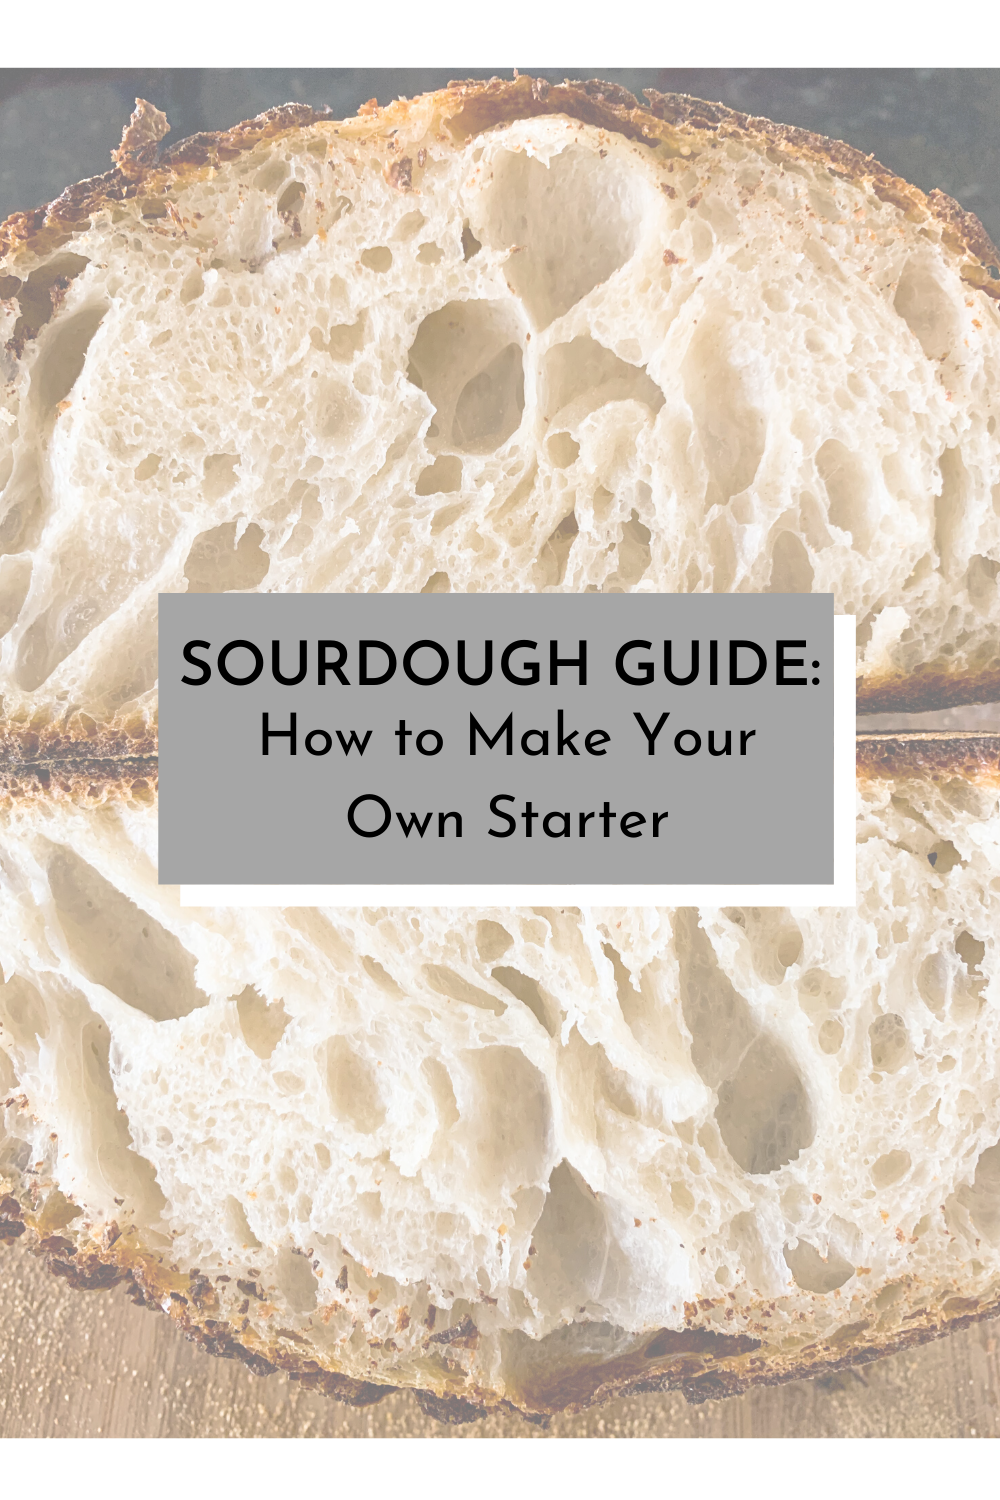
It’s tangy. It’s trendy. It’s traditional. And it’s now my favorite bread-making method - it’s sourdough! Four weeks ago, I took on the challenge of making my own starter and have been making all things sourdough since then. Here’s my guide to making and maintaining your own starter.
What is sourdough?
Packets of active-dry and instant yeast line grocery store shelves these days, and they’re commonly used in bread-making. However simple and convenient they may be, they aren’t essential in the traditional way of making bread. Before these advancements, bread-bakers utilized wild yeast grown by mixing equal parts flour and water, and lots of time, and this became what we now know as a sourdough starter. Wild yeast may sound a little scary and dangerous, but it doesn’t need to be. It’s simple, safe, and the only way to achieve a stunning loaf of traditional and nutritious, tangy and crusty sourdough bread.
This sourdough starter - also called a “pre-ferment” - once it's alive and regularly cared for, can be used in a wide variety of recipes - waffles, sweet breads, focaccia, pizza crusts, and even biscuits and English muffins. Now that I’ve grown my starter, understood how to care for it, and used it as the backbone of flavor and texture in several recipes, it’s a staple in my kitchen and I’m not going back to store-bought yeast.

What are the benefits of sourdough?
Not only is a starter convenient and simple, it’s beneficial for digestion and packed with nutrition. Through natural fermentation, the wild yeasts present in the flour break down other components in the flour, like the protein gluten, for example. Over a period of time, the yeast grows and multiplies, partially breaking down the flour proteins and creating air bubbles. Some who are sensitive to gluten have an easier time digesting sourdough bread because of the partial breakdown that occurs through fermentation. Though not everyone has a sensitivity to gluten, in particular, we can still thank the fermentation process for this pre-digestion - it gives our digestive system a little bit of a break, you could say. Additionally, this fermentation produces probiotics - the good bacteria - which benefit the gut microbiome (7).
Though many probiotics don’t survive in extreme heat (like a 450F degree oven for bread-baking), the lactic acid bacteria that produce them do survive and live symbiotically and actually far outnumber the wild yeast. This bacteria - Lactobacillus - along with Bifidobacteria are vital for fermentation and stability in the bread (1), as well as the tangy flavor characteristic of sourdough like in yogurt and buttermilk. It also provides the probiotic benefits - improved digestion (4, 5, 6), alleviation of lactose intolerance (in some people, not all) (3), and a strengthened immune system (2).
Ready to make your own starter?
First, let’s talk necessities because there are a few essential ingredients and small pieces of equipment needed for this process to go smoothly. The most important necessity is flour, obviously, but with so many varieties on the shelf today, how do we know which is best for making and maintaining a starter? For making bread and all those other sourdough recipes? All-purpose flour is the most reliable for starting out (starting a starter lol). Next in line is bread flour - this varietal has a slightly higher protein content than all-purpose flour, but is still reliable for the starter process. Whole-wheat pastry flour and whole-wheat flour work well, too, and I’ve used these in my starters without a hitch. They do contain a bit more fiber and protein than all-purpose flour, so they absorb more moisture. I recommend using all-purpose or bread flour for the first couple weeks when you develop your starter to avoid any potential issues that may arise from using whole-wheat flours due to the difference in absorbency.
Equipment needed
Wooden spoon or rubber spatula (I like the spatula the best)
According to King Arthur Flour, stainless steel utensils will not harm the bacteria in your sourdough starter. However, copper and aluminum can, so stay away from these. I prefer using a rubber spatula for mixing because I find that the starter and doughs release more easily.
Glass bowl with airtight lid or plastic wrap and rubber band
A glass bowl is handy because it allows you to see how much the starter grows over the five days you are developing it. Bubbles are the best indicator of activity, which you can see on the surface of the starter, so if you don’t have a glass bowl, you’ll still be able to monitor. You can also use large Mason jars, but you’ll need to separate the starter more frequently as these tend to be smaller than large glass bowls.
Kitchen scale (highly recommended for accurate measurements)
Get. A. Scale. From here on out, my sourdough recipes will be written using grams because this is the most accurate measurement for bread recipes, and it’s how many of the bread recipes I’ve used are written. My kitchen scale is ancient and made of plastic, and yours doesn’t need to be anything fancy, either. It’s a small investment that will serve you for a long time!
Making a sourdough starter is usually a five-day process. Mine was bubbly and alive and well on day five, but depending on the atmosphere in your kitchen, yours could take another day or two to reach the same level of activity. Ideally, a sourdough starter thrives in a warm-ish room temperature of about 70F-75F. While you’re developing the starter, do your best to maintain this temperature wherever you store it. After it’s fully developed and bubbly, you can store it in the fridge and feed it every few days. The colder temperature in the fridge slows the fermentation process and therefore slightly reduces the starter’s activity level. When you’re ready to use the starter, take it out of the fridge 2-3 days in advance and begin feeding it everyday to ensure that it’s active and bubbly as it was before you put it in the fridge.
For the five days of starter development, you will not be discarding/separating any of the starter, as it utilizes the nutrients from all the flour to grow! After the fifth day, you can begin discarding/separating to prevent your starter from becoming life-size, which I will discuss shortly.
Day 1:
Stir together equal parts all-purpose flour and water in a large glass bowl until combined. Cover with an airtight lid and store, undisturbed, at 70F-75F for 24 hours.
75 g all-purpose flour + 75 g room temperature water
Day 2:
Uncover the bowl, and stir in another round of equal parts flour and water. Cover with an airtight lid and store, undisturbed, at 70F-75F for 24 hours.
75 g all-purpose flour + 75 g room temperature water
On day 2, you might start to see some bubbling activity. If you don’t, that’s okay!
Days 3-4:
Uncover the bowl, and stir in another round of equal parts flour and water. Cover with an airtight lid and store, undisturbed, at 70F-75F for 24 hours.
75 g all-purpose flour + 75 g room temperature water
During these 2 days, you should start seeing bubbles on the surface of the starter. By day 4, it should have grown significantly in size.
Day 5:
Use it! Your starter is ready for baking at this point. If you have a recipe you’re ready to bake, simply separate the amount of starter it calls for and leave the rest in the container at room temperature. Feed the portion of starter you don’t use just as you did during days 1-4.
“Discarding” (just separating!)
If you’ve done any research at all on sourdough until this point, you’ve heard the term “discard” - this is what kept me from making sourdough for so long, actually. To “discard” or throw away half the starter each day seemed like such a waste. Then, it clicked - what everyone means by “discard” is basically just divide or separate the starter to prevent it from growing into the size of a small human. Most bakers and recipes refer to any of the starter not used for baking a loaf of sourdough bread as “discard”. This was interesting to me because I actually found everything I made other than an actual loaf of bread more enjoyable than the bread itself. And, most bread recipes call for a scant 1 tablespoon of starter, whereas the recipes for “discard” in cookbooks and on websites use far more starter than that (which means more flavor!). To me, this seems backwards, but oh well.
Anyway, here’s how it works. On day 5, you’ll start the “discard” process. Have a recipe or two in mind, and then divide/separate the amount of starter needed for those recipes. Leave the remaining starter in the original bowl or storage container, feed it, and place it in the fridge for future use. Don’t throw anything away! Just repurpose it.
The possibilities for this “discard” starter are absolutely endless. Biscuits, muffins, waffles, pancakes, cinnamon rolls, cookies - you name it, you can make it with your discard starter. Surprisingly, I liked these better than the loaves of bread I made with my starter. These “discard” recipes (again, just recipes other than sourdough bread that use sourdough starter!) use more starter than recipes for loaves of bread do, so the flavor is much more pronounced.
What should I do with my “discard”?
First and foremost, don’t call it discard! This implies it should be thrown away, and it certainly should not.
The first recipes I tried with my starter were for pizza crust and English muffins. Of the two, I’ve given the English muffins all the tender love and care, and after three or four trials, I came up with what I think is the perfect recipe, and requires just whole-wheat and all-purpose flour, buttermilk, salt, and your sourdough starter. They’re fluffy on the inside, with a slightly chewy exterior, the essential nooks and crannies, and a distinct tangy sourdough flavor. Click HERE for more sourdough starter recipes.

The easiest, softest, flakiest sourdough biscuits! Here’s the recipe I used. Fold the dough over on itself again and again and again - you’ll get lots of flaky layers.
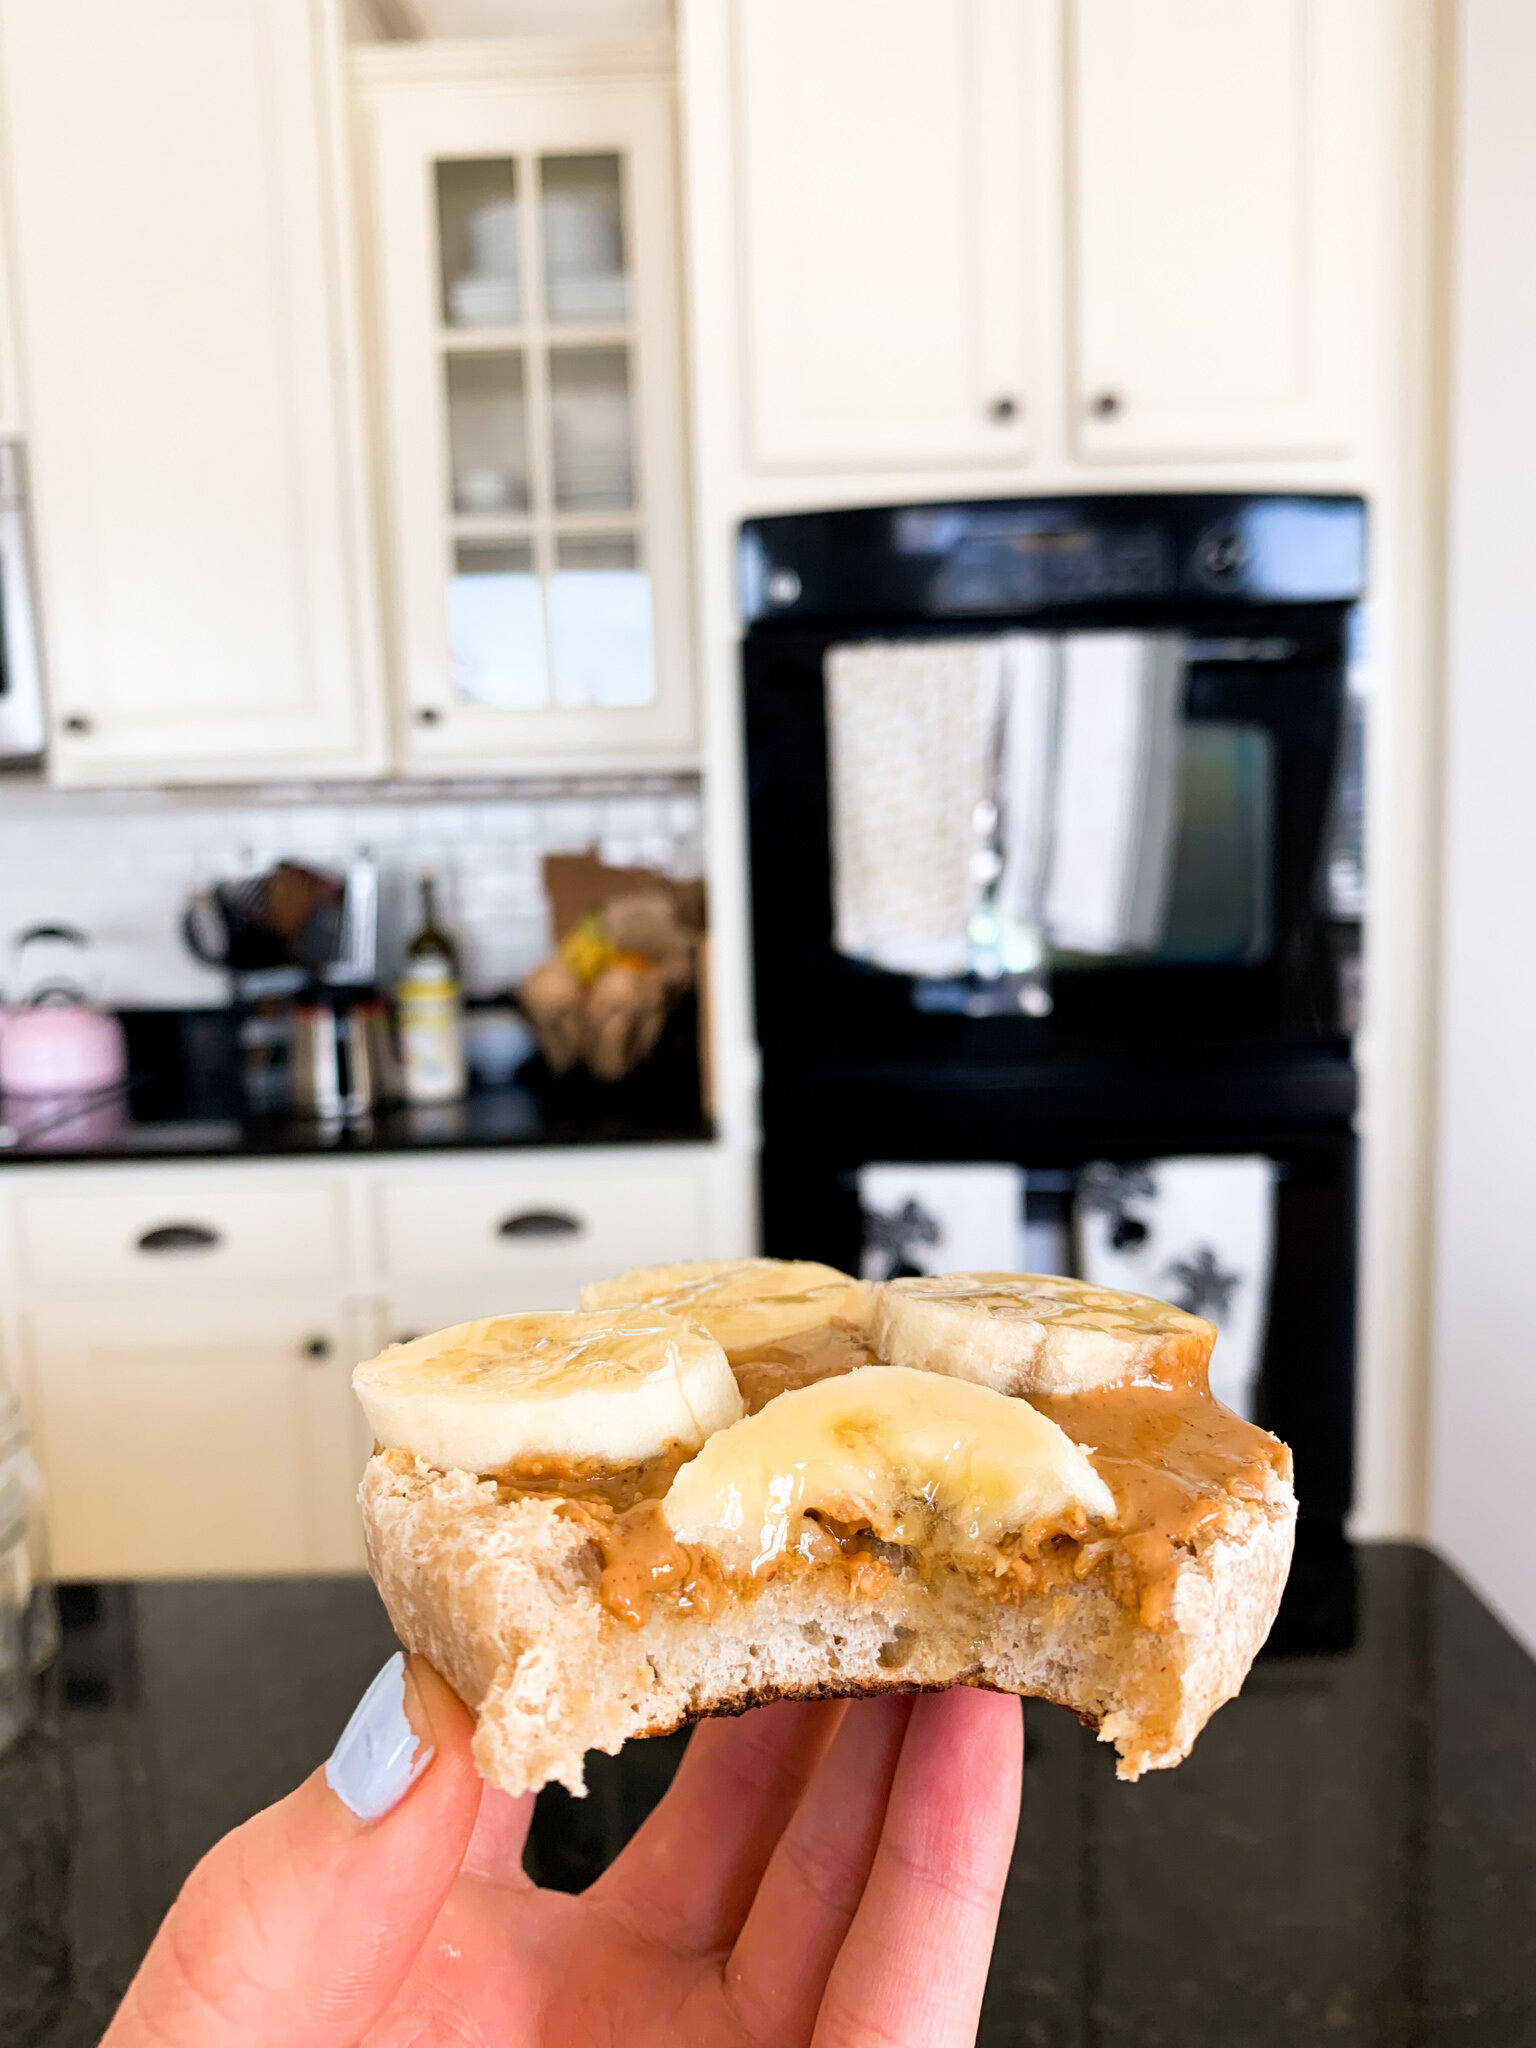
These English muffins are my absolute favorite. I use sourdough starter and buttermilk - the flavor is unmistakable and so. stinkin’. good. I’ll post the recipe next week!

Of course, some sourdough cinnamon rolls needed to happen. I used this recipe from The Clever Carrot - delicious! They did dry out a bit more quickly than I expected, but maybe I baked them for too long. I’m not totally sure, but I do know that the rolls are good! Make them. Do it.
Ready to make some bread?
Great! If this is your first homemade sourdough bread experience, I recommend using this guide from NYT Cooking by Claire Saffitz. She shows photos and explains each step in the long process, which makes it all feel less intimidating.
References:
Sourdough Science. (n.d.). Retrieved April 17, 2020, from https://modernistcuisine.com/2018/09/sourdough-science/
Herich, R., & Levkut, M. (2002). Lactic acid bacteria, probiotics, and immune system. Vet. Med. , 6, 169–180. Retrieved from http://vri.cz/docs/vetmed/47-6-169.pdf
Pakdaman, M. N., Udani, J. K., Molina, J. P., & Shahani, M. (2015). The effects of the DDS-1 strain of lactobacillus on symptomatic relief for lactose intolerance - a randomized, double-blind, placebo-controlled, crossover clinical trial. Nutrition Journal, 15(1). doi: 10.1186/s12937-016-0172-y
Waller, P. A., Gopal, P. K., Leyer, G. J., Ouwehand, A. C., Reifer, C., Stewart, M. E., & Miller, L. E. (2011). Dose-response effect of Bifidobacterium lactis HN019 on whole gut transit time and functional gastrointestinal symptoms in adults. Scandinavian Journal of Gastroenterology, 46(9), 1057–1064. doi: 10.3109/00365521.2011.584895
Agrawal, A., Houghton, L. A., Morris, J., Reilly, B., Schlumberger, A., Jakob, S., & Whorwell, P. J. (2009). Clinical trial: the effects of a fermented milk product containing Bifidobacterium lactis DN-173 010 on abdominal distension and gastrointestinal transit in irritable bowel syndrome with constipation. Ailment Pharmacology and Therapeutics, 29(1), 104–114. doi: 10.1111/j.1365-2036.2008.03853.x.
Miller, L. E., & Ouwenhand, A. C. (2013). Probiotic supplementation decreases intestinal transit time: Meta-analysis of randomized controlled trials. World Journal of Gastroenterology, 19(29), 4718–4725. doi: 10.3748/wjg.v19.i29.4718
The Probiotic Effects of Lactic Acid Bacteria. (n.d.). Retrieved April 17, 2020, from https://bcdairy.ca/milk/articles/the-probiotic-effects-of-lactic-acid-bacteria