So, you’ve grown your starter, stocked up on flour, and now you’re ready to bake a loaf of rustic, crusty sourdough bread. But, how? It’s not as easy as mixing together flour, water, and salt, waiting for it to rise, and baking it until golden brown. However, it is simple and it is so worth the time required. In this post, I’ll walk you through each step of making my favorite loaf - the Sourdough Country Loaf by Amy Duska of Little Spoon Farm. In the last few weeks, I’ve made this recipe several times, changing one or two variables each time to alter the flavor, texture, crust, etc. and to gain a better understanding of the purpose behind each step of the sourdough-bread-making process. Let’s get started!
Starter
Here, we begin by stirring together 12-15 grams of our active, bubbly starter with 50 grams each of all-purpose flour and room temperature water, and letting this sit in an airtight container for 4-12 hours. The recipe specifies 12 grams of starter, but I’ve used up to 15 grams because my scale isn’t that precise and I’m too lazy to scoop out 3 tiny grams of starter. All but once, I have let this mixture sit for 12 hours. In the most recent loaf I made, I tried letting this mixture sit for just 5-6 hours and the loaf didn’t rise quite as much. The trade-off here is that letting the starter prep sit overnight allows for greater activation and therefore yields a more well-risen loaf, but a longer process (8 extra hours… even if you’re asleep while that’s happening). Letting the starter prep sit for 5-6 hours, on the other hand, leaves it with less time to activate to its full potential and therefore yields a less well-risen loaf. I prefer and recommend letting it sit overnight, or for as close to 12 hours as possible. It’s worth it!
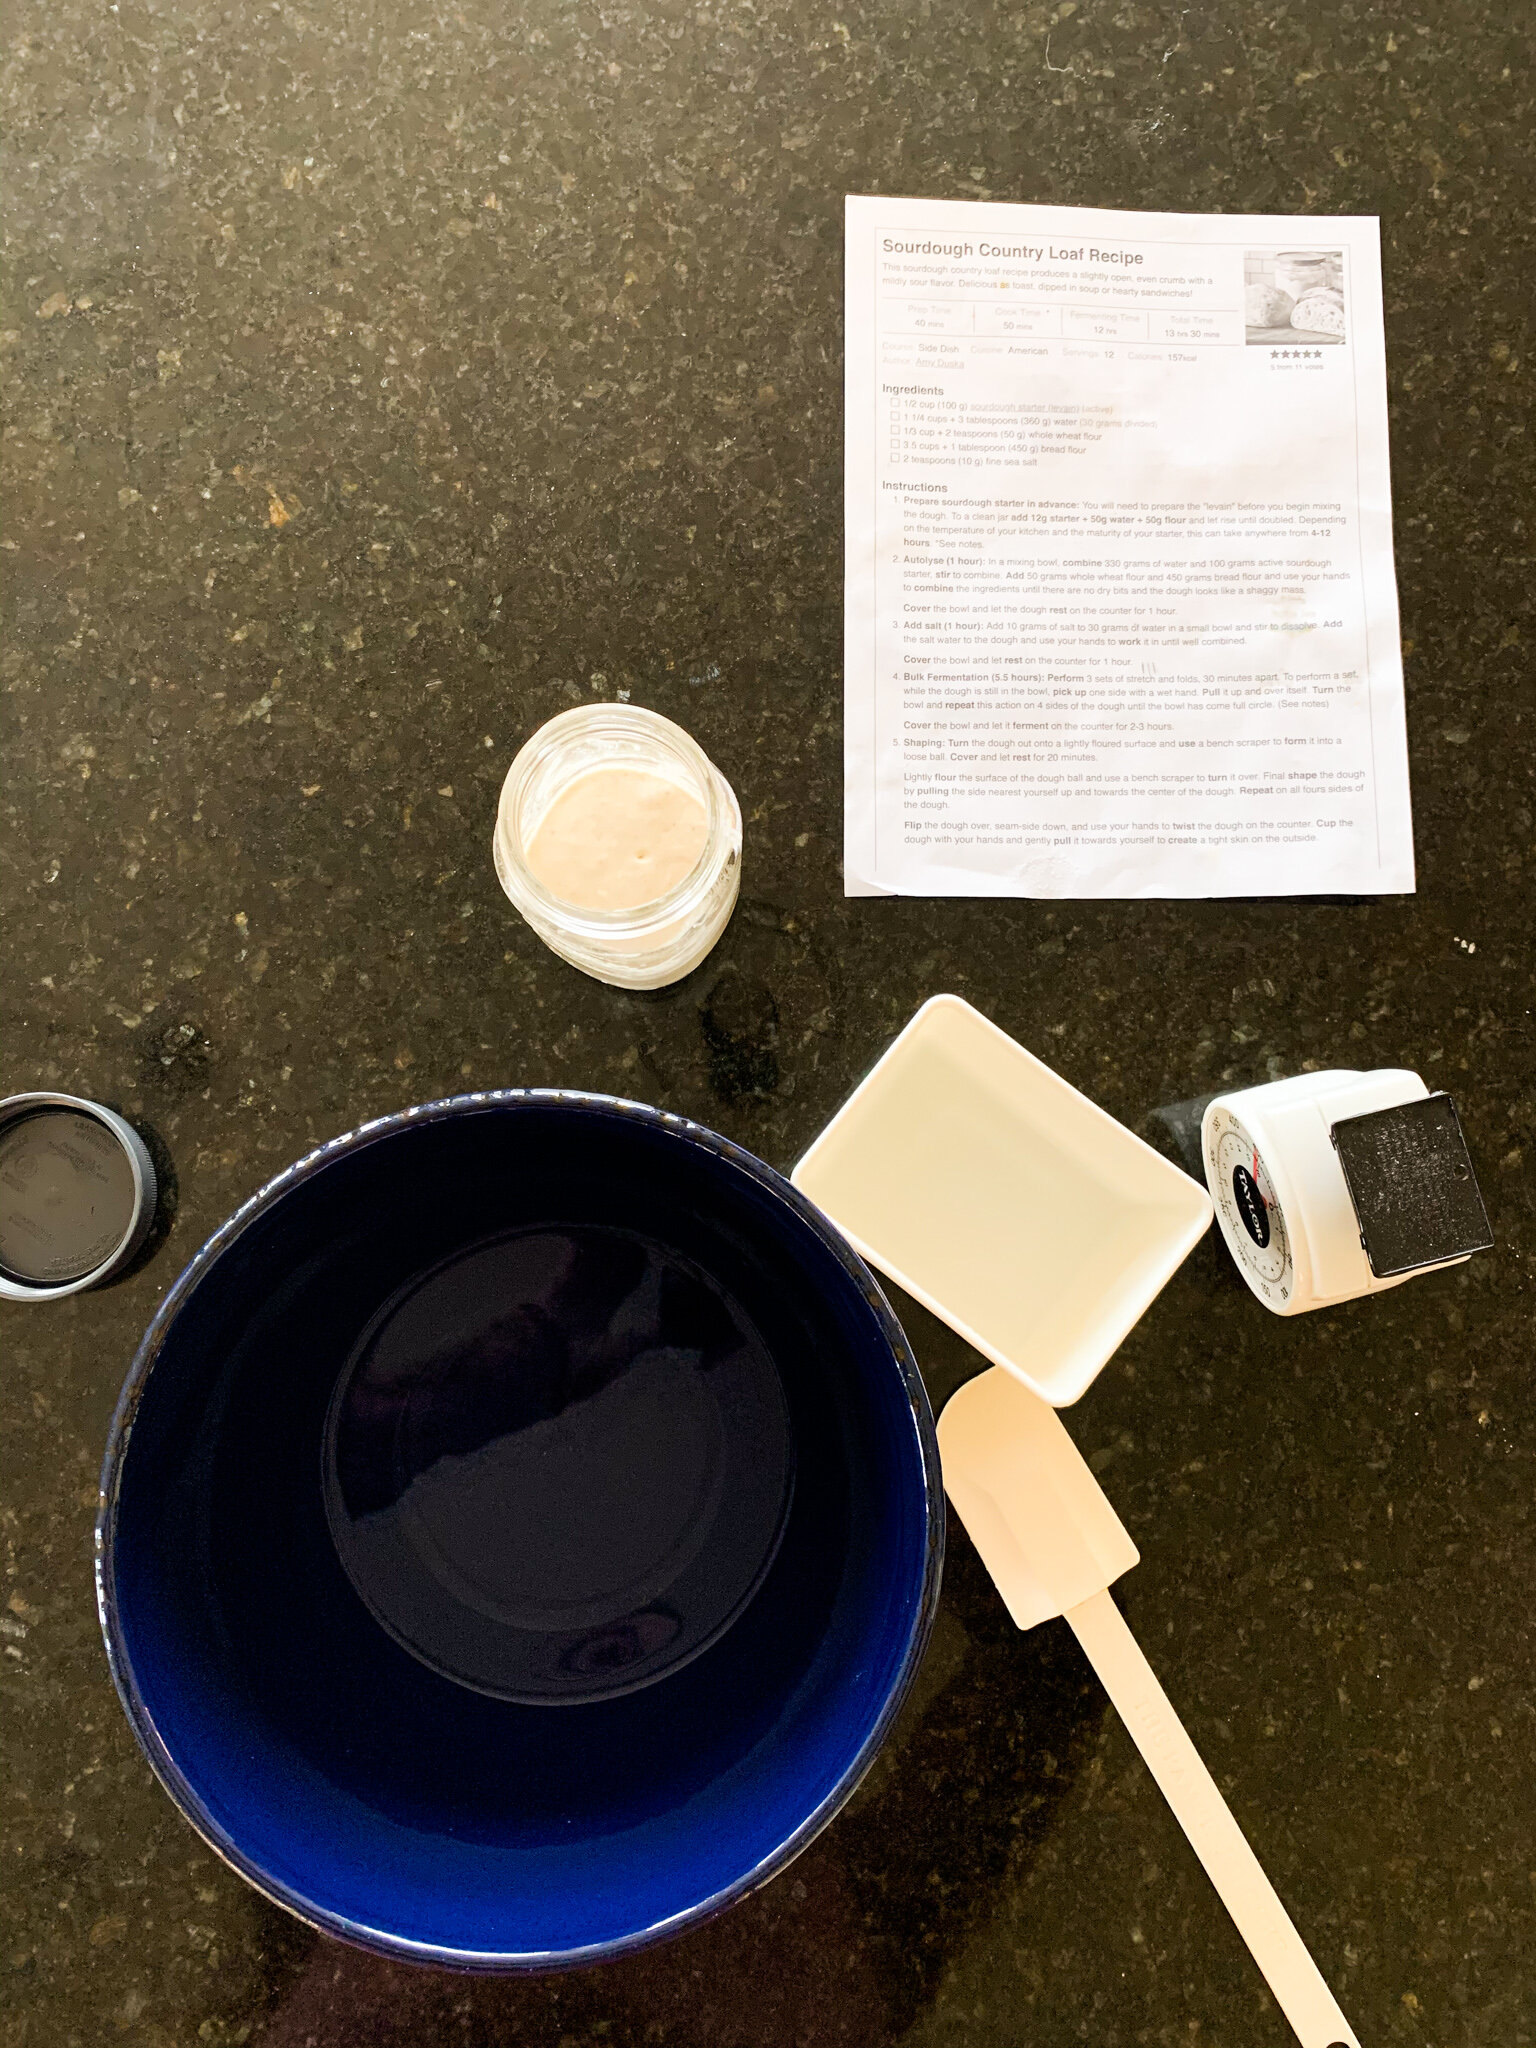
Autolyse
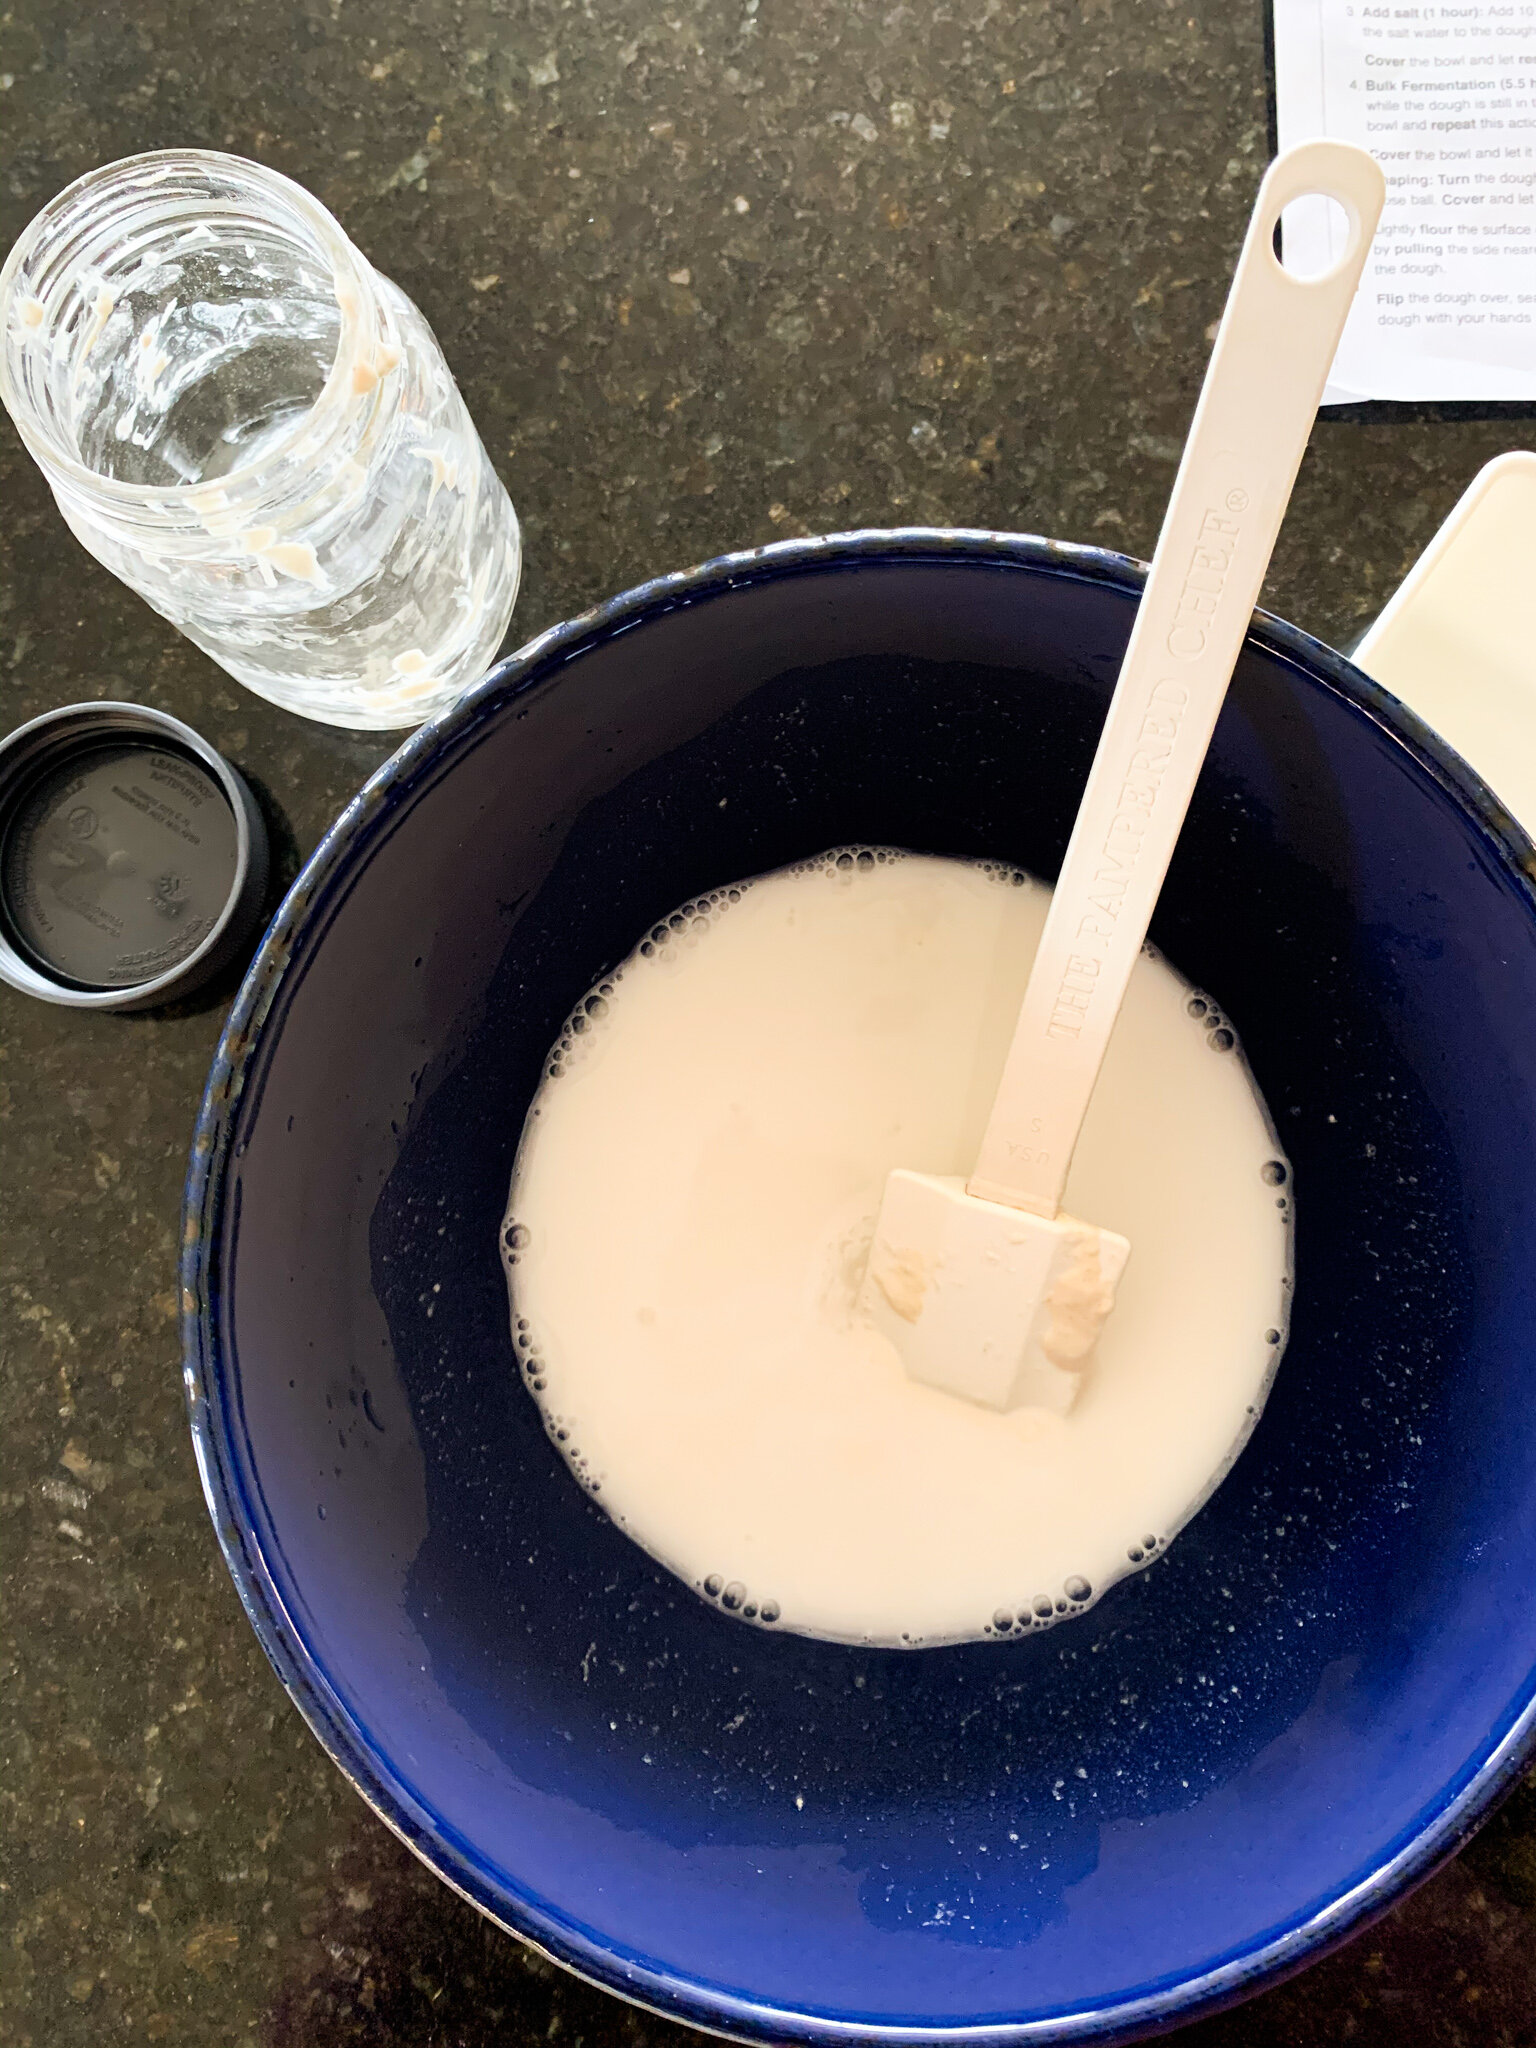
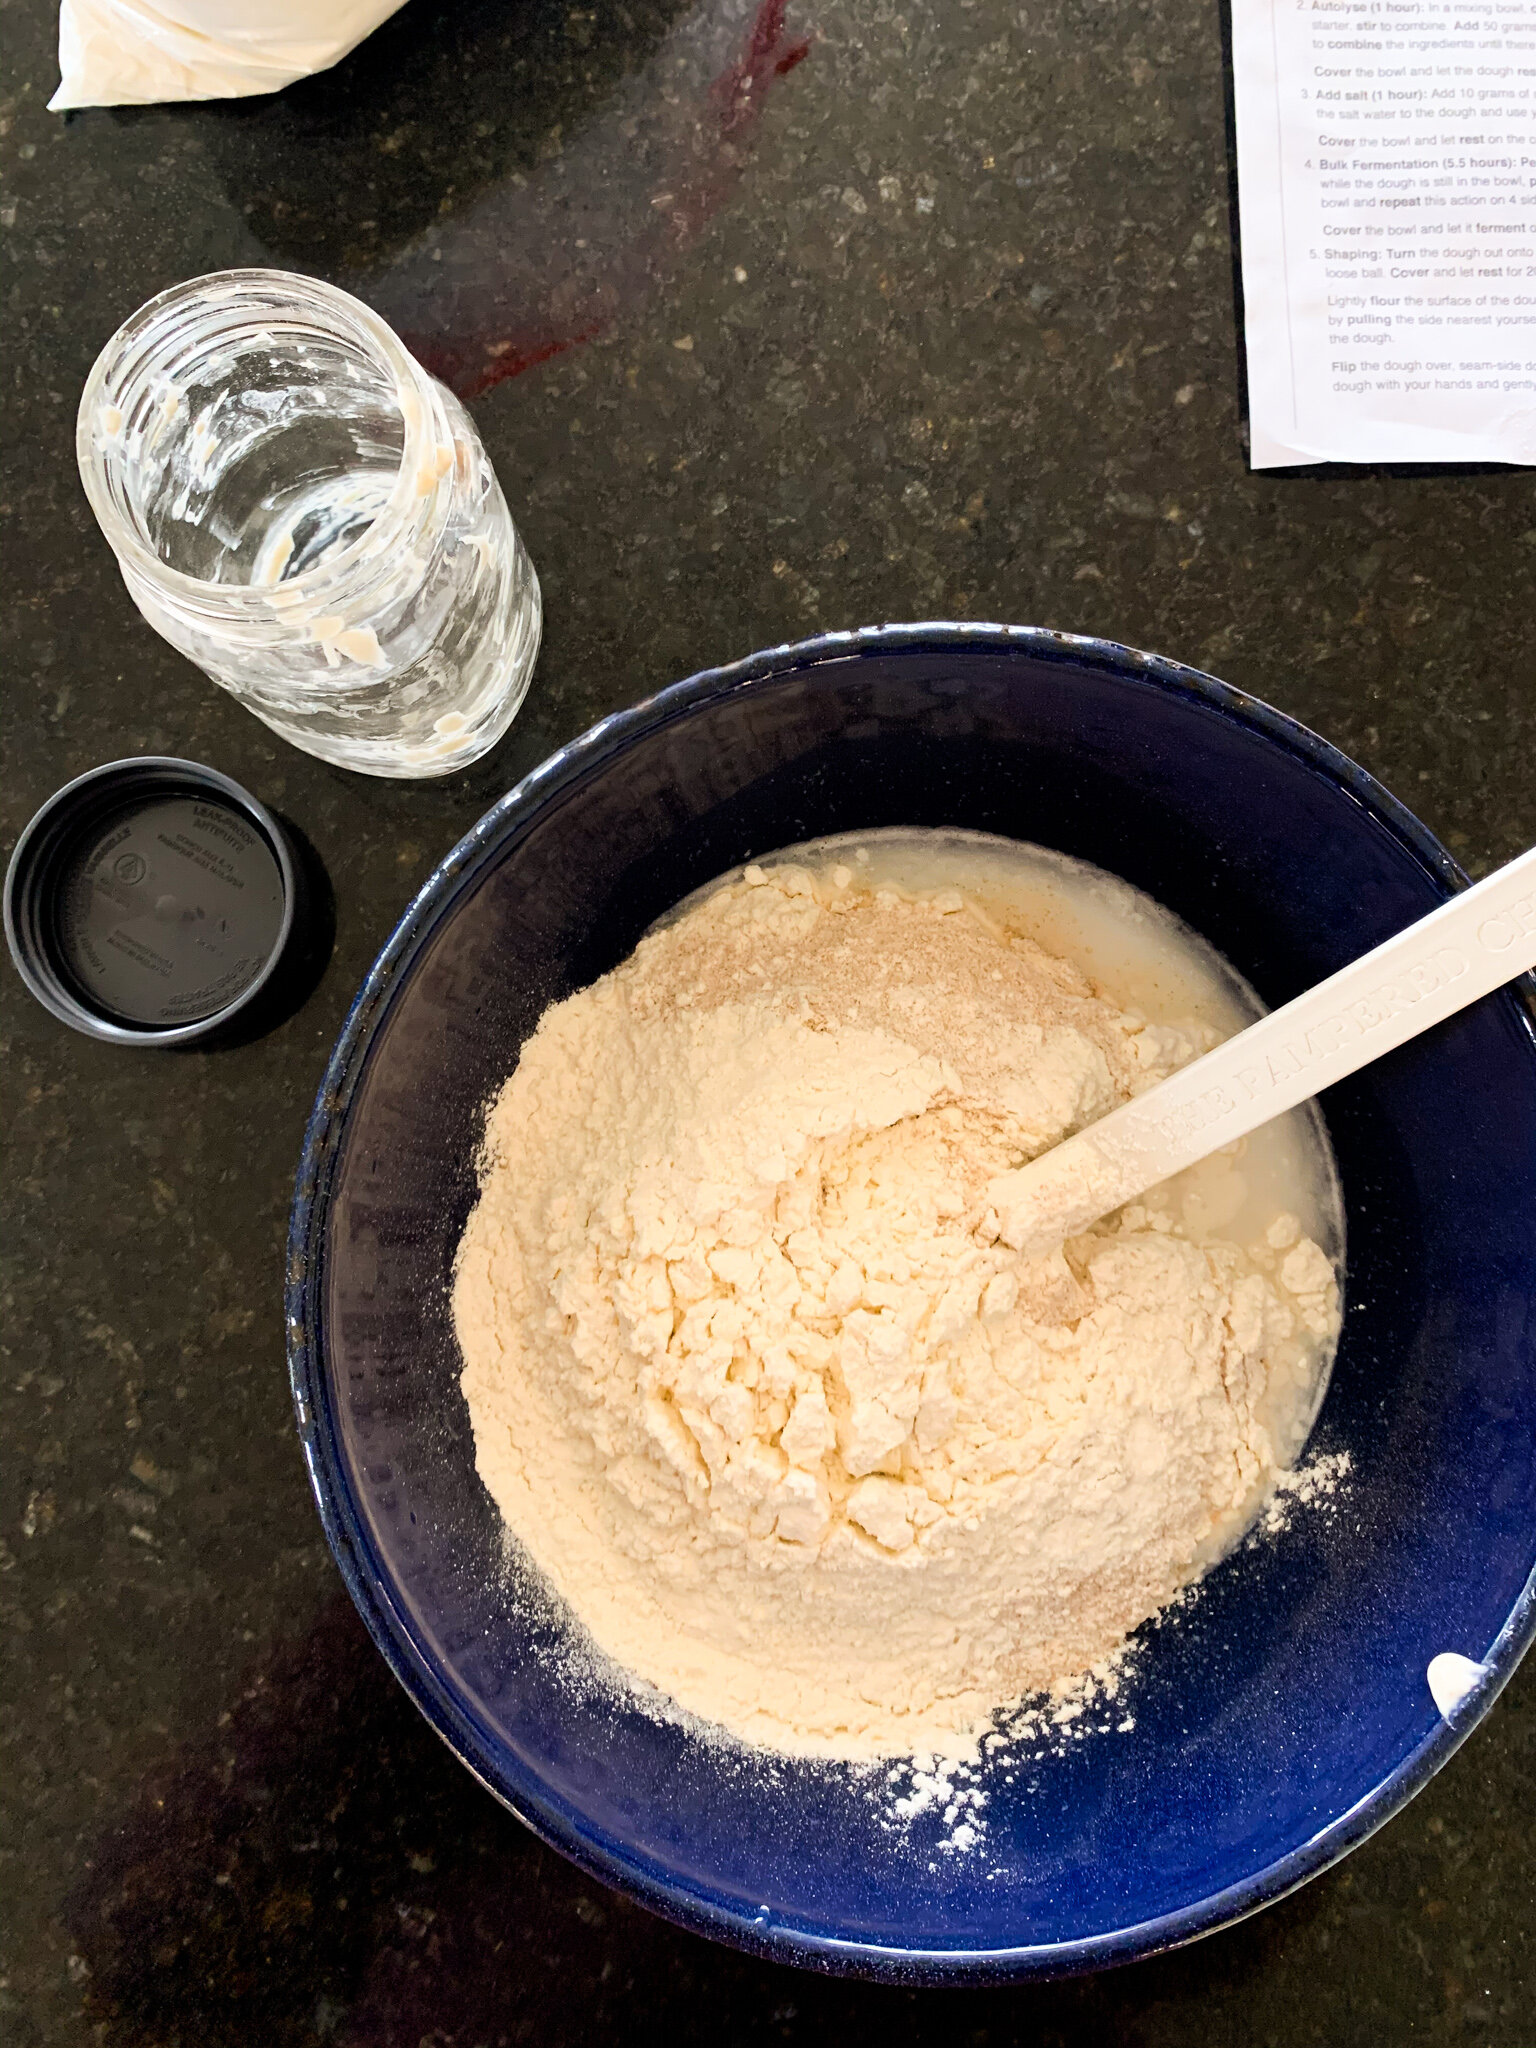
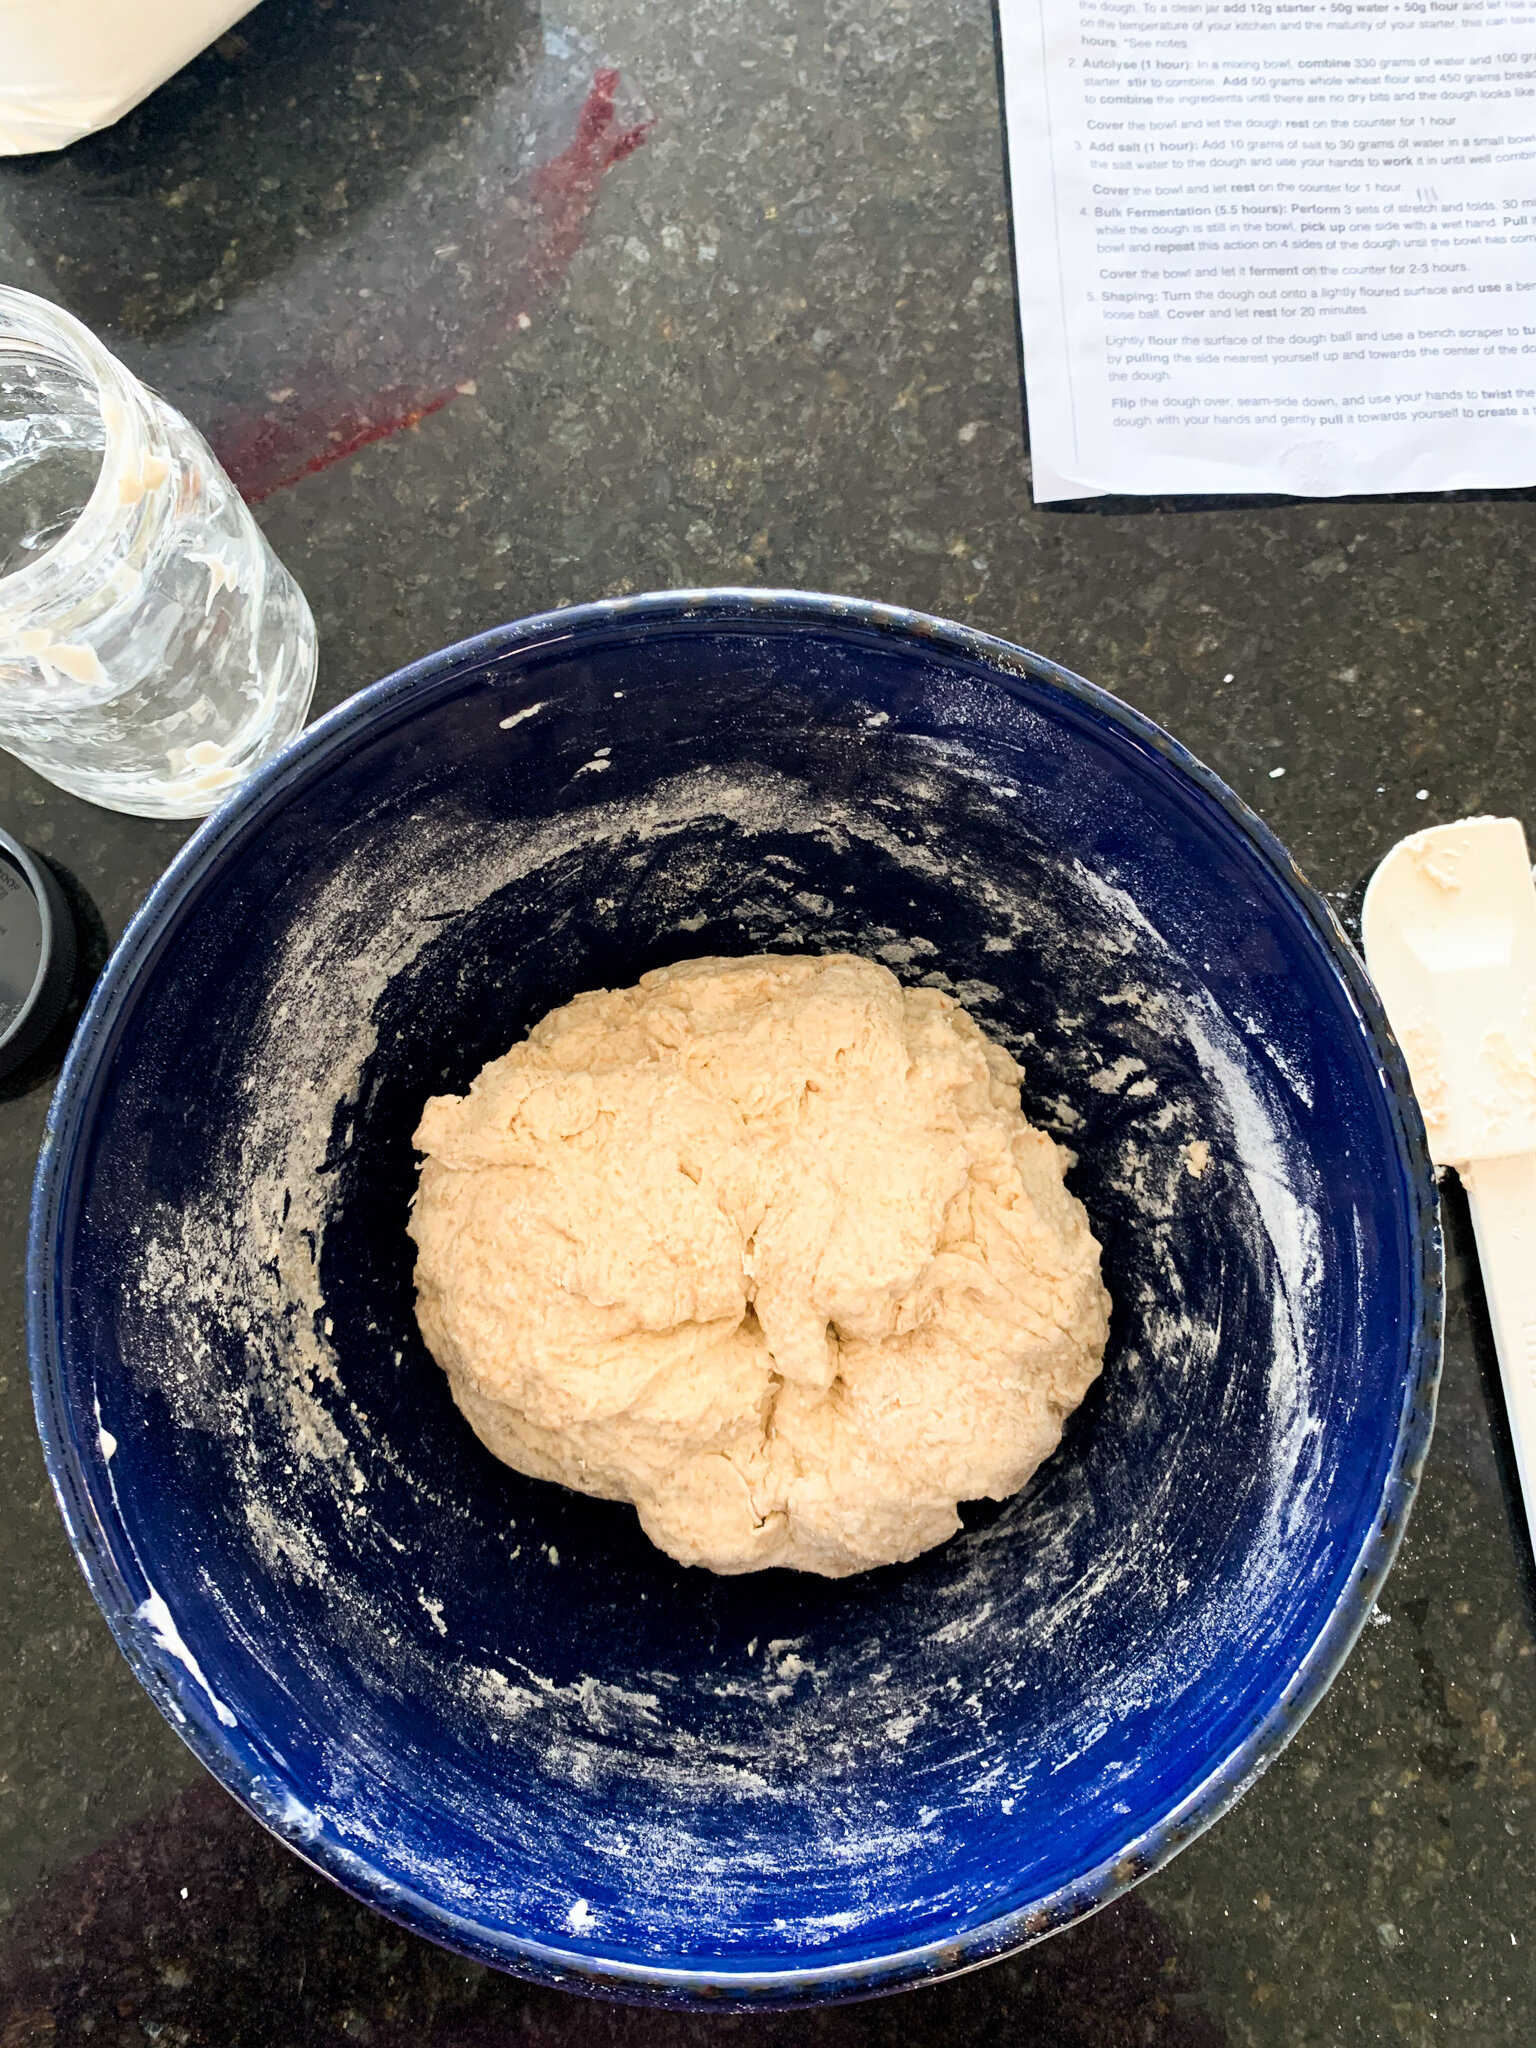
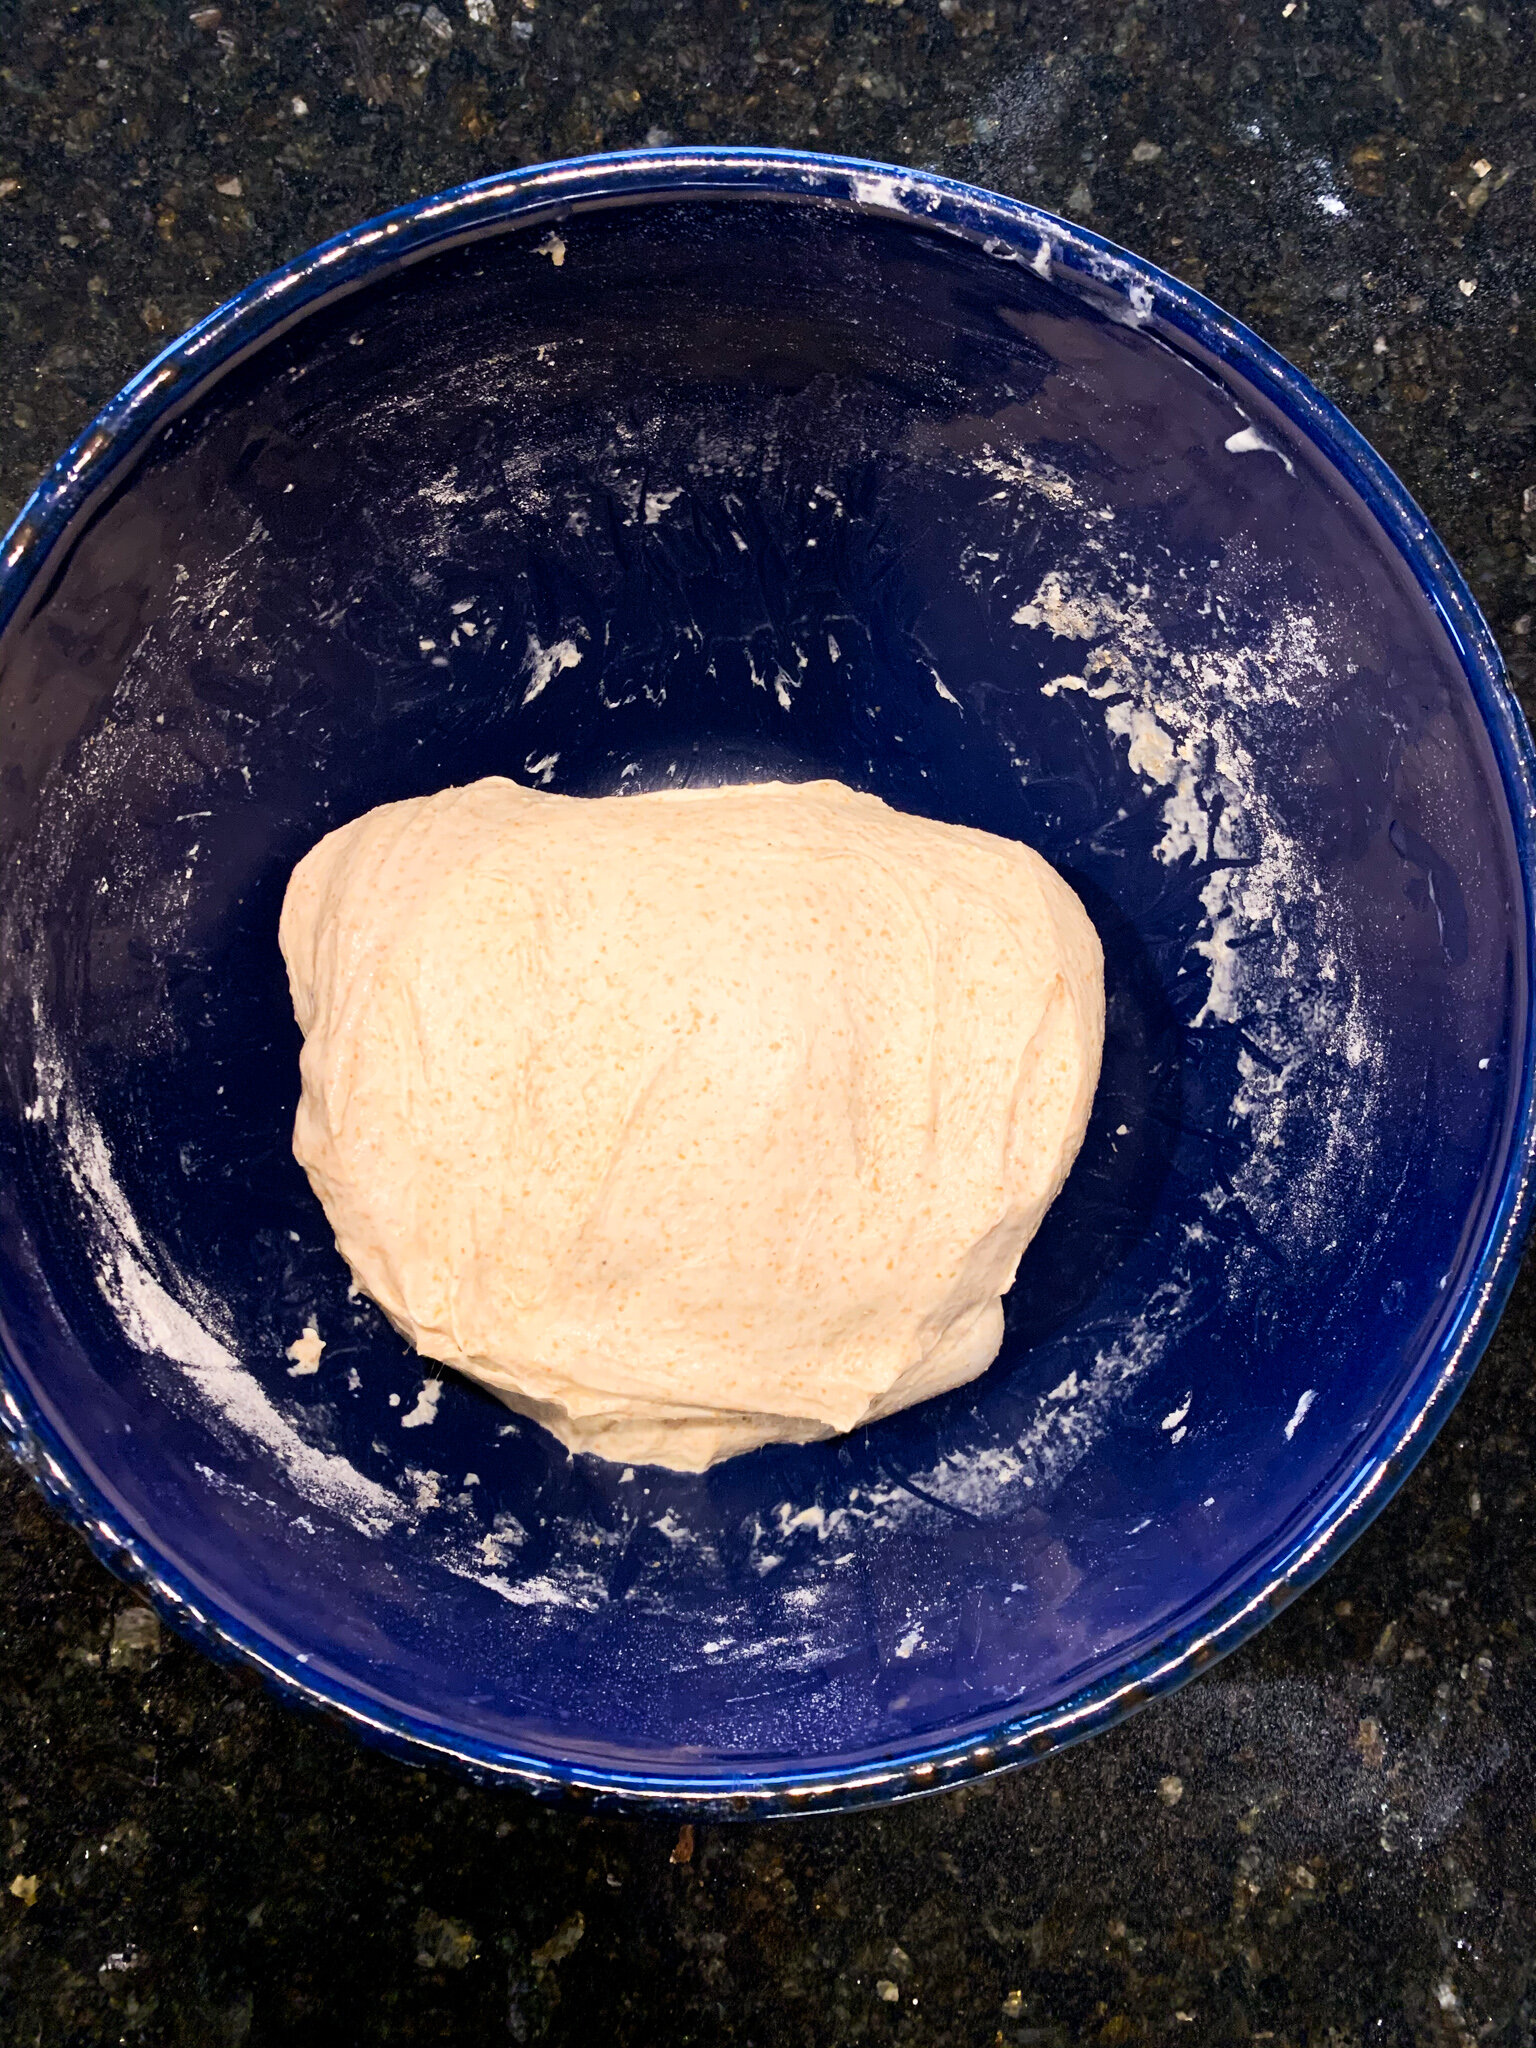
After 4-12 hours, the starter prep is mixed with water and flour to begin the autolyse stage. Scientifically speaking, this word is broken down into “auto” and “lysis”, which translates to the natural or automatic breakdown of something. In this case, it refers to the yeast in the starter prep feeding on the sugar from the starches in the flour, and an enzyme called protease breaking down some of the proteins in the flour. This recipes calls for 100 grams of the starter prep to be mixed with 330 grams of water and 500 total grams of flour - 450 grams of all-purpose and 50 grams of whole-wheat. After 1-2 times following this recipe exactly, I experimented with different ratios of flour. My favorite is 300-350 grams of all-purpose flour and 150-200 grams of whole-wheat flour. Once mixed into a shaggy dough, this sits at room temperature, covered, for 1 hour. To reduce waste, use a bowl with an attachable lid. Or, use a small square of plastic wrap - only what you need! - and save it to reuse throughout the entire process, rather than tearing off a new piece at each step.
In the meantime, stir together 30 grams of warm water and 10-15 grams of salt in a small bowl, and let the salt dissolve before it’s added to the dough in the next step. The recipes calls for 10 grams, but I’ve added up to 15 and found it didn’t make much of a difference in the saltiness or texture of the loaf.
Salt
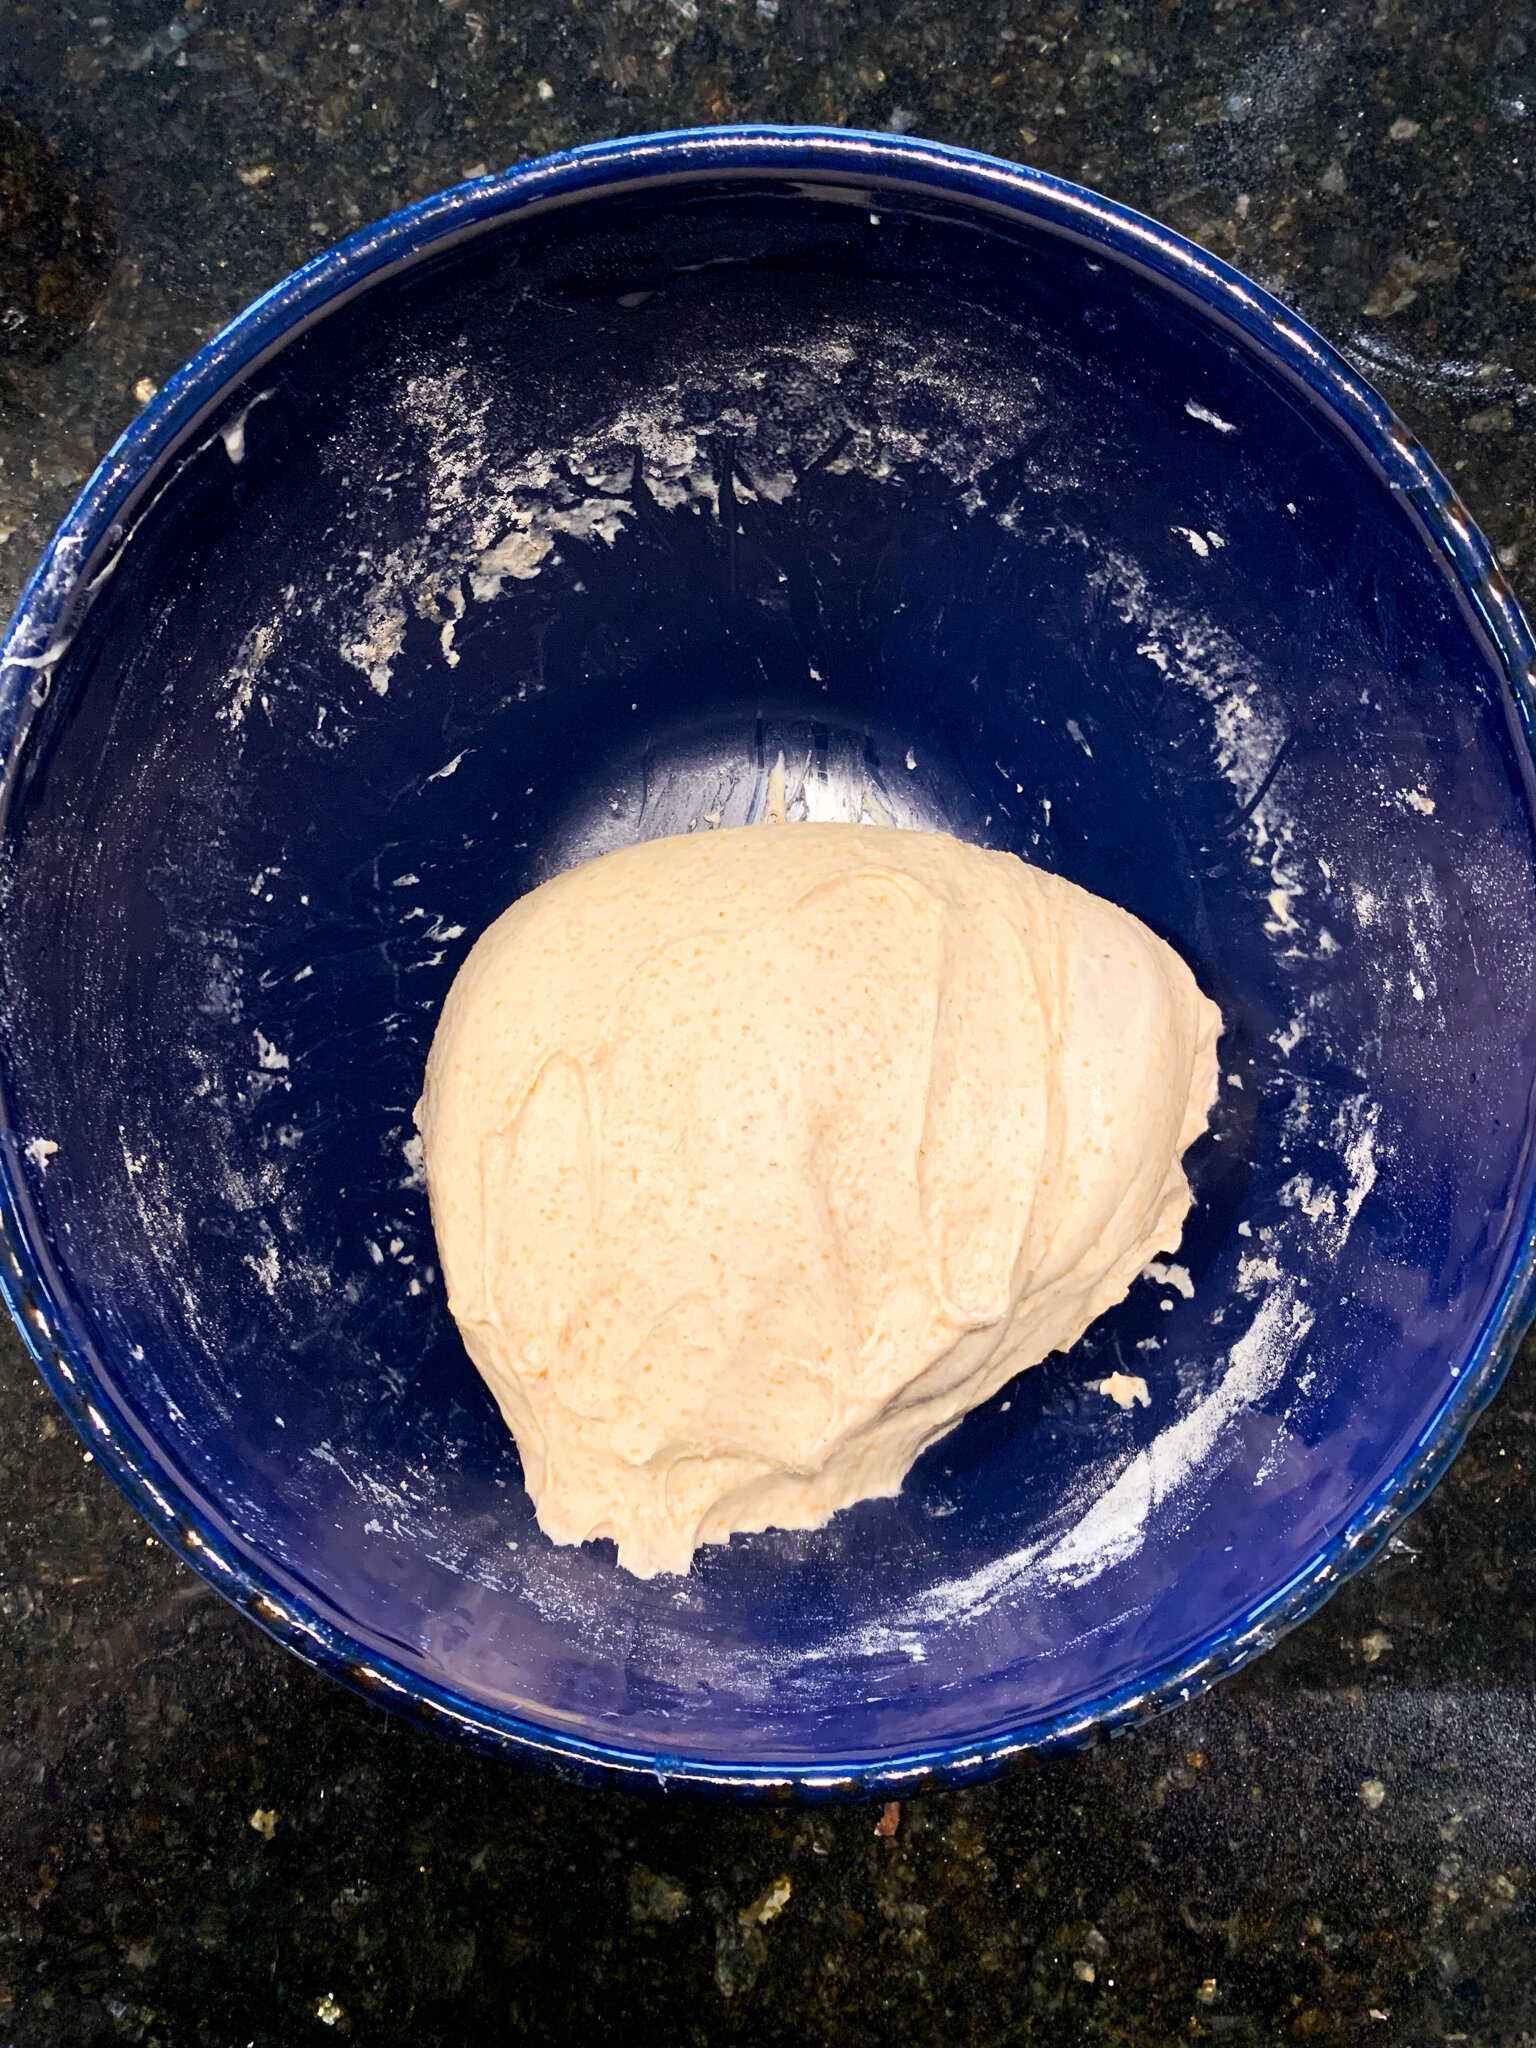
After one hour, the 30 grams of water + 10-15 grams of salt is added to the dough. At first, the dough will feel tough and stiff, and you’ll need to sort of poke or pinch the salt water into the dough. It makes that mushy-gushy sound that some equate to nails on a chalkboard, but I equate to bowls of mac n’ cheese from my childhood, so I enjoy it. If you hate it, well, it must be endured here because that salt water has got to well-incorporated.
Once the dough is smooth, cover it again and let it rest at room temperature for another hour.
Bulk Fermentation
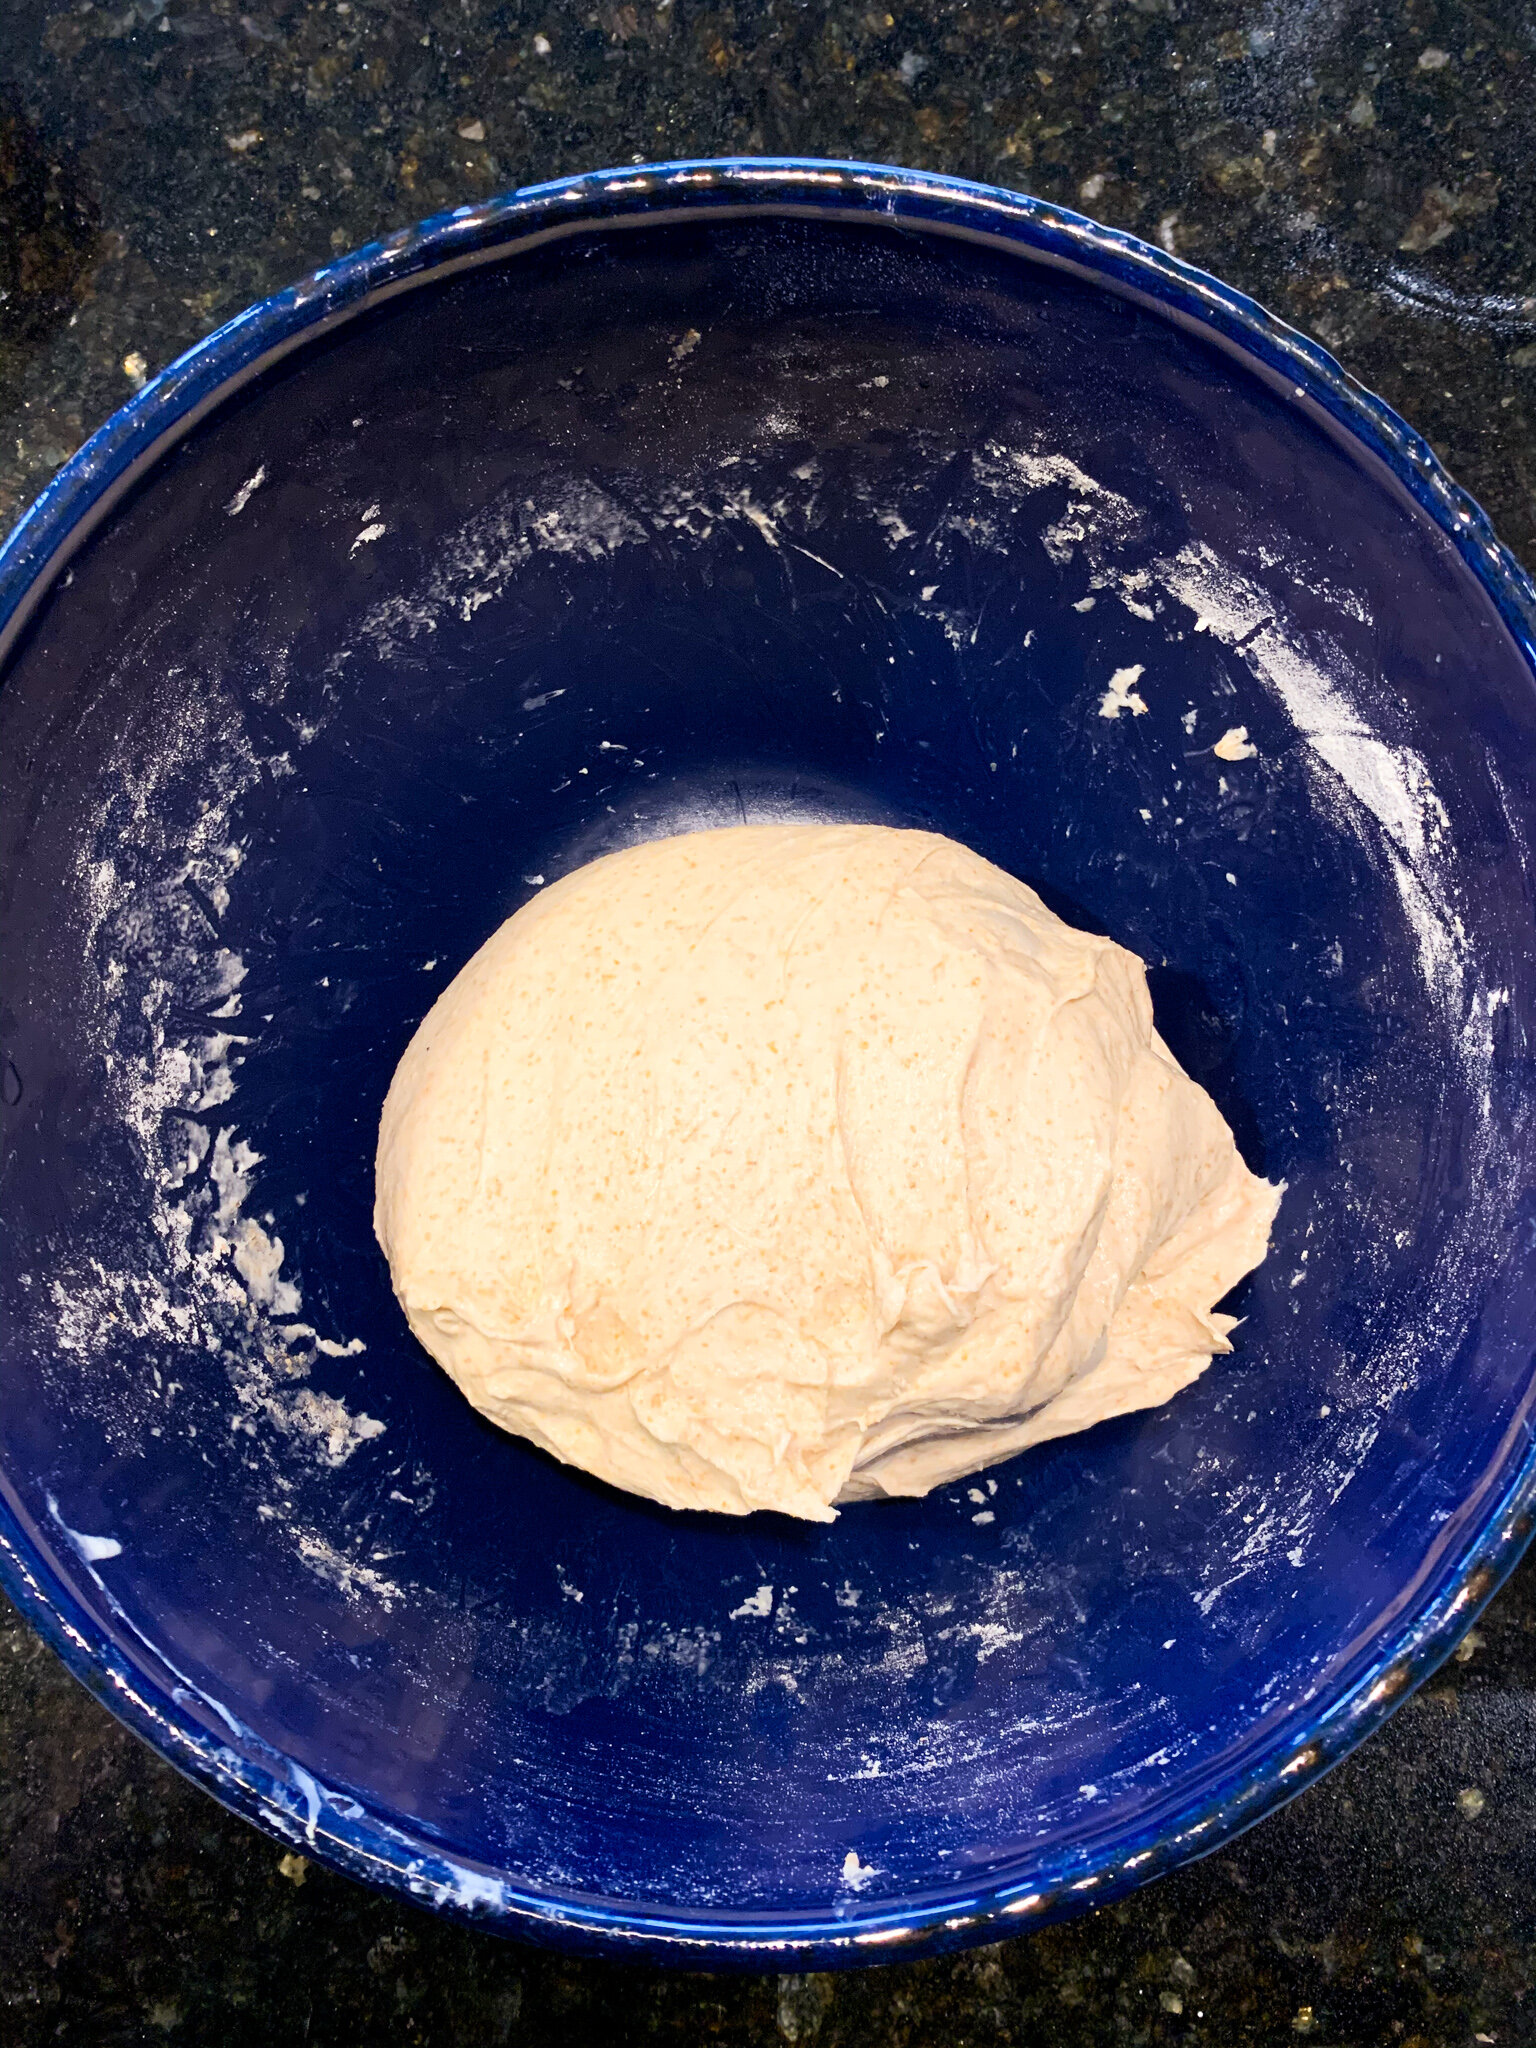
Second to slicing the finished loaf open and slathering a piece with butter, this is my favorite part! Bulk fermentation is the first fermentation process in bread-making. At this very important stage, we’ve finished mixing the dough and, from here on out, all we’ll really be doing is folding and lightly shaping the dough. To begin folding, gently pull the dough up at one side and fold it over. Turn the bowl 90 degrees, pull the dough up at the next side, fold it over, and repeat this two more times. Perform three sets of four folds, as described, 30 minutes apart. Between each set of folds, cover the dough and let it sit at room temperature. Watch Amy’s video on this recipe for a better visual of what this looks like. With each fold, the dough will tighten and make it more difficult to pull it up and fold it over, so don’t worry if the first fold is more complete the third or fourth in each set, or from the first set to the third set.
After the final set of folds, cover the dough and it let sit at room temperature for 2-3 hours.

Shape and Second Rise
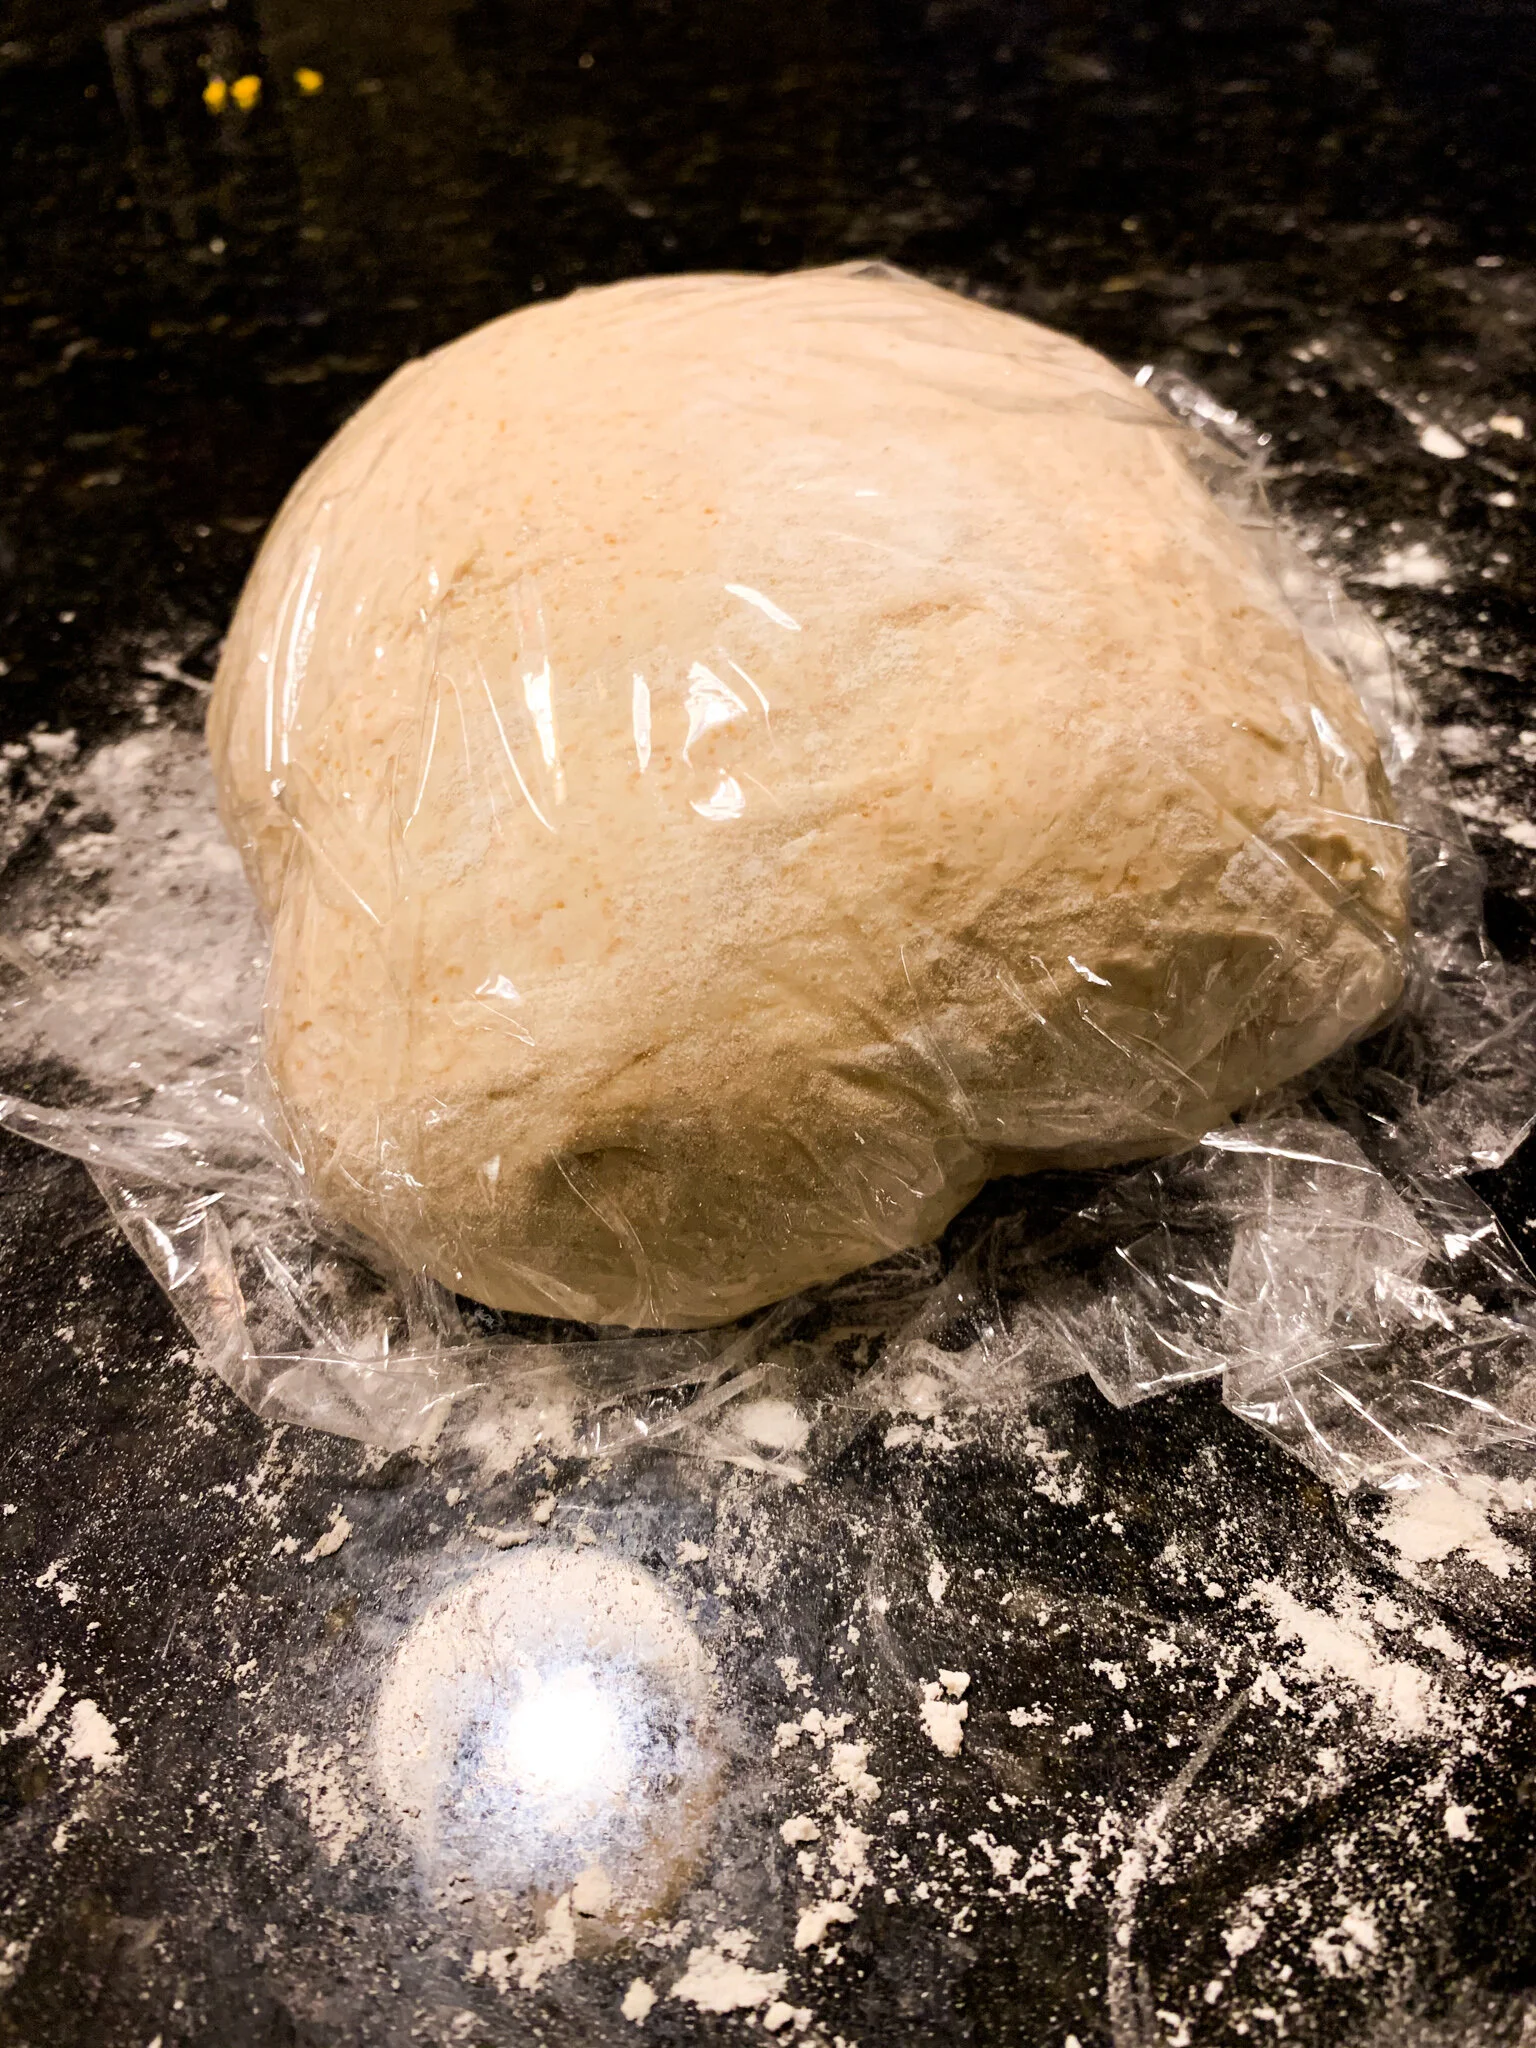
Now, we’re onto the first shape and the second rise. If you have a bench scraper, great! You’ll be using it here. If not, your hands will work just fine (that’s what I use). Turn the dough out onto a lightly floured surface and shape it into a round. This may sound a little vague, so you can watch Amy’s video to see how she does it, or just do as I do - gently pull the edges down and underneath until the dough is round and smooth. It doesn’t need to be perfect, as this is only the first shape. Cover and let it sit on the counter for 20-30 minutes.
For the second shape, you’ll work the dough similarly to how you did in the bulk fermentation. Gently pull one side of the dough up and fold it over on top of the dough. Turn the dough 90 degrees, or just grab from another edge if you can imagine the dough being a square, and repeat until all 4 edges have been folded over. You’ll notice what looks like a seam where all the edges have been folded over, and now you’ll flip the dough over so that seam is underneath and the smooth part of the dough is on top. Gently tuck the dough underneath itself by using your hands to push it away an inch or 2 and pull it towards you an inch or 2. Soon, you’ll notice the smooth top tightening and smoothing even more than before. This is helping to form the crust.
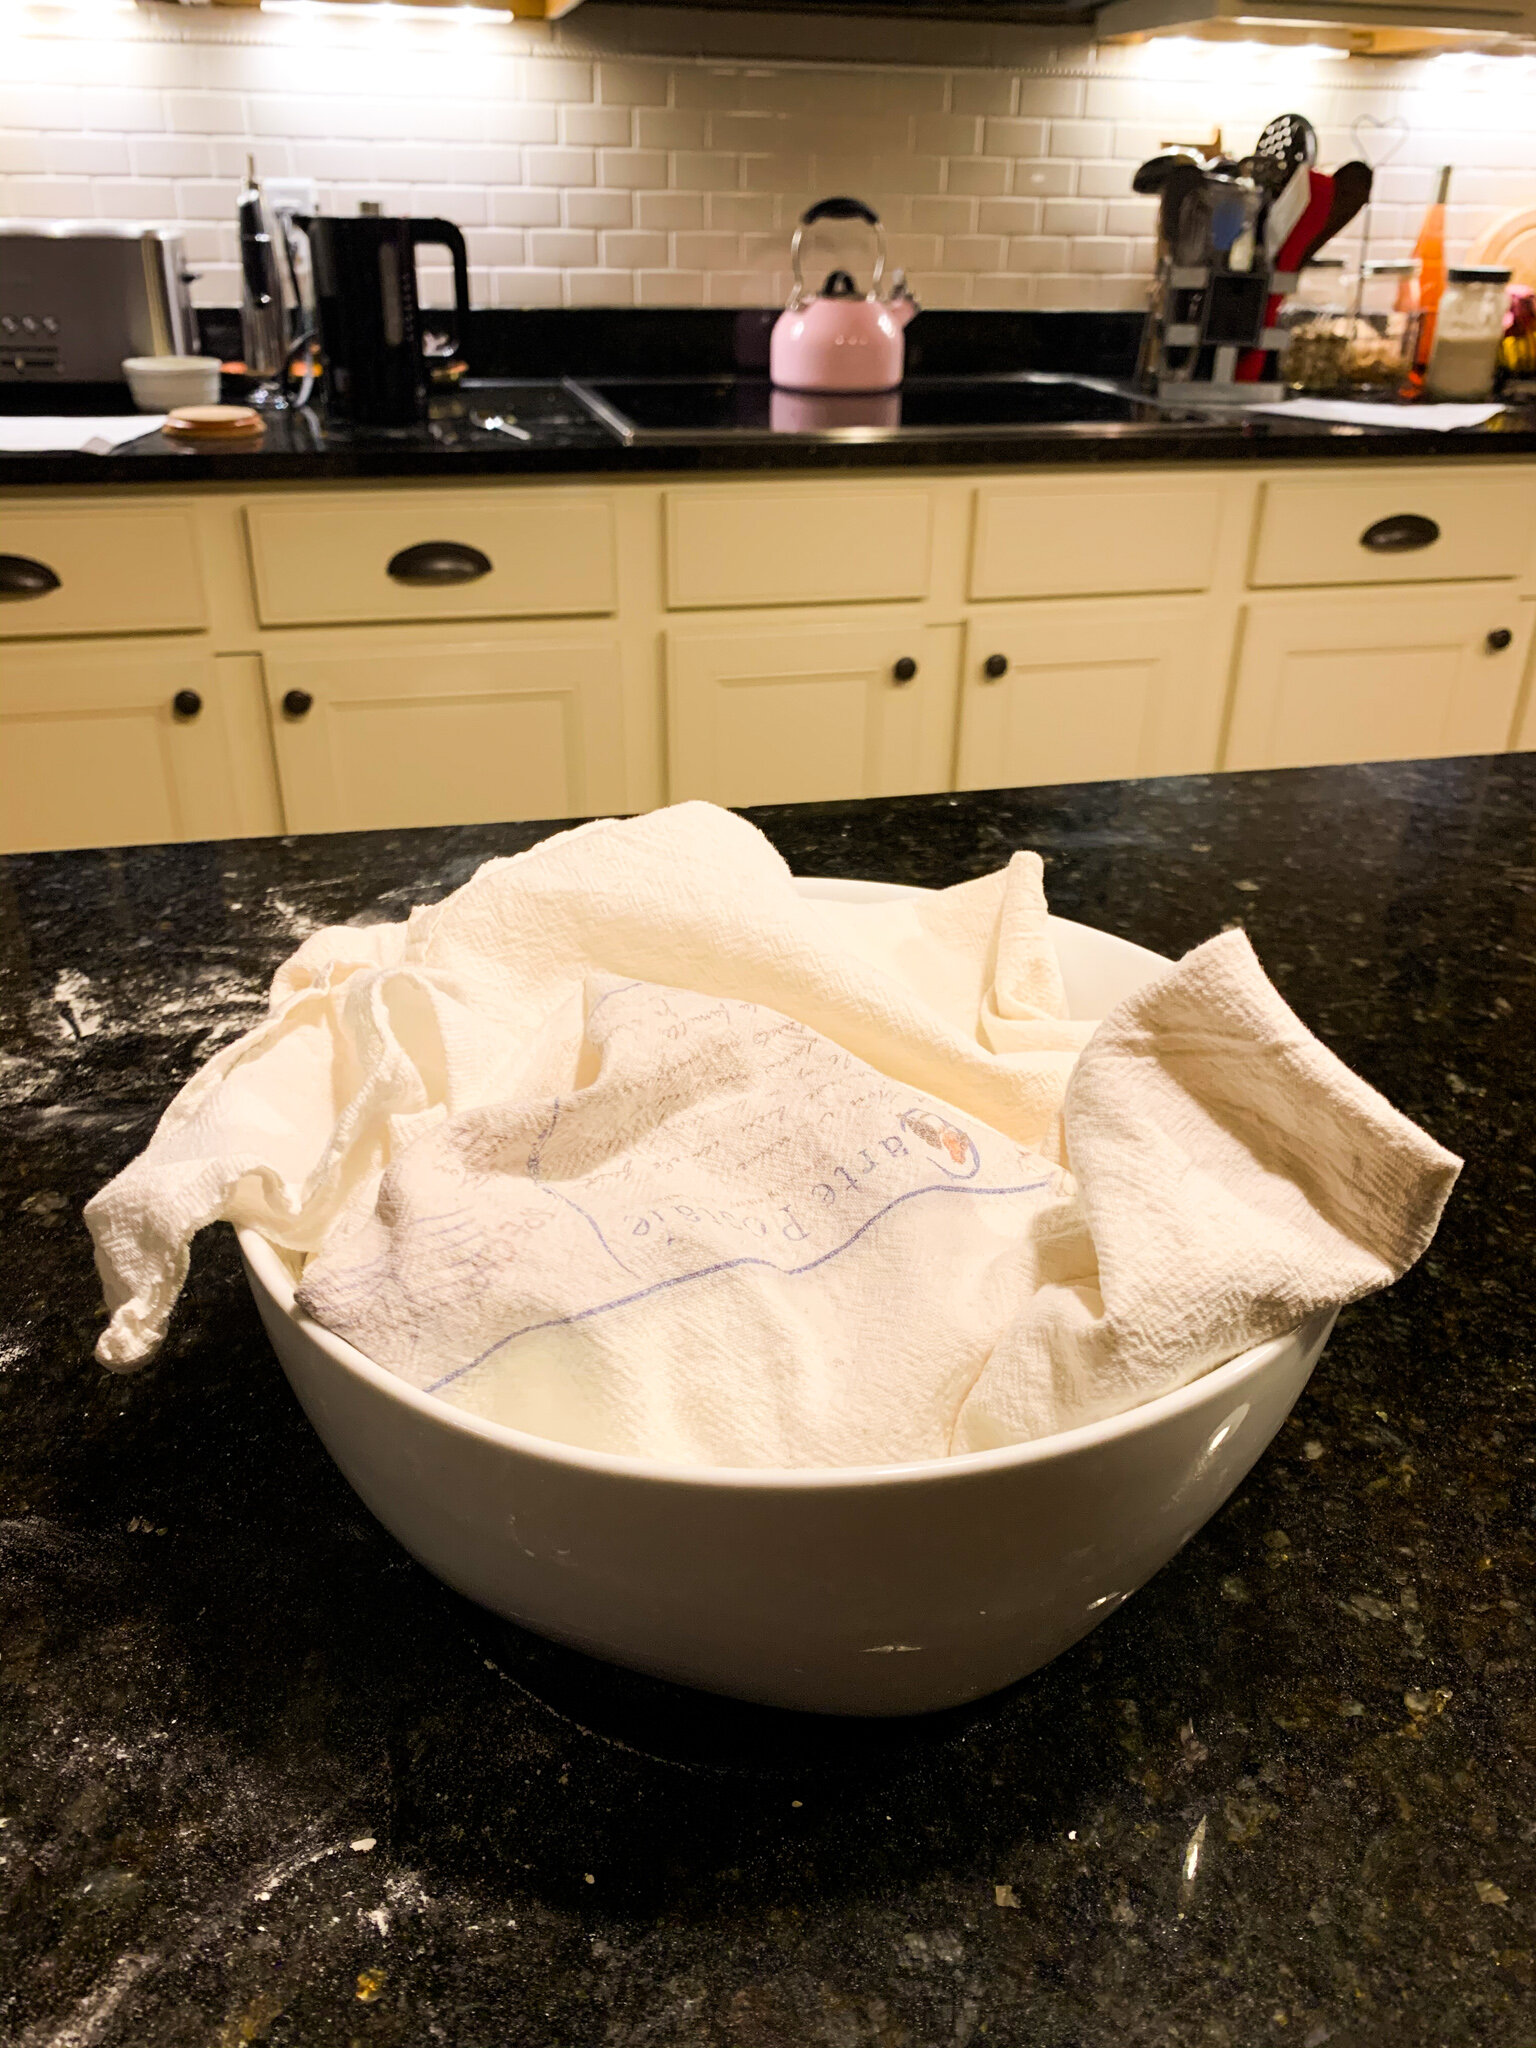
If you have a bread proofing basket, wonderful! You’ll be using it here. If not, grab a 100% cotton towel and a large bowl. Lay the towel flat on the counter and dust it heavily - heavily - with flour. I try to rub the flour into the towel to make sure the dough doesn’t absorb it all as it rests overnight and then stick to the towel in the morning when you go to bake it. I’ve had that happen to me before, and I learned quickly how important a well-floured towel is. Transfer the dough round to the towel, seam-side up. Cover the dough round with the plastic wrap that you have hopefully saved from earlier and then loosely wrap the towel around the dough. Place the wrapped dough into the bowl and then into the fridge to rest overnight or up to 36 hours.

Score and Bake
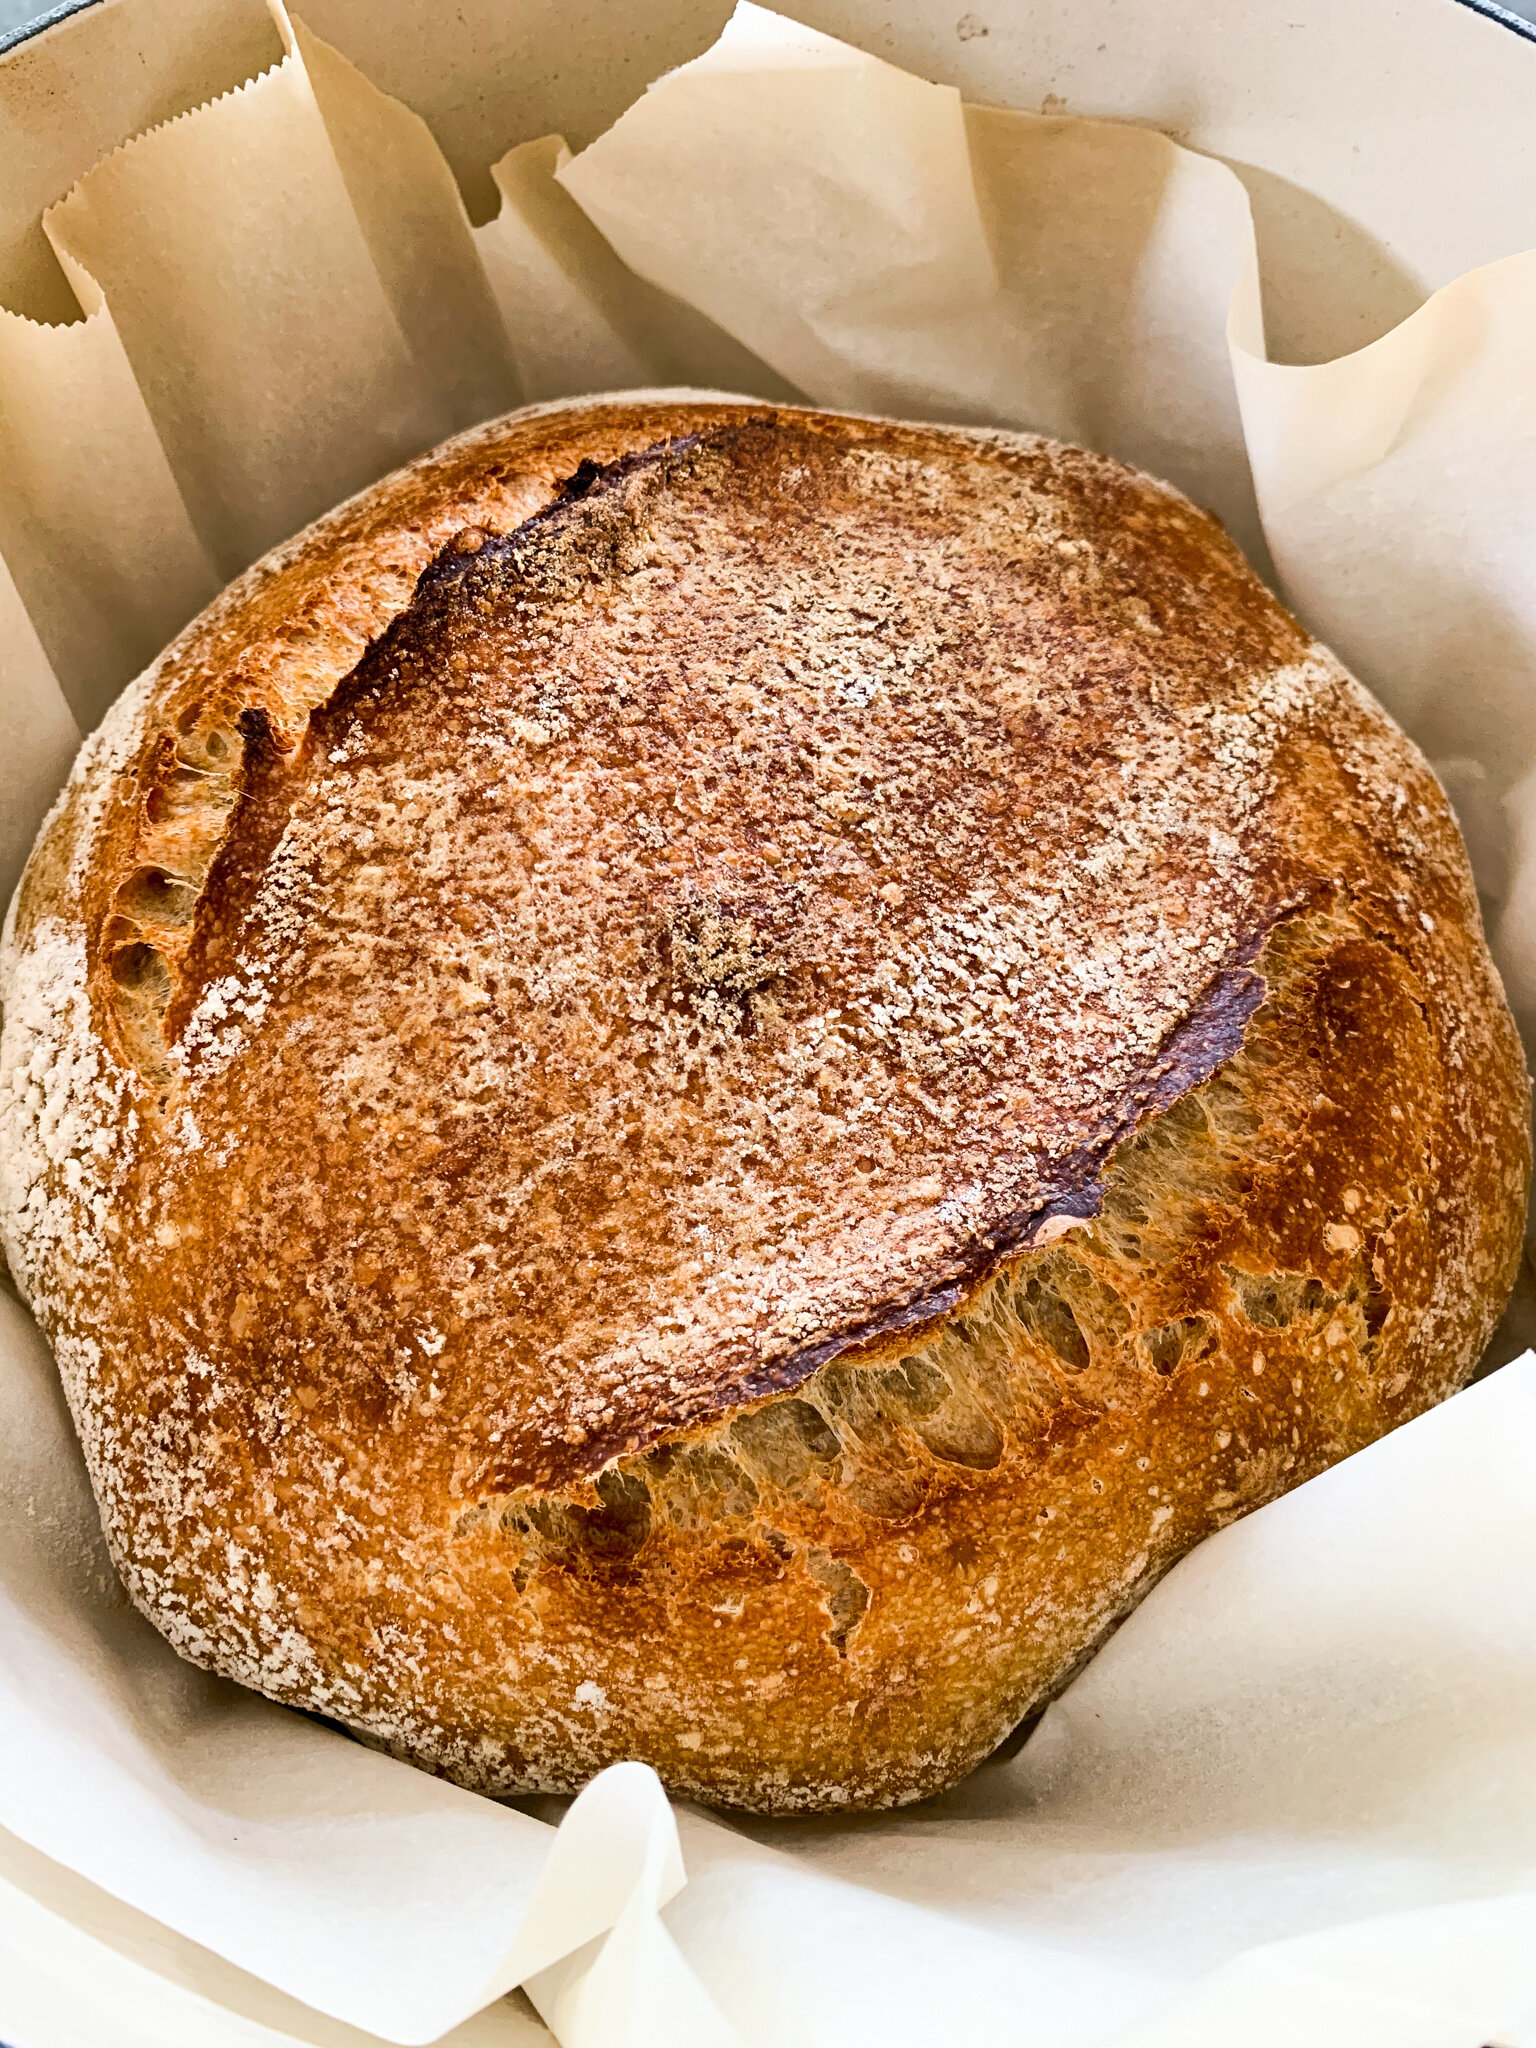
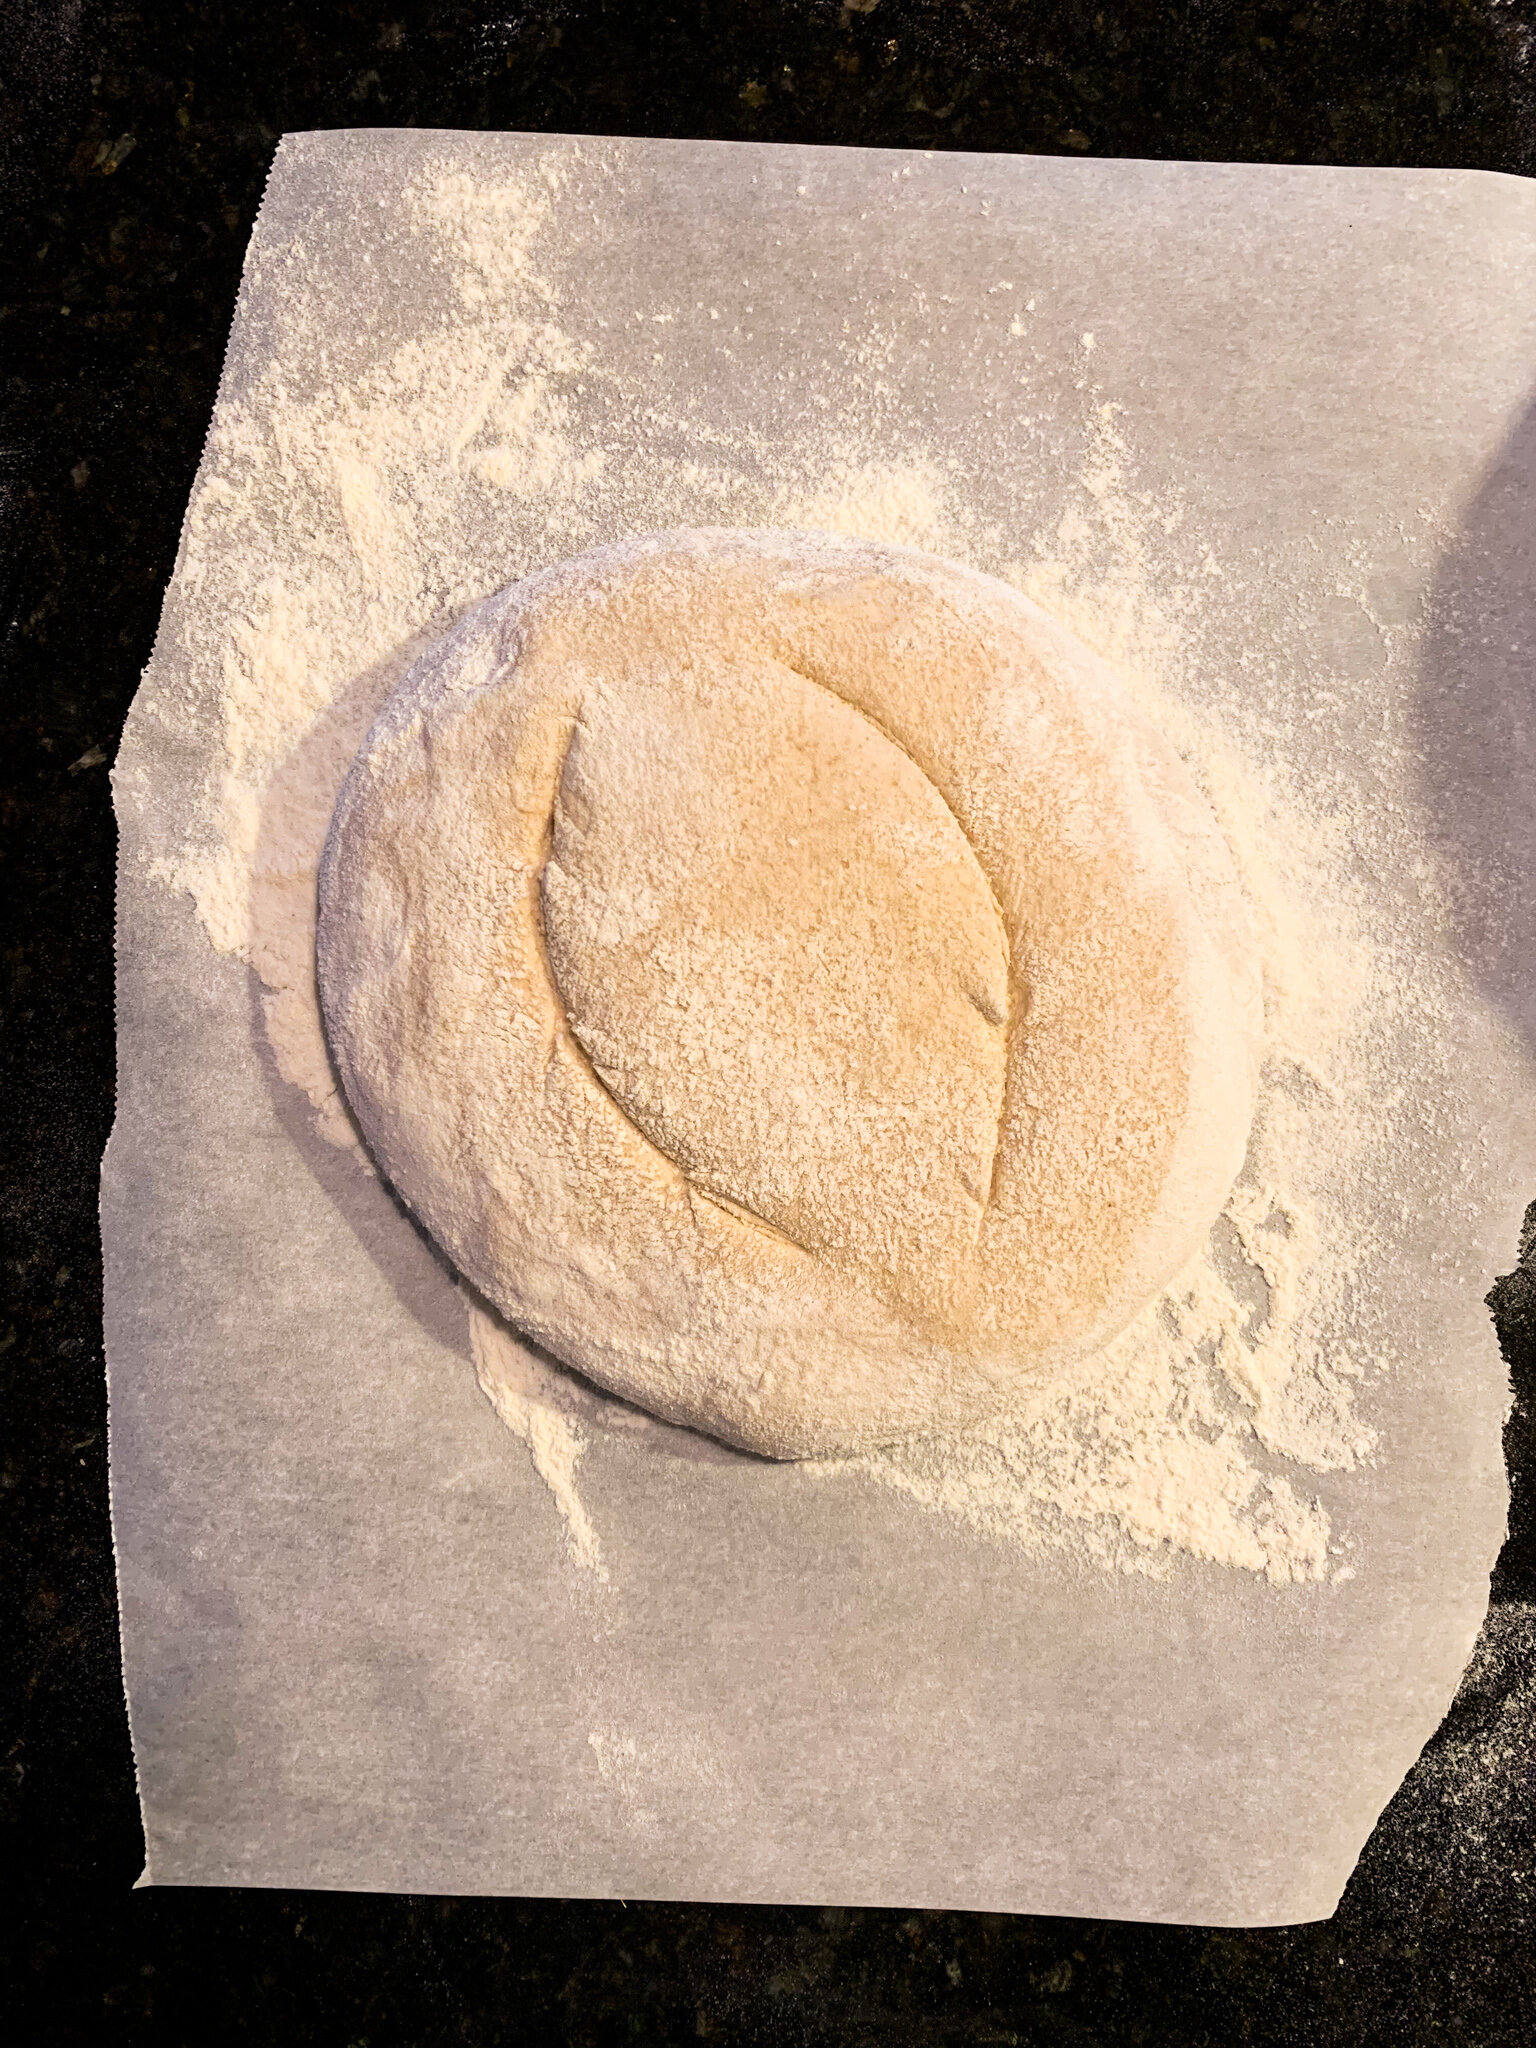
After 12 hours, or when you’re ready to bake, preheat the oven to 500 degrees F. Heat a large Dutch oven with the lid on for 25-30 minutes at 500F before baking. Meanwhile, remove the dough from the fridge, transfer it to a large square of parchment paper, and use a bread lame or sharp knife to score the dough down the center. You can also score it down the sides, following the edges of the dough, or just down one side. Let it rest, covered, on the counter for 30 minutes.
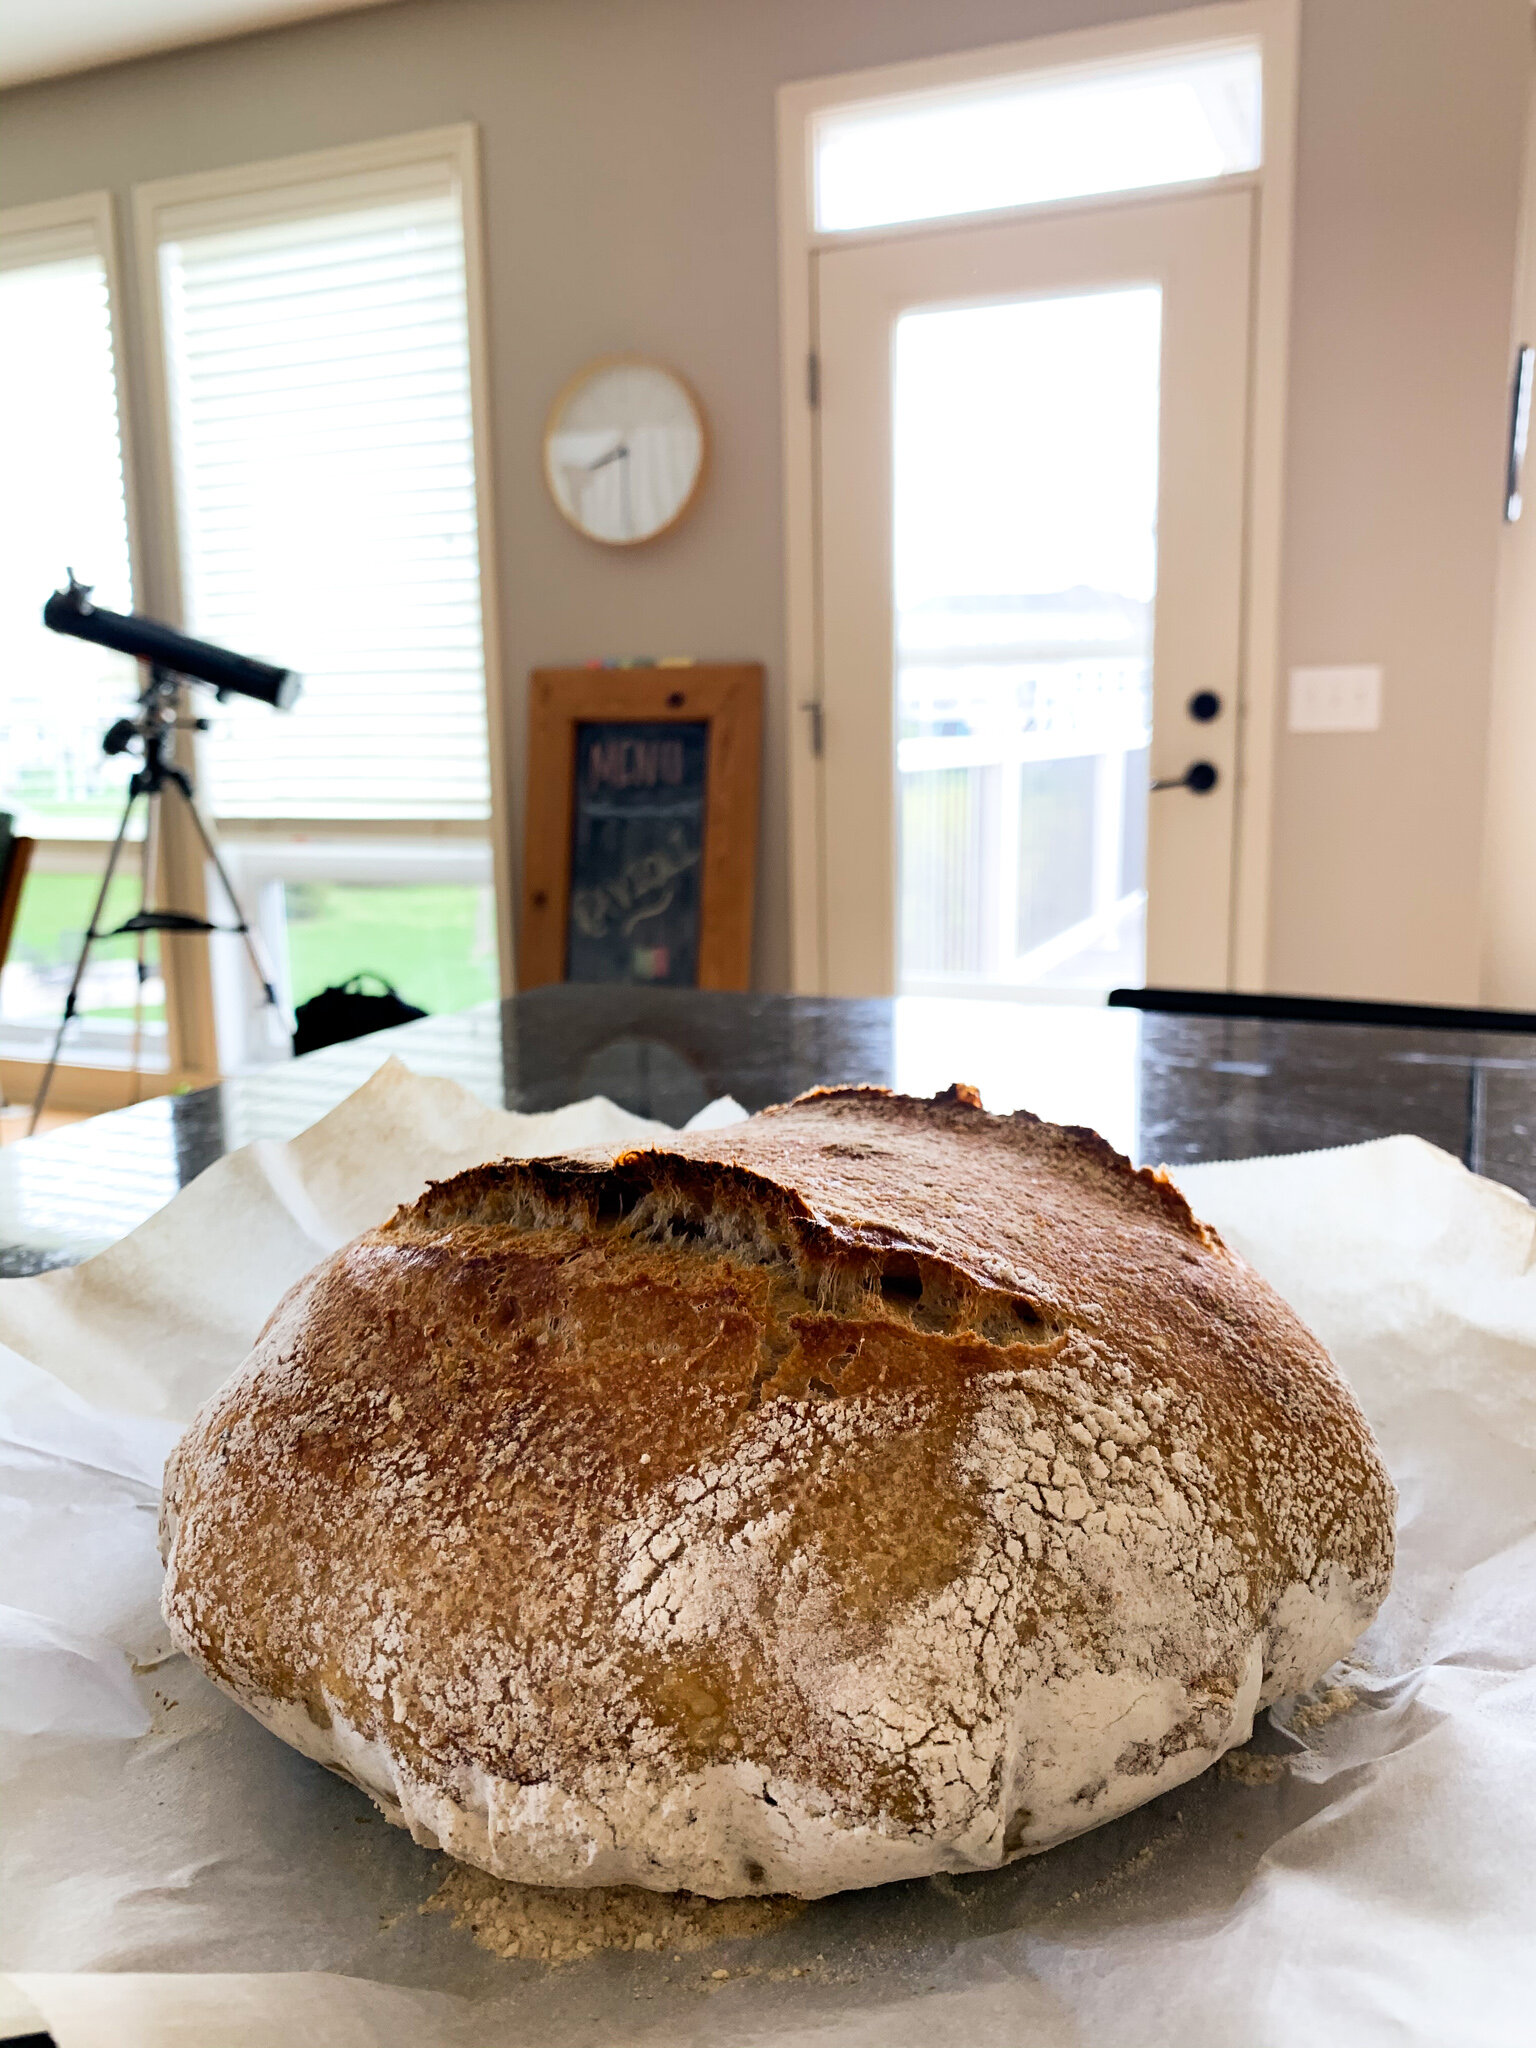
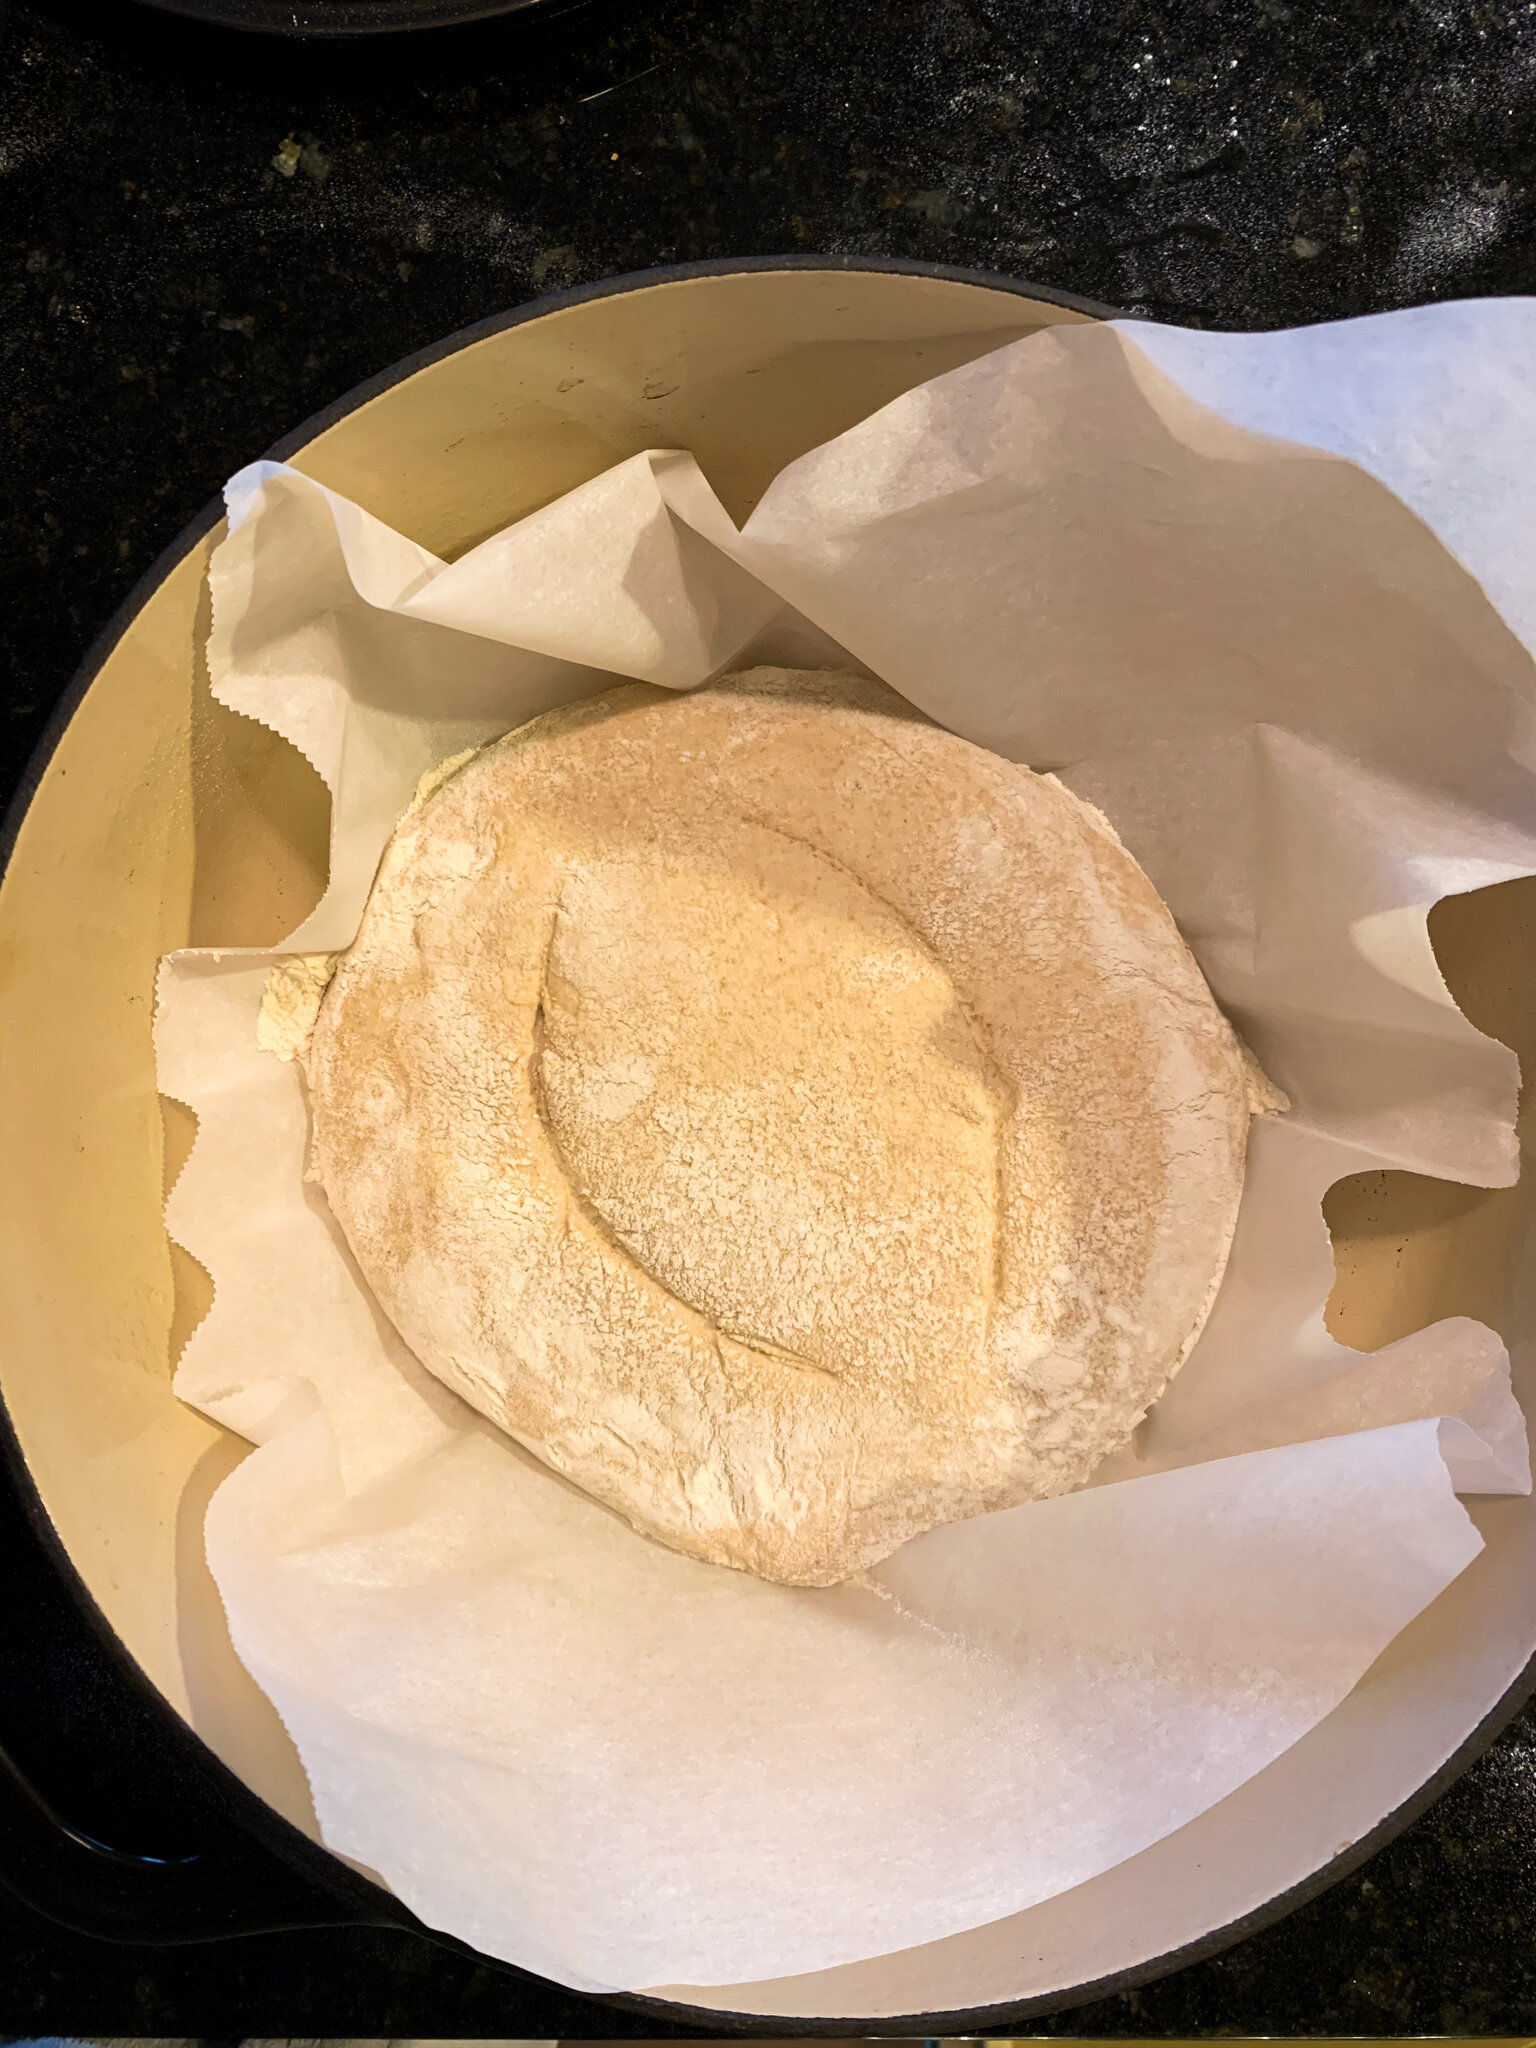
Once the Dutch oven has heated, lower the oven temperature to 450F and lift the parchment paper with the dough round into the Dutch oven. Cover with the lid and bake for 25 minutes. This creates steam within the Dutch oven to help lift the bread and create the crust. Then, remove the lid and bake for another 20-25 minutes, or until the crust is a dark golden brown.
Cool and Slice
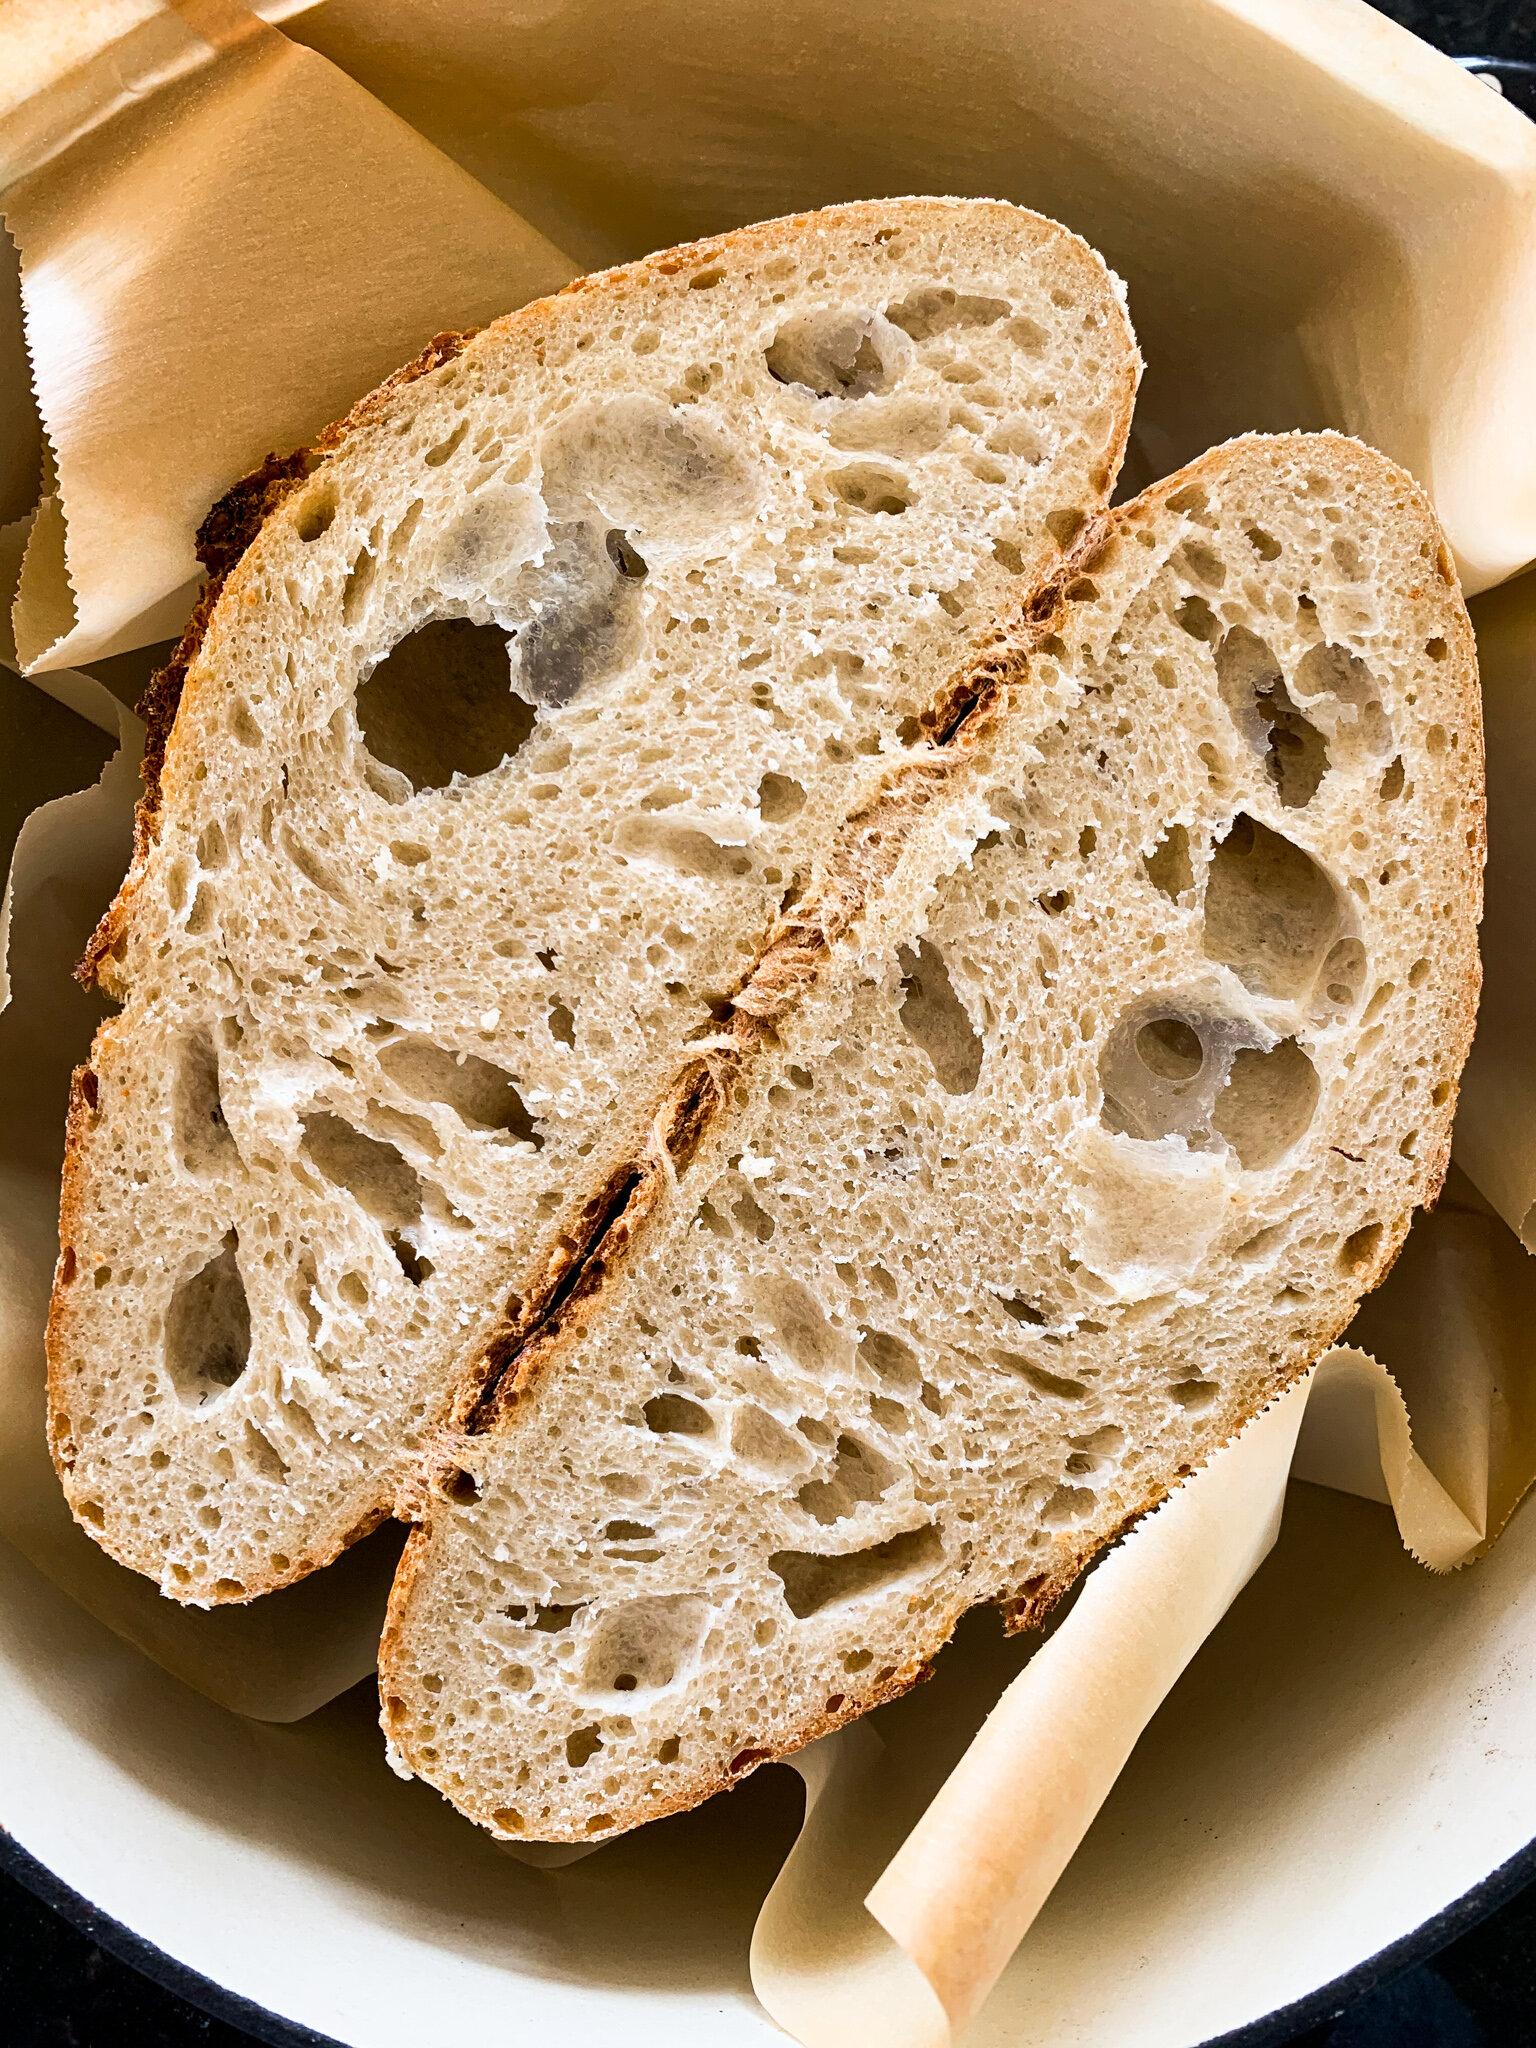
The recipe instructs to let the loaf cool down for 2 hours before cutting it open. Let me tell you - of the 7-8 loaves I’ve made, only 1 has made it the full 2 hours before I sliced it open. Cooling makes the slicing easier (no burnt fingertips) and finishes the baking process 100%. Cooling it for, let’s say, 30 minutes as I have done several times, makes the slicing a little more difficult and tends to snag and pull the interior of the bread, creating a messier cut. As long as your crust is a deep golden brown, it’s fully baked, so if you’re impatient like myself cooling for 1/4th of the time instructed won’t make a huge difference in the texture of the loaf.
Bottom line: if you can wait, wait (more power to ya!). If you can’t, well, I understand.
There you have it! How to make a rustic, crusty loaf of sourdough bread. I hope this post answered as many questions as possible, and if there are any remaining questions, don’t hesitate to leave them in the comments section below, and I’ll answer them ASAP.