HH Fitness

dairy-free

Half-Baked Deep-Dish Chocolate Chip Cookies for Two (GF, DF, & Refined Sugar-free)

Haley HansenComment

WHAT’S INSIDE:

  • cashew butter - the creamiest of all nut butters, with the most neutral flavor! I love using cashew butter because it blends in so nicely with other ingredients. in this recipe, it replaces butter to make the cookies dairy-free and slightly more nutrient-dense!

  • honey - honey easily replaces granulated sugar in most recipes, and it’s far sweeter per ounce, so you won’t need quite as much. feel free to use maple syrup instead!

  • almond flour - ohhhh, almond flour. I used to struggle so much working with almond flour, but I’ve found over the years that it works well as the main flour ingredient in some recipes, as the sidekick in others, and should simply be left out of others. this cookie recipe is the perfect place for almond flour - we want a dense, chewy, rich, satisfying bite and that’s exactly what almond flour can do!

  • dark chocolate chips - obviously. feel free to use milk chocolate chips, or chunks (even better).

RECIPE

½ cup natural creamy cashew butter (unsweetened, should be drippy!)
¼ cup honey or maple syrup 
2 tbsp coconut sugar 
½ tsp vanilla extract 
1 egg
½ cup almond flour 
2 tbsp oat flour or 1:1 gluten-free flour blend (can also use all-purpose flour if not GF)
½ tsp baking soda 
Pinch of salt 
About ½ cup dark chocolate chips

  1. Preheat the oven to 350F and lightly grease two 7-8oz oven-safe ramekins with oil. 

  2. In a bowl, whisk together the cashew butter, honey or maple syrup, coconut sugar, vanilla, and egg until smooth. 

  3. In a separate bowl, combine the flours, baking soda, and salt. Fold the wet into the dry, then add the chocolate chips. Gently stir until no clumps of flour remain. It will be very soft!

  4. Divide the dough between the two ramekins and top with a few additional chocolate chips. 

  5. Bake at 350F for 15 minutes for an underbaked cookie, or 18 minutes for a more fully baked cookie. The batter might rise up over the edges slightly. 

  6. Cool completely before enjoying! Serve with vanilla ice cream if desired.

Easy Enchilada Bake

Haley HansenComment

WHAT’S INSIDE:

  • lean ground beef (grass-fed) - there’s just something about a rich, high-quality red meat that pairs so well with a mildly spicy enchilada sauce. sure, you could swap in ground turkey or chicken, but… it’s not the same. opt for the grass-fed and grass-finished for the most nutrient-dense ground beef.

  • peppers, onions, garlic - the holy trinity. also, fiber and micronutrients :)

  • enchilada sauce - red is a must! but that’s just my opinion, so you can find your favorite. usually, I’d recommend seeking out a low-sodium version, if you can find it.

  • tortillas - again, use your favorite here! I’ve linked my favorite in the recipe below. one of the best things about this recipe is that it doesn’t require you to roll the contents up in a tortilla, so you don’t have to worry about the tortillas cracking (ahem, corn tortillas). everything is conveniently piled in neat little layers.

  • cheese - if you’re looking for a dairy-free recipe, this one can certainly be that for you. I’m a cheese-lover, but I did try this without cheese, and it was still delicious!

  • toppings - essential. Greek yogurt, avocado, cilantro, and a dash of hot sauce are my favs!

RECIPE

2 lbs lean ground beef (85% or higher)
3 medium-size bell peppers, diced 
1 small white onion, peeled and diced
3 garlic cloves, peeled and minced 
1 tbsp olive oil 
1 packet of taco seasoning 
Salt, to taste 
1 15-oz jar of enchilada sauce 
Your favorite tortillas (I love the Siete Cassava Flour tortillas)
Shredded cheddar cheese, if desired 
For serving: 
Avocado or guacamole 
Greek yogurt
Fresh cilantro 

  1. Start by cooking the meat. Heat a large nonstick skillet with about ½ tablespoon of olive oil over medium heat. Add the ground beef and use a wooden spoon or spatula to break it up into smaller chunks. 

  2. Once just about cooked through, add the taco seasoning with a splash of water and stir to coat the meat. Cook for 2-3 additional minutes and then taste, and salt as needed. Remove from heat, transfer the meat to a bowl and set aside. 

  3. In the same skillet over medium heat, add the diced bell peppers and cook for 2-3 minutes. Add the onion and garlic and continue cooking until the veggies are just browned and a little tender. Remove from heat, transfer to a bowl and set aside.

  4. Preheat the oven to 425F and lightly grease a 9x13 baking dish with avocado oil or butter. 

  5. Start by coating the bottom of the baking dish with just enough enchilada sauce to cover the surface. Place a layer of tortillas over the top. You can tear your tortillas into various shapes as needed to cover as much of the baking dish as possible. 

  6. Spread another thin layer of enchilada sauce over the top of the tortillas. Add a layer of ground beef, followed by veggies, and then shredded cheddar. Repeat this layering process until you’ve filled your baking dish. 

  7. Bake at 425 for about 18 minutes. Remove the dish from the oven and top with an additional thin layer of shredded cheddar cheese. Turn the oven to broil and cook for another 3-4 minutes, or until just browned and crispy around the edges. 

  8. Remove from the oven and cool slightly for 5-8 minutes before serving. Enjoy! 

Peanut Butter Oatmeal Chocolate Chip Cookies (GF, DF)

SnacksHaley HansenComment

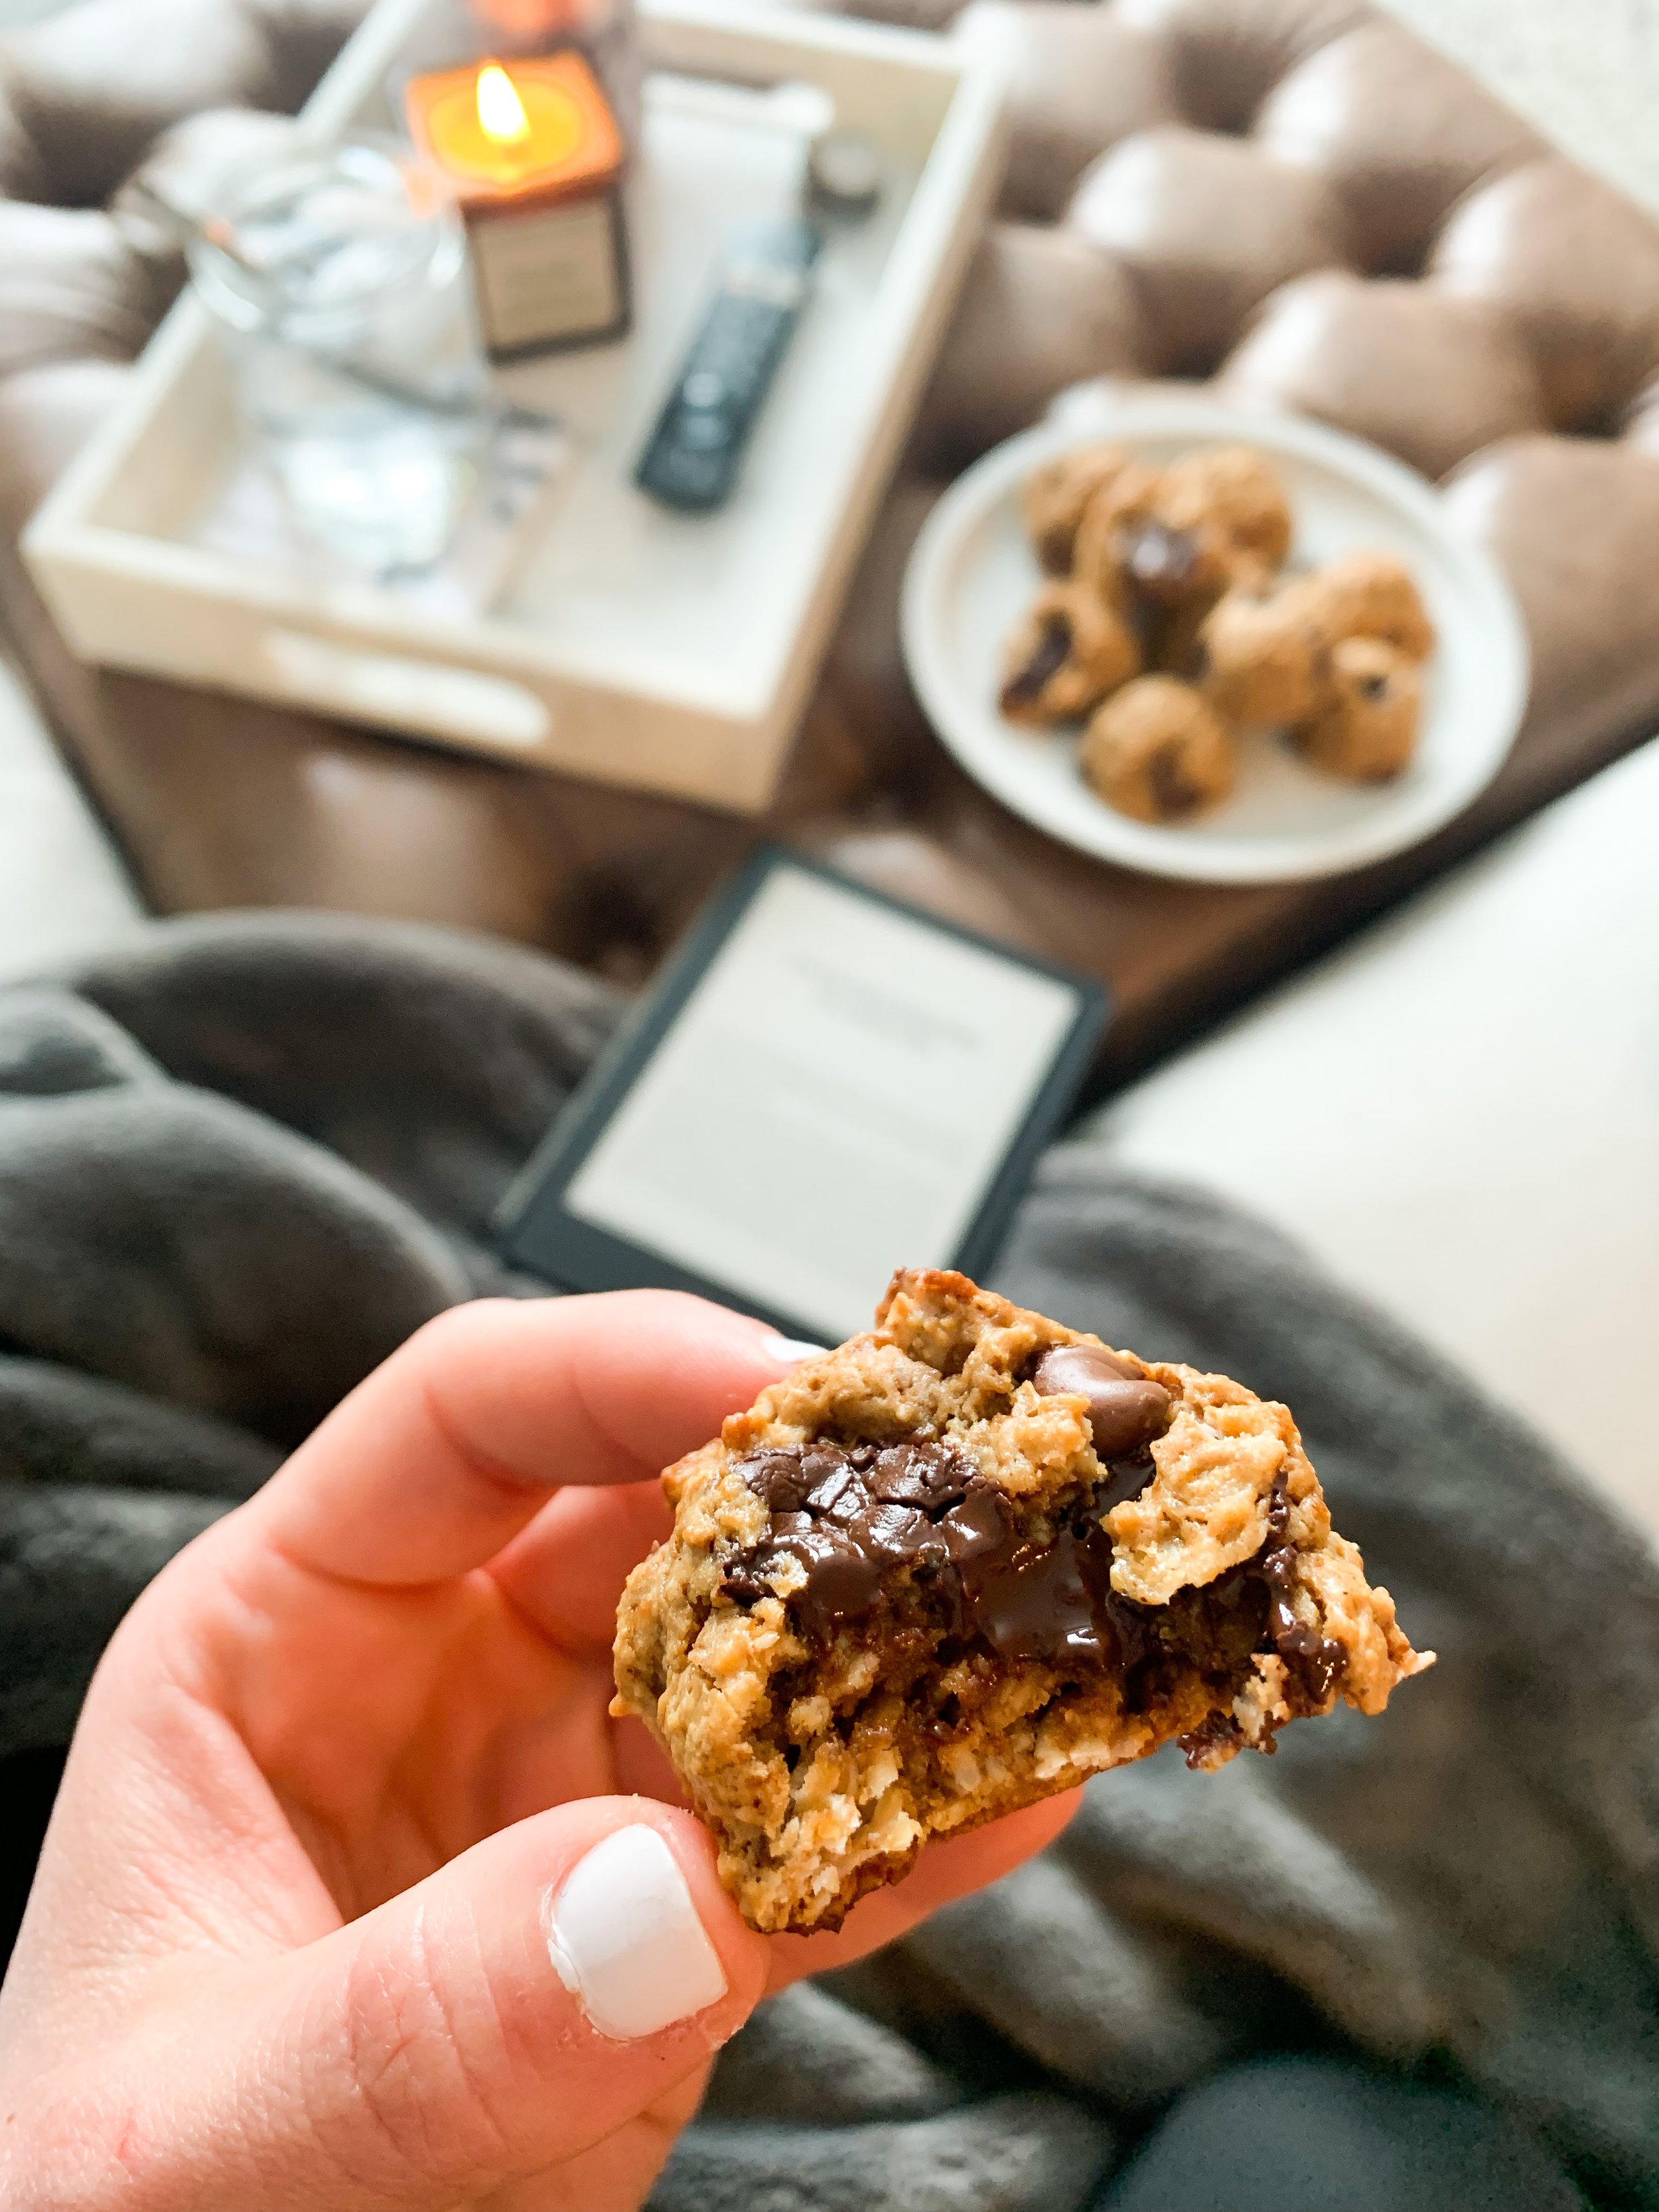
These Peanut Butter Oatmeal Chocolate Chip Cookies are soft on the inside and crispy on the outside - just what you need when you’re looking for that classic, nostalgic cookie recipe. Made gluten- and dairy-free, with a significant source of high-quality protein!

WHAT’S INSIDE:

  • coconut oil: replaces butter (as seen in a more traditional cookie recipe) to make this recipe dairy-free. provides healthy saturated fats and a rich, buttery flavor and texture!

  • natural creamy peanut butter: because the only way to make oatmeal chocolate chip cookies any better is to swirl in some satisfying peanut butter. make sure to opt for the natural version with ONLY peanuts and salt!

  • coconut sugar: replaces brown sugar (as seen in a more traditional cookie recipe) to add a deep, caramelly flavor and perfect crispy-exterior, soft-interior texture.

  • collagen peptides: protein-rich cookies that actually taste GOOD! you’ll never know there’s a whopping 20 grams of high-quality collagen protein in this recipe.

  • almond flour: going grain-free in this recipe and using almond flour as our base to reduce the carbohydrate content and add a significant source of healthy mono- and poly-unsaturated fats.

  • Hu Kitchen Dark Chocolate Baking Gems: simply the BEST dark chocolate chunks.

RECIPE

1 egg 
3 tbsp melted coconut oil
⅓ cup natural creamy peanut butter 
⅓ cup coconut sugar 
1 tbsp maple syrup 
1 tsp vanilla extract 
1 cup oats 
¼ cup almond flour 
¼ cup collagen peptides 
½ tsp baking soda 
½ tsp salt 
Pinch of cinnamon 
½ cup Hu Kitchen Dark Chocolate Gems

  1. Preheat the oven to 350F and line a baking sheet with parchment paper or a silicon baking mat. 

  2. In a small bowl, whisk together the melted coconut oil, peanut butter, coconut sugar, and maple syrup until smooth. Add the egg and vanilla extract and whisk again. 

  3. In a separate bowl, stir together the oats, almond flour, collagen peptides, baking soda, salt, and cinnamon. Add the wet ingredients to the dry and stir until well combined. 

  4. Mix in the chocolate chips, reserving a handful for garnish at the end. 

  5. Use a cookie scooper to scoop the dough onto the baking sheet. The dough should yield about 14-15 cookies. 

  6. Bake for 10-11 minutes, or until golden brown around the edges. Cool for 5 minutes on the baking sheet before serving. 

  7. Serve and enjoy! Store leftovers in an airtight container for up to 7 days.